

There's something truly magical about gathering around a wood-fired pizza oven on a warm evening, watching the flames dance while the aroma of fresh dough and bubbling cheese fills the backyard. If you've ever wondered exactly how to get one of these beautiful ovens up and running, you're in the right place. We've put together a clear, picture-friendly walkthrough so you can confidently fire up your own oven and serve restaurant-quality pizza right from your patio. Whether you're a first-timer or just looking to refine your technique, this guide will walk you through each stage from cold oven to crispy crust.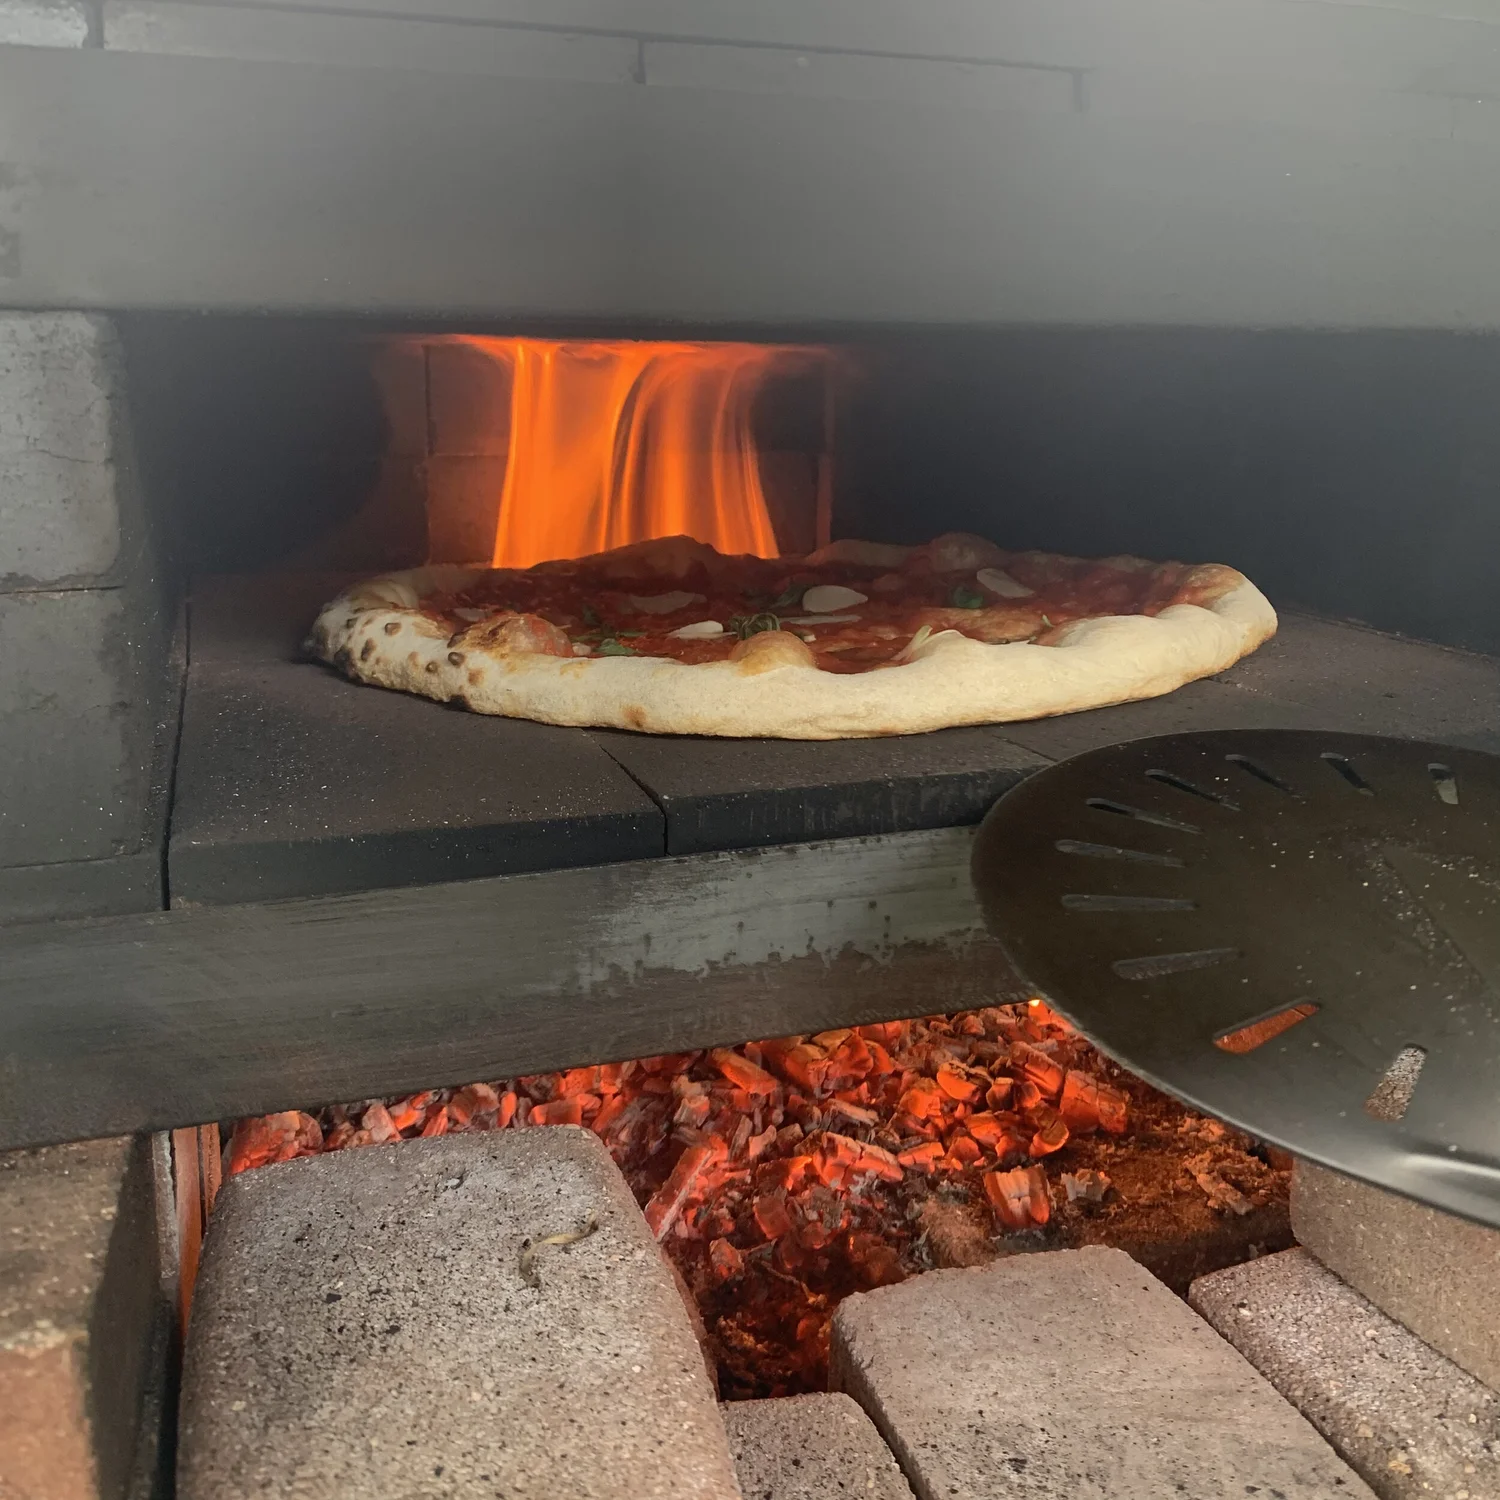
Build Your Initial Fire Base
Start by stacking a small pile of kindling and dry logs near the back center of the oven. Crumpled newspaper or natural fire starters tucked underneath the pile work beautifully. The goal here is to give the fire a strong, stable foundation that will catch quickly and grow without much fuss. Keep the wood dry and seasoned — moisture is the enemy of a clean, hot burn.
Light the Fire
Carefully light the paper or fire starter underneath your stack. The kindling should ignite within seconds, and the flames will quickly spread to the larger logs above. If you notice the fire struggling, gently feed in a few smaller pieces of kindling until things take off.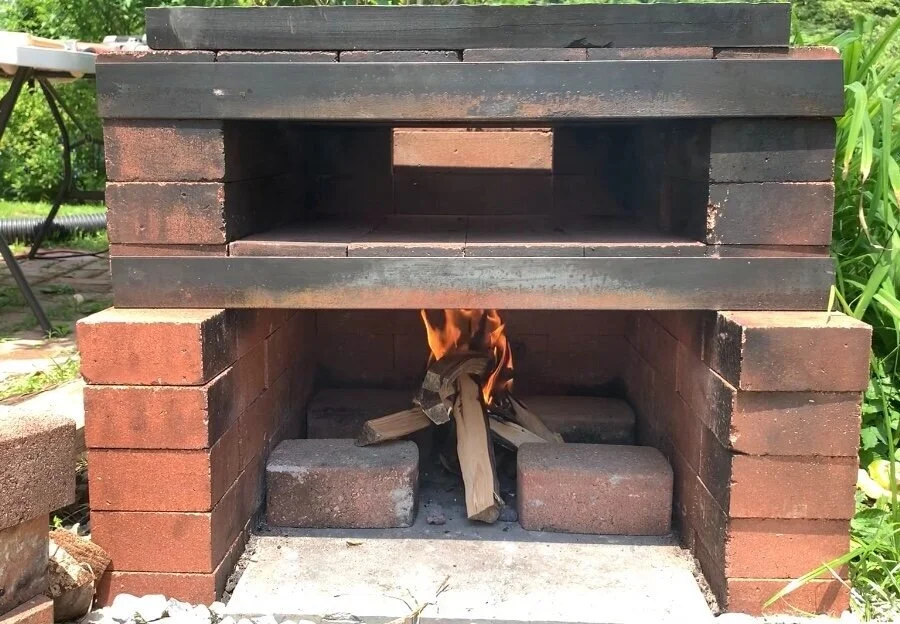
Let the Fire Build and Stabilize
Allow the flames to grow and the oven temperature to climb steadily. This is where patience pays off. As the fire burns, the dome and floor of the oven absorb and store the heat that will eventually cook your pizza to perfection. Use a temperature gauge to track your progress — you'll be aiming high.
Fully Engage the Oven Heat
All of the logs should now be burning actively and the interior of the oven should be glowing nicely. From a cold start, expect this preheating phase to take roughly 30 to 45 minutes depending on the size of your oven and the quality of your firewood.
Shift the Fire to the Side
Once the oven is roaring and the dome is fully heated, use a long-handled tool to gently push the burning logs to one side of the oven floor. This clears space in the center where your pizza will eventually cook while keeping the radiant heat from the flames working in your favor.
Sweep the Cooking Surface
Take a wire brush with a long handle and gently sweep any leftover ash or debris off the cooking stone. You want a clean, smooth surface so your pizza slides on and off effortlessly and doesn't pick up any unwanted bits. A quick brush is all it takes — the surface is screaming hot at this point.
🔥 Safety Tip
Always wear a heavy pair of welding-style or heat-rated gloves when working near a fired-up oven. Things get hot fast, and protecting your hands and arms is non-negotiable. A long-handled set of tools also keeps you safely away from the flames.
Prep Your Dough, Sauce, and Toppings
While the oven settles into its ideal cooking temperature — typically around 800–900°F for Neapolitan-style pizza — get all your dough, sauce, cheese, and toppings prepped and within easy reach. Things move fast once the pizza hits the stone, so having everything organized makes a real difference.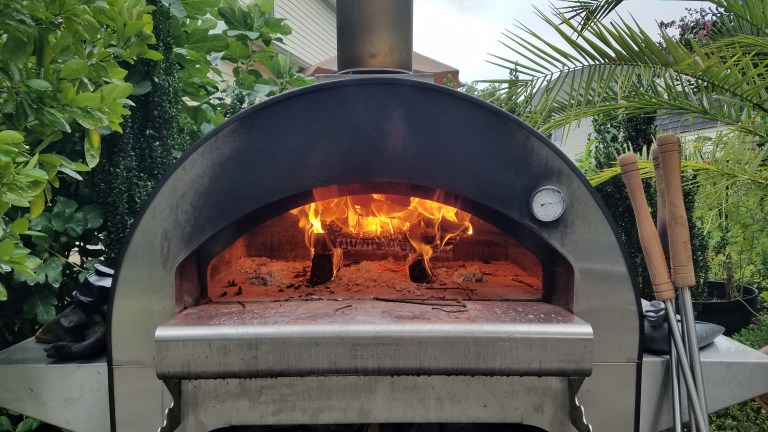
Build Your Pizza
Now comes the fun part — assembling your pie. Roll out or stretch your dough on a lightly floured peel, then layer on sauce, cheese, and your favorite toppings. Work quickly and keep it light; a thin, even layer cooks far better than something piled high. If you're hosting friends and family, this is a great moment to let everyone build their own personalized creation.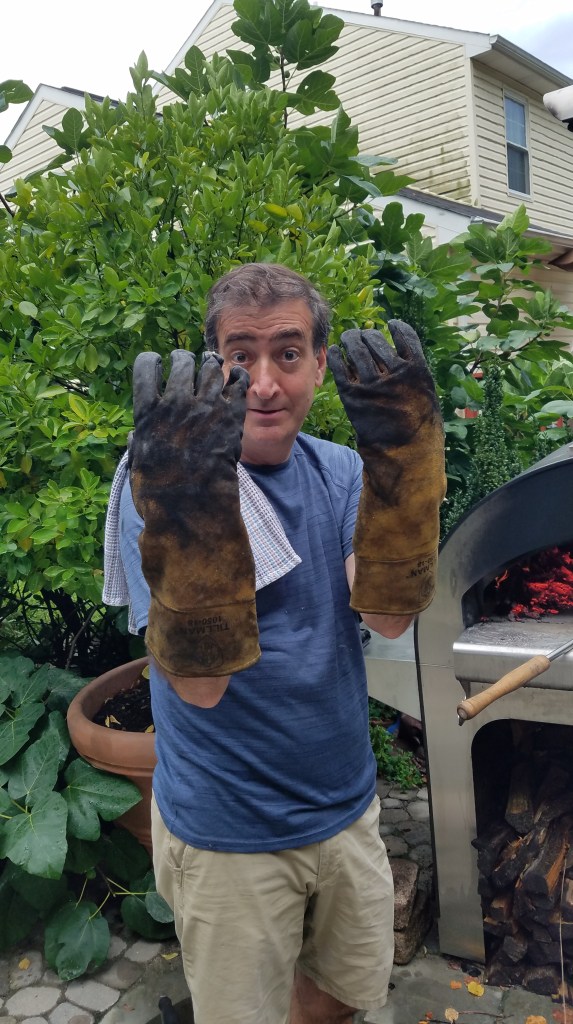
Launch the Pizza Into the Oven
With a firm but gentle motion, slide your pizza off the peel and onto the hot stone near the center of the oven. A little semolina or flour on the peel beforehand helps it release cleanly. Position it close enough to the embers to catch that signature char, but not directly in the flame path.
Cook, Rotate, and Serve
This is where the magic happens. In just a minute or two, your pizza will start to bubble, blister, and brown. Use your peel or a long-handled turner to rotate the pie every 20 to 30 seconds so it cooks evenly all the way around. Once the crust is puffed, leopard-spotted, and the cheese is glistening, pull it out, let it rest for a moment, slice, and serve.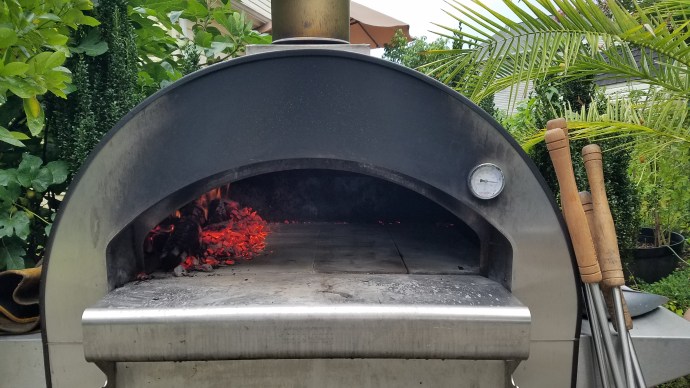
Ready to Build Your Own Backyard Pizza Setup?
If you're looking to bring true wood-fired pizza nights home, the WPPO 39" x 50" x 25" DIY Tuscany Wood-Fired Outdoor Pizza Oven Kit is built to deliver authentic results. It comes with a stainless steel flue and a sleek black door, and the DIY design lets you customize the exterior to fit your backyard aesthetic.
Shop the WPPO Tuscany OvenSetting up a wood-fired pizza oven might look intimidating at first, but with a little practice, it quickly becomes one of the most rewarding ways to cook and entertain outdoors. Take your time, trust the process, and enjoy the experience as much as the results.
Now go fire it up — and happy pizza making! 🍕