

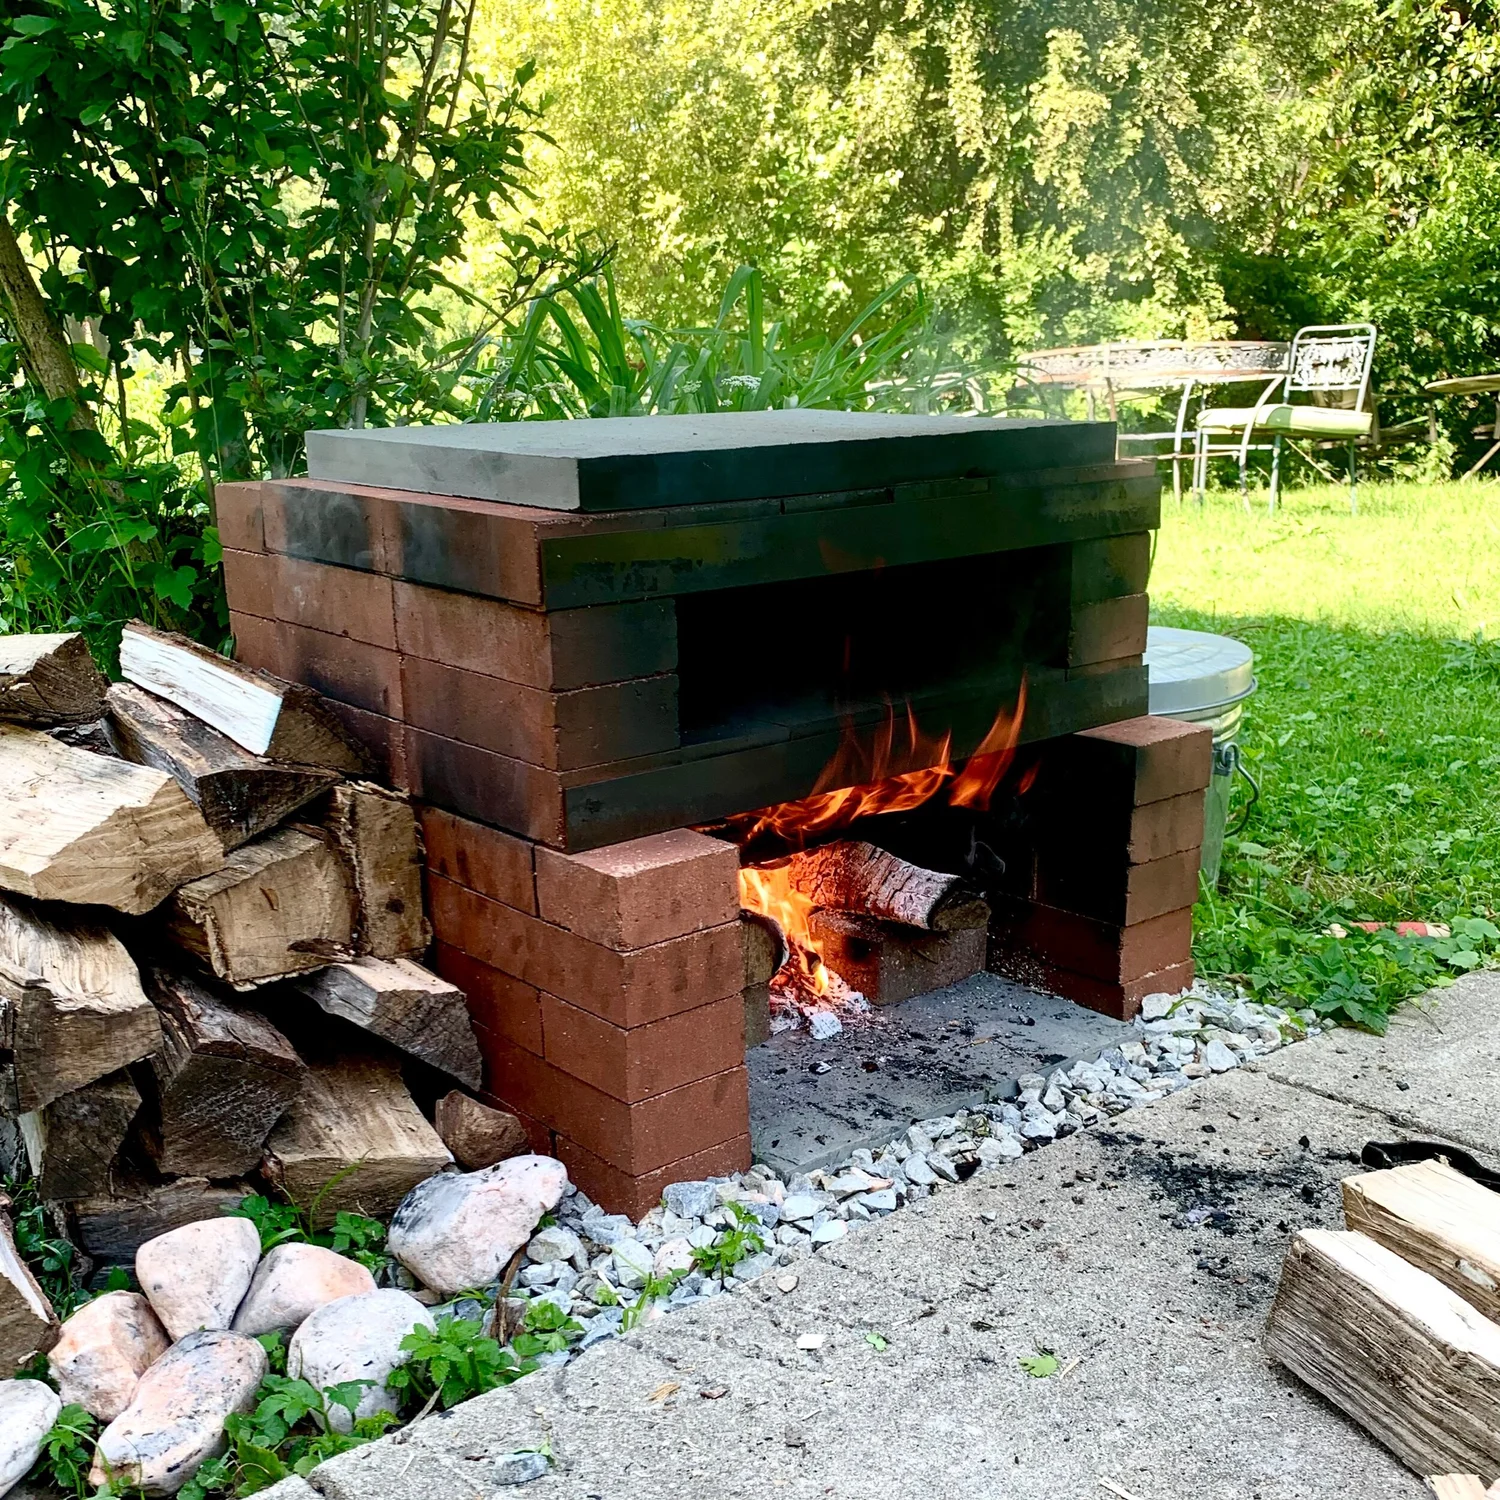
Curious about crafting your own backyard pizza oven? Walk through the full build below, or skip the hassle and grab a complete kit.
Want the ready-made route instead of DIY?
WPPO Tuscany Oven KitIntroduction
Once I started reading more about pizza craft, it became obvious very quickly that the kind of pies I was chasing simply weren't possible without an oven that could push well past anything a kitchen range could deliver. The heat needed to reach a level only a proper high-temperature oven can produce, and I had been hunting for that solution for a while.
The appeal of a wood-fired oven is that it isn't a one-trick tool. You can roast, bake, and cook almost anything you want with the same setup, all on something as simple and forgiving as firewood. Stay patient, don't try to rush the heat, and you'll be making things you didn't think were possible at home. Truly.
Now, you might assume a real, full-sized brick oven would have to cost a small fortune — and yes, plenty of them run into the tens of thousands once the masonry and labor are all in. So the question I kept circling back to was: what if you could pull off a similar result for a tiny slice of that price?
After spending a good amount of time digging through YouTube tutorials, I stumbled onto a build from a creator named Chefsteps that walked through a simple version using sand, gravel, and just forty-seven 8"x4"x2" red bricks alongside two big 16"x24" concrete pavers serving as the deck and ceiling.
The author of that video pitched the design as a working, low-cost setup, and on paper he wasn't wrong. The challenge came when he said you'd find all of the listed materials at any hardware store like Home Depot or Lowes (at least in the United States). Once I went looking for the basic bricks or pavers in those exact dimensions, I had to give up and head to a nearby masonry yard instead.
Eventually I tracked down the bricks I needed, but the concrete pavers turned out to be a problem — they weren't the recommended heat-rated flagstone the design called for. With a bit of unease, I decided the pavers would have to do for now (more on that decision later).
I loaded everything — about fifty bricks plus two flagstone slabs — into the trunk of my Camry and headed back to begin the most important step: getting a flat, level base of sand and gravel laid down. Once that was sorted, the rest was just stacking the bricks and capping the assembly with the deck and roof slabs.
Standing back, I had what looked like a working oven. Time to fire it up.
 The Fire That Failed
As soon as the fire took hold and the oven started climbing, things looked promising. I dropped the first pizza onto the flagstone the moment it hit temperature. "The slabs even said this would be fine," I remember thinking. But not long after, I started getting the sense the flagstone wasn't going to survive the heat. This guy knows exactly what I went through — had I just paid attention to his video before buying the slabs.
Like he warned, I had to stand there watching my first oven attempt explode in sharp, scorching fragments of flagstone shooting across the backyard.
So I went back to the drawing board.
A Better Build
The failed first attempt actually pointed me toward a much better way of putting the oven together. After more digging, more videos, and more reading, I landed on three big lessons:
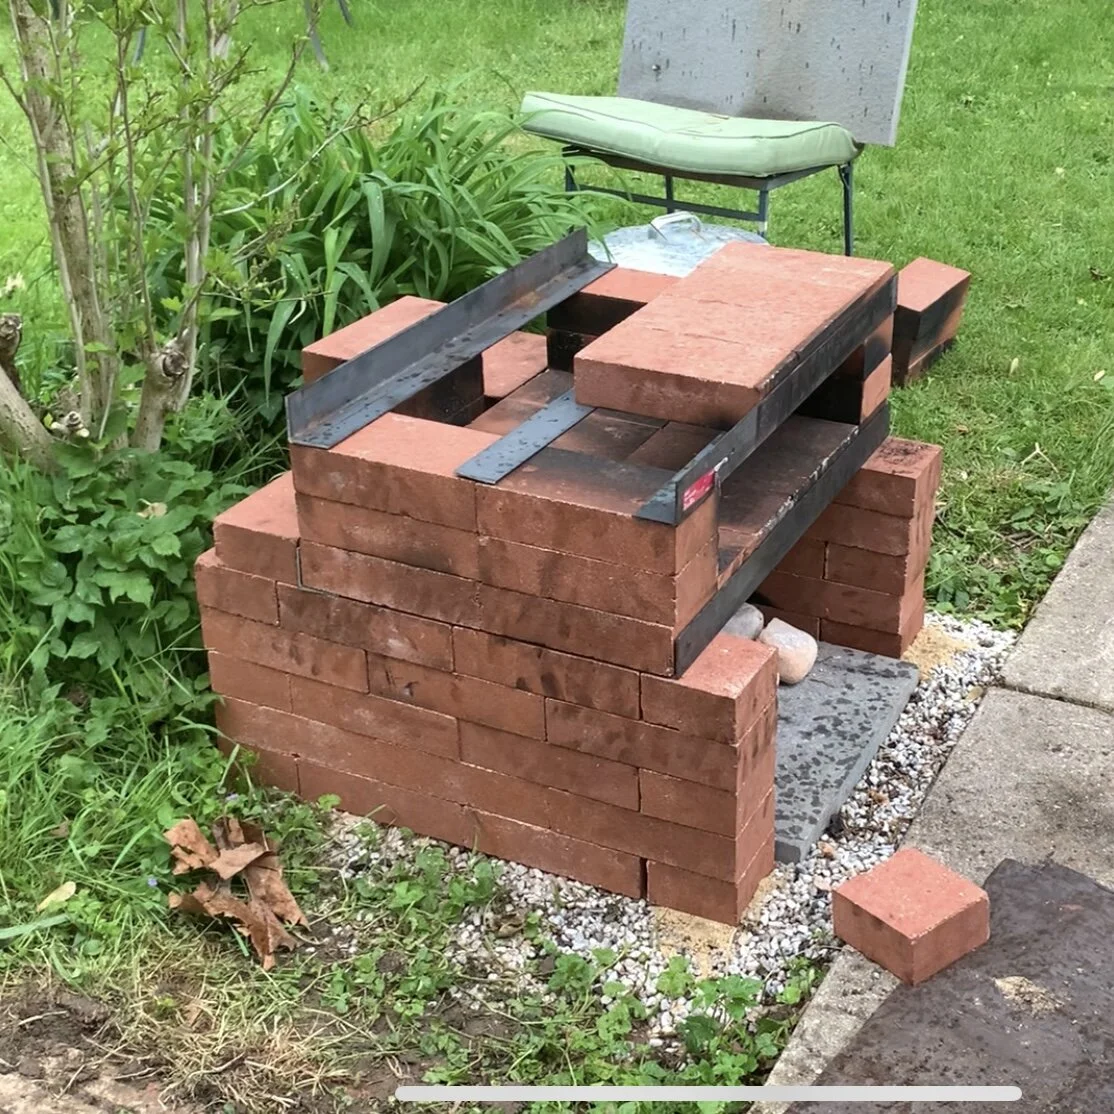
- Even though it's a little pricier, switching to firebricks (which are made specifically to take this kind of heat) and a 2,500-degree firebrick mortar would be far safer than chasing the original Chefsteps materials. The cheap masonry materials sold at the big-box stores just aren't engineered for the job.
- To go fully firebrick on the deck and roof, I'd need to put together some kind of solid framing — made from iron or steel — to support the bricks. That added a small extra step but made the whole assembly far more dependable.
- A lot of the newer, smarter designs out there skip mortar entirely on the dome (no offense to anyone who likes the traditional approach — it's just my preference). If they were using dough? Not so much. Just kidding.
Another quick trip to the masonry shop got me 70 firebricks (versus the 47 in the original plan). The bill at the firebrick counter came to $175 — compared to $0.92 a piece for the regular brick. Total cost on the bricks landed around $125.
The hardware store didn't carry the iron sheet I needed, so I made a stop at Home Depot and picked up a piece of angle steel for the front and rear oven roof support. They were both about six feet long, so I had a friendly neighbor's saw cut them down to twenty inches each. The steel ran a little under thirty bucks and the six pieces ran roughly seventy-five.
Once I figured out that the original flagstone and the dollar-store bricks were both out, I switched to firebricks the entire way and grabbed a 50-pound bag of pea gravel as a base. With that, I could lay everything cleanly using the leftover ash from the first burn. So how, you might ask, can someone level pea gravel without a shop vacuum?
To keep the base easy to manage, I knocked five rows off the bottom compared to the original build. The deck and the venting on top of the roof stayed the same as the plan.
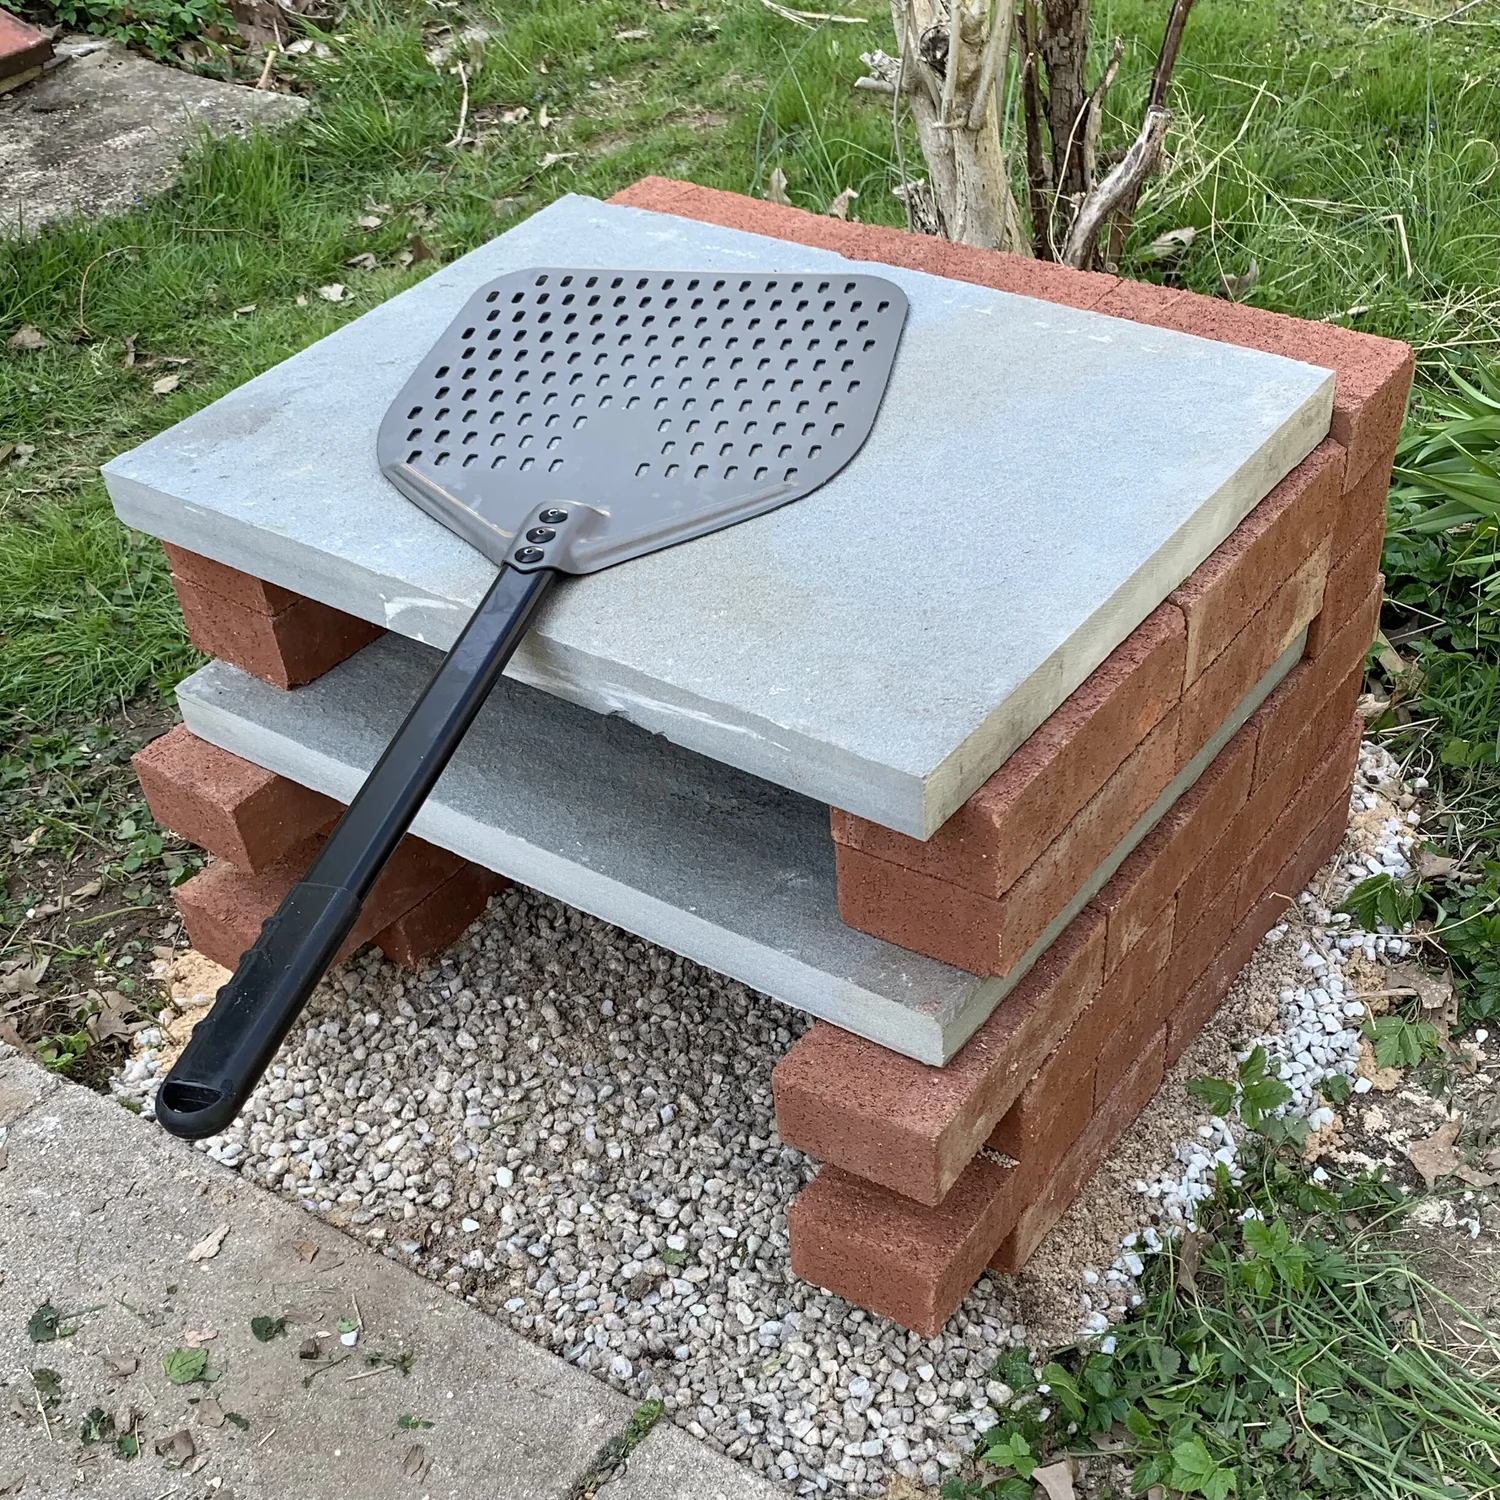
Once I had the oven rebuilt with proper firebrick and sounder building practices, I added a second flagstone paver on the top side to give the cooking surface some extra strength while pizzas rotated through. Finally, instead of installing the same flagstone the build called for (which had a habit of cracking), I took a hammer and chisel and split the firebricks in half lengthwise and laid those in place like you can see in the image above.
Patience With the Flame
After running pizzas through the build several times, I gave the oven its name: Regina (which roughly means "queen" in Italian). The Pizza Margherita was supposedly named after Queen Margherita of Savoy, so I figured my oven deserved a regal pedigree of its own. Once the fire is established and the oven is at temperature, you can bake a pizza in only a couple of minutes. Just remember — don't rush the fire early in the burn. You can never get a fire going too early in the day, but you absolutely can light it too late.
 Several hours before any cooking takes place, I get the oven prepped, lay some seasoned wood, and have a hatchet ready to break the larger logs into manageable pieces that can be neatly stacked and lit. I like to start with a few smaller bricks of wood that catch quickly, then once the heat starts radiating off the bricks I gradually fold in bigger and bigger pieces to keep the burn going.
The goal at this stage is to push the heat as high as possible — enough that the entire dome retains it. The trick is steady, gradual feeding so the flame keeps a strong, even shape. Charcoal builds up naturally underneath as the wood breaks down, and I let it gather without disturbing it.
By the time I'm ready to cook, I narrow the working space inside by sliding a few extra firebricks toward the back to make a tighter enclosure. That smaller pocket holds the heat in tighter and keeps the coals neatly tucked in one section.
If you'd rather skip the trips to the masonry yard, the trial and error, and the cracked pavers, a ready-made oven kit can save you the trouble while still giving you that genuine wood-fired result.
The faster path to wood-fired pizza nights:
WPPO Tuscany Oven Kit