

There's nothing quite like grilling under a sturdy gazebo — it shields you from the sun, keeps rain off the coals, and transforms your patio into a true outdoor kitchen. But when the wind picks up, an unsecured grill gazebo can quickly become a dangerous projectile. A sudden gust is all it takes to lift an unanchored canopy, sending it crashing into fences, furniture, or worse — people.
Whether you recently purchased a grill gazebo or have been using one for years, understanding how to properly secure it against strong winds is essential for your safety and the longevity of your investment. In this guide, we'll walk you through everything from choosing the right structure to advanced wind-proofing techniques.
What You'll Learn
1. Why Securing Your Grill Gazebo Matters • 2. Understanding Grill Gazebo Structures • 3. Stability and Safety Considerations • 4. Basic Anchoring Methods • 5. Wind Resistance Strategies • 6. Grilling Safely Under a Gazebo • 7. Tips for Better Outdoor Cooking • 8. Conclusion
Why Securing Your Grill Gazebo Matters
A grill gazebo is a wonderful addition to any backyard, offering a dedicated cooking space that protects you and your equipment from rain, harsh sunlight, and light breezes. Yet many homeowners overlook a critical detail: these structures must be firmly anchored. An improperly secured grill gazebo can be caught by a strong gust and sent tumbling across your yard, damaging landscaping, outdoor furniture, and even nearby vehicles.
Beyond property damage, the safety hazard is significant. A flying gazebo frame made of steel or aluminum can cause serious injuries to anyone in its path — including children and pets playing nearby. Insurance claims resulting from wind-damaged structures are more common than most people realize, and the costs of replacing a wrecked gazebo far exceed the minimal effort needed to fasten it properly from the start.
The good news is that securing your grill gazebo doesn't require professional help or expensive materials. With the right approach, a few basic tools, and about an hour of your time, you can ensure your outdoor cooking station stays exactly where it belongs — even during unexpected storms.
Understanding Grill Gazebo Structures and Types
Not every grill gazebo is built the same way, and the type you own will determine the best method for keeping it secure. Broadly speaking, grill gazebos fall into two main categories: soft-top canopy models and hard-top constructed models. Each handles wind differently, and your anchoring strategy should reflect the design you're working with.
Soft-Top & Pop-Up Gazebos
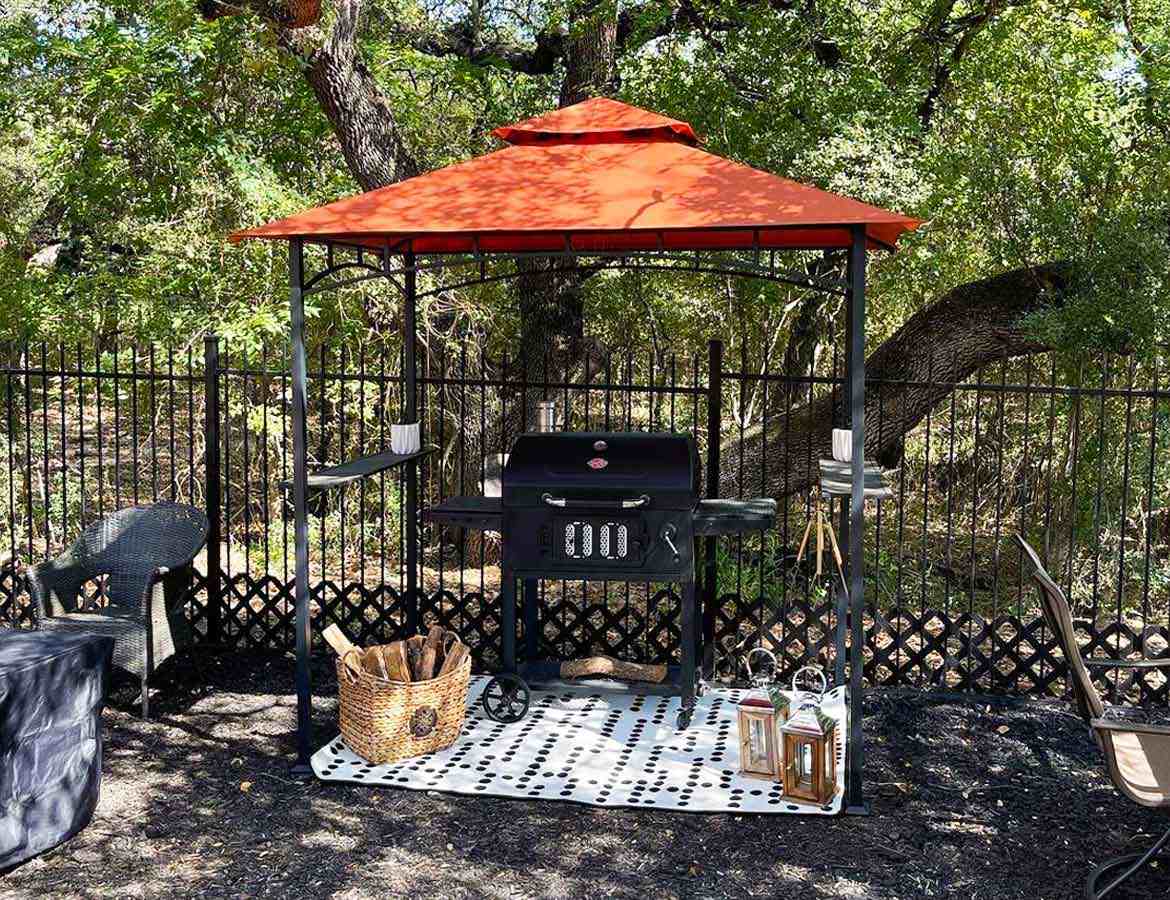
Soft-top grill gazebos feature a fabric canopy — usually polyester or canvas — stretched across a lightweight metal frame. They are affordable, easy to set up, and highly portable. However, their lightweight construction makes them especially vulnerable to wind. The canopy can act like a sail, catching gusts and pulling the entire frame off the ground. Pop-up versions, while convenient for tailgating or camping, offer the least wind resistance of any gazebo type.
Hard-Top & Permanent Gazebos
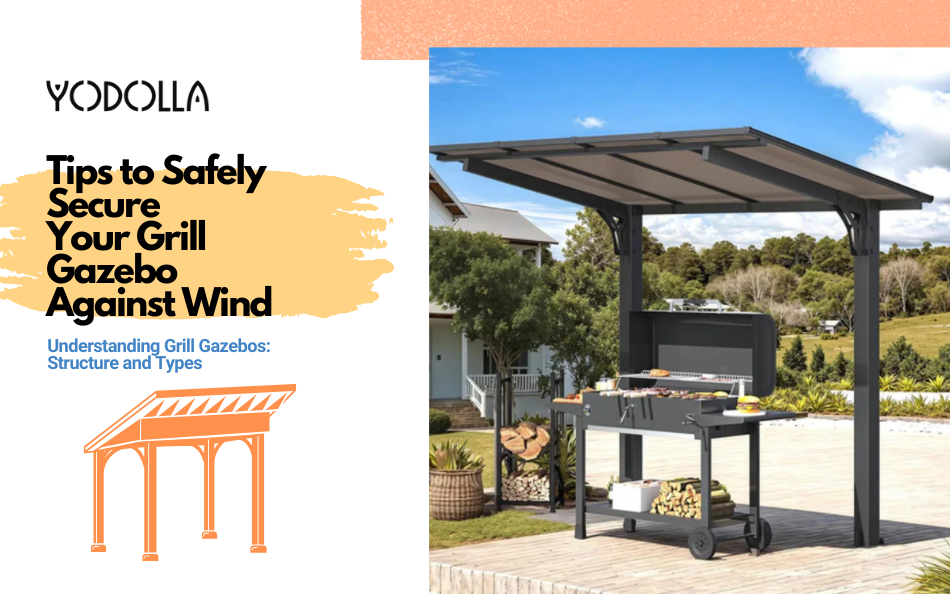
Hard-top grill gazebos use a rigid roof panel — often made from galvanized steel, polycarbonate, or aluminum — mounted on a sturdy frame. These models are significantly heavier and far more wind-resistant out of the box. Many feature pre-drilled mounting holes in the legs designed for bolting directly into concrete or a wooden deck. While a hard-top gazebo is less likely to blow away than a soft-top model, it still requires proper anchoring. High winds can still rock, shift, or even overturn a hard-top structure that isn't fastened down.
Materials and Build Quality
The materials used in your gazebo's construction play a direct role in how it handles wind. Steel frames offer the best rigidity and weight, while aluminum frames are lighter and more prone to flex. Powder-coated finishes help prevent rust but don't affect structural strength. When evaluating wind readiness, look at the gauge of the metal tubing, the quality of the joints, and whether the frame uses cross-bracing for lateral stability. Thicker tubing, reinforced corners, and rust-resistant hardware all contribute to a structure that can stand up to challenging weather conditions.
The Importance of Stability and Safety
Stability isn't just about preventing your gazebo from blowing away — it's about creating a safe environment for outdoor cooking. A grill gazebo that shifts or wobbles in the wind can knock over your grill, scatter hot coals, or cause grease fires. If the structure collapses while you're cooking, you could be trapped under heavy metal framing near an open flame.
From a practical standpoint, a solid grill gazebo also protects your equipment. High-end grills, smokers, and accessories are significant investments that deserve protection from both weather and accidental damage caused by a shifting shelter. A properly anchored structure gives you peace of mind, allowing you to focus entirely on perfecting your recipes instead of worrying about whether the next gust will upend your setup.
💡 Quick Safety Tip
Always check your local weather forecast before hosting an outdoor cookout. If wind speeds above 30 mph are predicted, consider postponing or moving your cooking indoors — even a well-secured gazebo has its limits.
Basic Safety Measures for Securing Your Gazebo
You don't need to be an engineer to anchor your grill gazebo effectively. The following foundational steps will dramatically improve stability and help your structure withstand moderate to strong wind conditions.
Step A
Choose a Stable, Level Location
The ground beneath your gazebo matters more than most people think. Set up on a flat, even surface — preferably concrete, pavers, or a wooden deck. Uneven ground causes the frame to wobble and puts uneven stress on the joints. Avoid placing your gazebo on soft soil or loose gravel, as these surfaces make it much harder to achieve a solid anchor. If your only option is grass, compact the ground first and use heavy-duty ground stakes.
Step B
Secure the Gazebo Legs
Once your gazebo is positioned on level ground, fasten each leg individually. For hard surfaces like concrete, use wedge anchors or concrete screws drilled directly through the base plates. On a wooden deck, lag bolts work well. For grass or soil, spiral ground anchors or heavy-duty tent stakes driven at a 45-degree angle provide excellent hold. Ratchet straps looped around the legs and attached to stakes or fixed objects add an extra layer of security.
Step C
Add Weight to the Base
If drilling into the ground isn't an option — for example, if you're renting your home or setting up on a shared patio — weight bags and sandbags are your best friend. Place heavy-duty weight bags on each leg, aiming for at least 25 to 40 pounds per corner. You can also use concrete-filled planters, water-filled base weights, or even stacked pavers to add mass. The key is distributing the weight evenly across all legs so the structure remains balanced.
Step D
Use Guy Ropes & Tensioning
For soft-top and pop-up grill gazebos, guy ropes are essential. Attach heavy-duty nylon or polyester ropes to each corner of the frame and stake them into the ground at a 45-degree angle, keeping the lines taut. Ratcheting tensioners let you adjust the tightness without retying knots. This technique distributes wind forces across a wider footprint, dramatically reducing the chance of the structure lifting or tipping during gusts.

Wind Resistance Strategies
Basic anchoring covers most everyday scenarios, but if you live in a region prone to strong gusts, afternoon thunderstorms, or seasonal windstorms, you'll want to take things a step further. These advanced strategies help your grill gazebo withstand significantly higher wind speeds.
Strategic Positioning
Where you place your gazebo on your property can make a big difference. Position it near a wall, fence, or hedgerow that acts as a natural windbreak. Avoid placing it in open areas where wind can hit from every direction. If possible, orient the narrowest side of the gazebo toward the prevailing wind direction so there's less surface area for gusts to push against.
Install Wind Panels or Sidewalls
Adding mesh sidewalls or wind panels to your gazebo reduces the amount of wind that passes through the structure. Solid panels create a windbreak effect, while mesh panels reduce wind speed without trapping heat or smoke. Many hard-top grill gazebos accept optional curtain or screen kits that clip or screw directly into the frame. For soft-top models, aftermarket Velcro-attach sidewalls are widely available and easy to install.
Reinforce Connections and Hardware
Over time, bolts loosen, screws back out, and joints develop play. Make it a habit to inspect your gazebo's hardware at least once per season — ideally before the stormiest months. Tighten every bolt, replace any stripped screws, and add thread-locking compound to critical fasteners. Reinforce weak joints with steel corner brackets or L-braces for extra rigidity. A few dollars in hardware can prevent hundreds of dollars in wind damage.
Add Supplemental Weight
Beyond base weights, consider adding mass to the gazebo's shelving or countertop areas. Heavy cast-iron cookware, stone serving trays, or weighted storage bins on the gazebo's built-in shelves lower the center of gravity and make the entire structure harder to topple. Just be sure the added weight doesn't exceed the shelving's load capacity, and distribute it evenly to prevent the frame from warping.
Featured Product
Shield Your Flame from the Wind
A quality wind guard keeps your burners lit and your cooking consistent, even in breezy conditions. Pair one with your anchoring setup for the ultimate wind-proof grilling station.
Grilling Safely Under a Gazebo
Anchoring your gazebo is only half the equation. The way you grill beneath it matters just as much for overall safety. Open flames, hot grease, and smoke create unique hazards in an enclosed or semi-enclosed space that require careful attention.
Always maintain adequate clearance between the top of your grill and the underside of the gazebo roof — a minimum of three to four feet is a widely recommended guideline. Position your grill in the center of the structure rather than against a leg or sidewall, and never leave it unattended while lit. Keep a fire extinguisher within arm's reach, and make sure everyone in your household knows how to use it.
Be mindful of ventilation as well. Charcoal and gas grills produce carbon monoxide, which can accumulate under a solid roof. Ensure at least two sides of the gazebo remain open while cooking, and never operate a grill inside a fully enclosed structure. If your gazebo has mesh screens, confirm that airflow is sufficient before firing up the burners.

Additional Tips for Enhanced Outdoor Cooking
Once your grill gazebo is firmly anchored and safe, you can start thinking about ways to elevate the entire outdoor cooking experience. A few thoughtful upgrades can transform a basic covered grill area into a fully functional backyard kitchen.
Consider adding LED strip lighting under the gazebo roof for evening cookouts. Magnetic hooks on the steel frame can hold utensils, tongs, and towels within easy reach. A small side table or rolling cart beside the grill gives you extra prep space without crowding the interior. If your gazebo has a hard-top roof, mounting a small exhaust fan at the peak can dramatically improve smoke ventilation.
Seasonal maintenance is also worth building into your routine. At the start of each grilling season, wash the canopy or roof panels, lubricate any moving parts, inspect the anchoring system, and check for rust or corrosion. Store soft-top canopies indoors during the off-season to extend their lifespan. For hard-top models, a coat of automotive wax on the roof panels helps repel water and prevent UV damage.
Remember, the goal is to create an outdoor space you actually enjoy using — one that's safe, comfortable, and ready for anything the weather sends your way.
Conclusion
Securing your grill gazebo against the wind isn't complicated, but it is essential. From choosing the right anchoring method for your surface type to adding supplemental weight, installing wind panels, and reinforcing hardware, every step you take brings you closer to a rock-solid outdoor cooking setup that you can trust season after season.
Don't wait for the first big storm to test your setup. Take the time now to evaluate your current anchoring system, make improvements where needed, and commit to regular inspections. The modest effort involved pays for itself many times over in safety, peace of mind, and the simple joy of grilling outdoors without worrying about the wind.
Explore our full range of outdoor grilling accessories and wind protection products at Backyard Provider — everything you need to build the backyard cooking station of your dreams.