

Transform your backyard into a personal wellness retreat with a DIY outdoor sauna kit. This comprehensive guide walks you through everything you need to know about selecting, assembling, and maintaining your perfect outdoor sauna.
What's Included in Our Outdoor Sauna Kits
Our DIY outdoor sauna kits arrive with all the essential components required to construct a fully functional and aesthetically pleasing sauna space. Every kit showcases premium Nordic spruce timber that has been sustainably sourced from Northern European forests, guaranteeing exceptional durability and long-lasting quality. The structural components encompass complete wall sections, floor boards, and roof boards, complemented by an extensive collection of fittings and weather-resistant insulation.
For enhanced comfort and convenience, our kits incorporate double-glazed windows and doors featuring multi-lock systems that provide security and superior energy efficiency. The sauna interior arrives completely outfitted with benches, a glass sauna door, headrests, floor grates, and an insulated sauna heater guard. The heater itself is sold separately, granting you the flexibility to select the ideal option based on your specific requirements.
Choosing Between Barrel and Cabin Style Saunas
Barrel Saunas
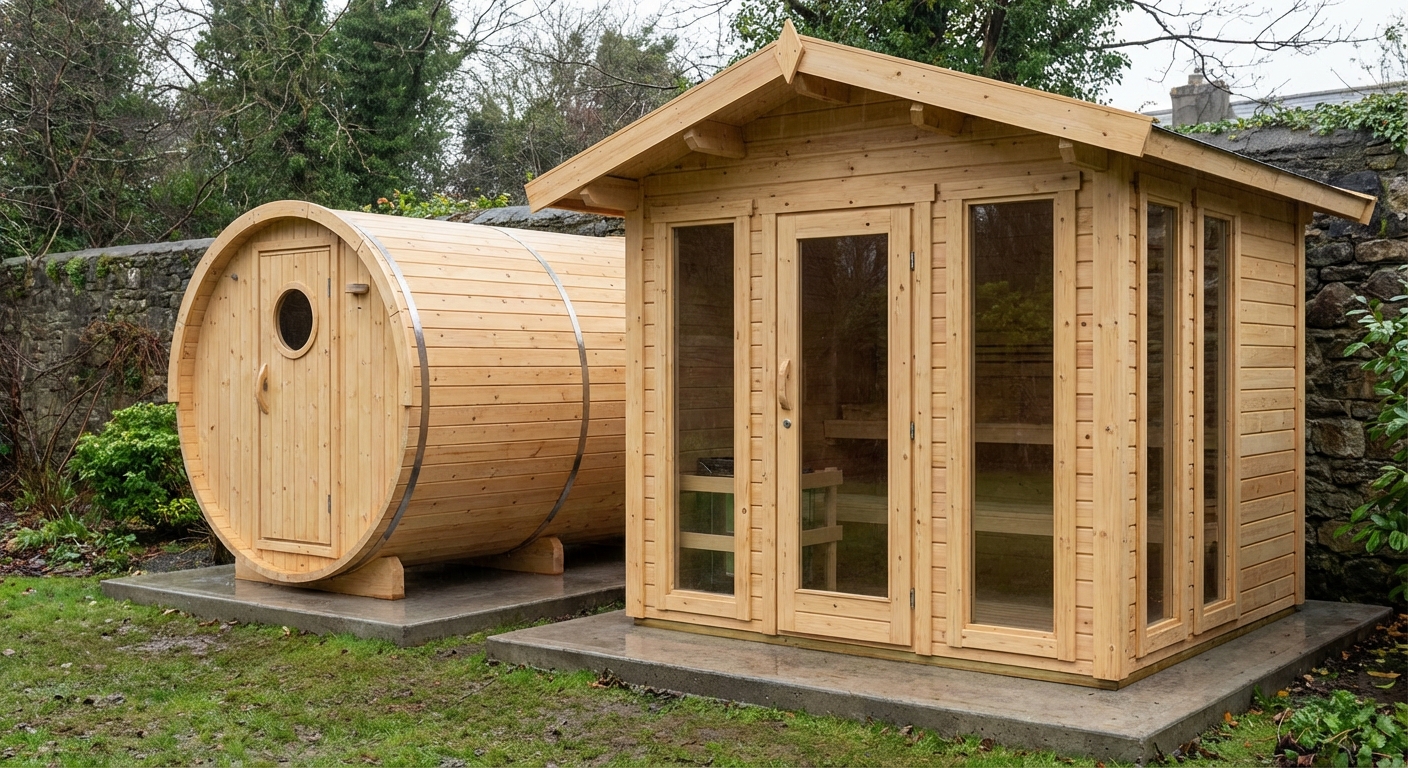
Our barrel saunas showcase a distinctive cylindrical form that delivers numerous advantages. This rounded interior structure enhances heat circulation, producing quicker heating times that typically range from just 30 to 45 minutes. Their unique aesthetic appeal originates from a striking garden feature, while the curved roof design promotes excellent rainwater runoff.
Barrel saunas are exceptionally space-efficient, making them ideal for smaller garden areas. They accommodate anywhere from 2 to 8 people comfortably, making them adaptable to different household needs.
Cabin Saunas
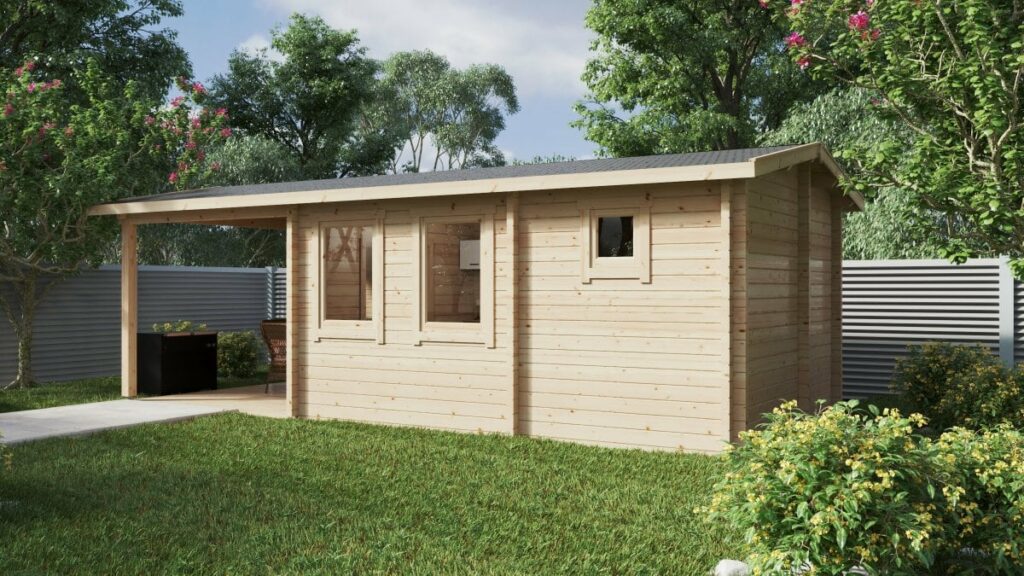
Our outdoor cabin saunas combine traditional styling with modern conveniences. Their rectangular design offers more interior headroom, creating a practical feel when using the sauna. Many cabin models include customizable layouts with the option to incorporate changing rooms or relaxation areas.
Cabin saunas integrate seamlessly with existing garden structures and provide a traditional sauna experience that many users prefer. Their flat wall design offers more space for windows and personalization options. Like our barrel saunas, cabin styles are available in various size options to serve various garden dimensions and user requirements.
Site Preparation and Foundations
Before your sauna kit arrives, proper site preparation is essential for a successful build and long-term enjoyment.
Choosing the Perfect Location
Begin by selecting a level site with great drainage to prevent water pooling around your sauna. Consider privacy factors to enhance your relaxation experience. Ensure the location allows for accessible electrical connections, as all saunas require power for heating and lighting.
It's important to check local planning regulations. Most garden saunas under 25m² don't require planning approval in Ireland. Aim for proper clearance from boundaries, typically 1-2 meters, to comply with regulations and ensure ease of maintenance.
Foundation Options
Your sauna requires a solid, level foundation to prevent structural issues. We recommend several options depending on your situation and budget.
A concrete slab foundation provides the most stable, long-lasting base and works particularly well for larger cabin saunas. Paving slab foundations offer a cost-effective alternative that's relatively simple to install. For uneven ground, a timber deck foundation provides an attractive option that can accommodate minor slopes while ensuring your sauna stays level. Our 8-step DIY foundation kit offers a smooth, hassle-free installation process for those seeking a convenient solution.
Whichever option you choose, ensure your foundation extends approximately 25cm beyond the sauna footprint on all sides for stability and protection.
Electrical and Ventilation Basics
⚡ Electrical Requirements
For safety and compliance, hire a qualified electrician for all electrical work in your sauna. All installations must comply with ET101 electrical regulations to ensure safety in this high-temperature, potentially humid environment. Your electrician should run a dedicated circuit from your home's consumer unit specifically for the sauna, installing appropriate external grade wiring to combat rain elements. All sockets and switches should be waterproof and rated for high-temperature environments.
When planning the electrical layout, consider both heater and lighting circuits, ensuring adequate power supply for your chosen heater model.
Ventilation Essentials
Proper ventilation is crucial for sauna function, safety, and enjoyment. Install air inlet vents near the floor, typically beneath the heater, to allow cool air to enter and be warmed. Position outlet vents on the opposite wall at ceiling height to create natural airflow that distributes heat evenly.
Follow the manufacturer guidelines for vent sizing based on your specific sauna's volume. Many sauna enthusiasts prefer adjustable vents that allow control over airflow intensity, especially during different seasons.
Step-by-Step Assembly Guide
When planning the electrical layout, consider both heater and lighting circuits, ensuring adequate power supply for your chosen heater model.
Prepare Your Tools
Before beginning assembly, gather essential tools including a hammer, screwdriver set, spirit level, tape measure, rubber mallet, saw, drill/driver, and suitable spanners. Having everything at hand before you start will make the process much smoother.
Unpack and Inventory
When your kit arrives, lay all components in a covered, dry area to protect them from the elements. Carefully check all parts against the provided inventory list to ensure everything is present before starting. Take time to review the instruction manual, understanding the sequence of assembly steps.
Build the Base Frame
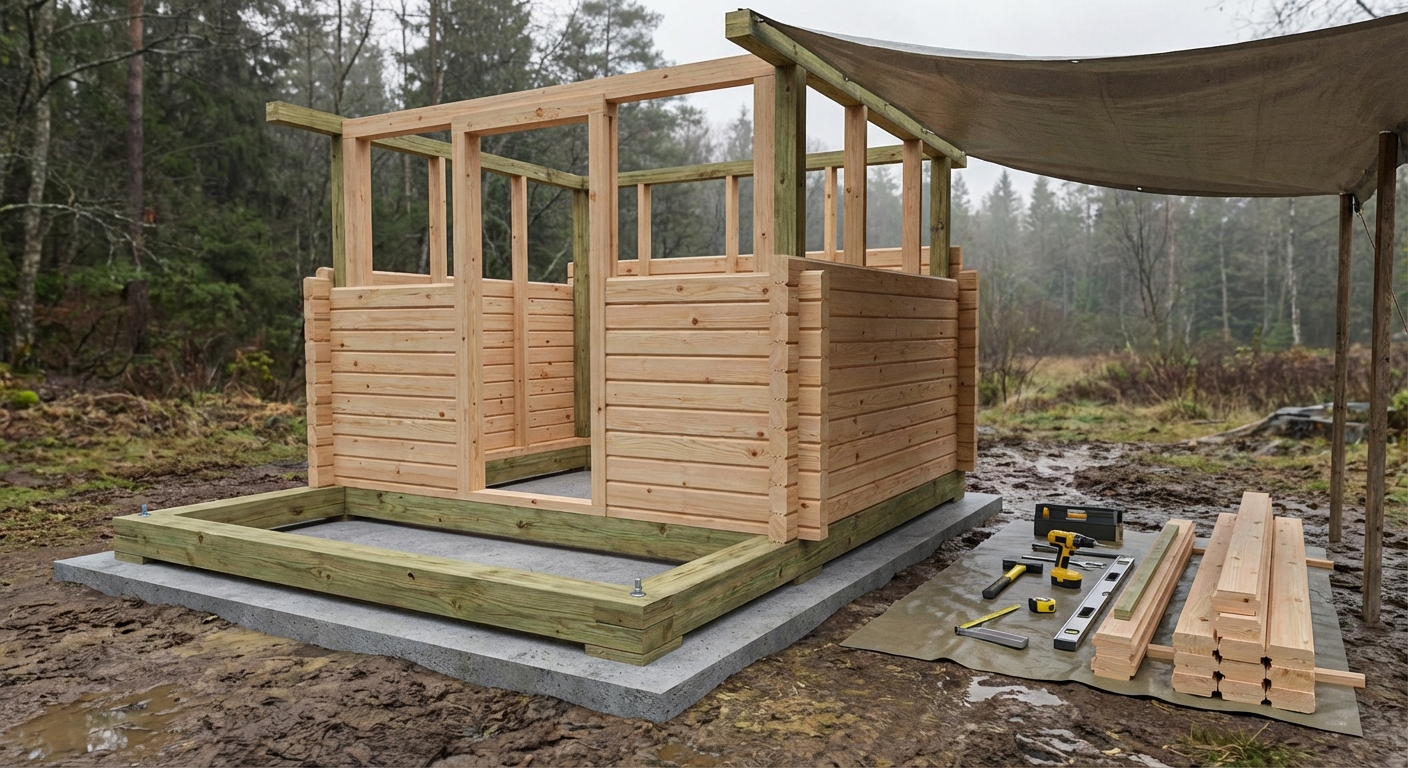
Place the pressure-treated foundation beams on your prepared site according to the plan. Use a spirit level to ensure they are perfectly level, using shims if necessary to correct any minor inconsistencies. Secure the base frame according to the detailed instructions provided.
Wall Assembly
For cabin saunas, begin with the starter logs at the base and build up layer by layer, tapping each log into place with a rubber mallet to ensure tight joints. Install window and door frames at the heights specified in your instructions. Barrel sauna assembly differs slightly to a garden room build. You need to start by assembling the circular end sections, then connect the wall staves between them while securing everything with the provided metal bands or hoops, gradually tightening them to create the characteristic barrel shape.
Install Roof Structure
Position roof beams and supports as directed in your manual, ensuring they're secure and level. Attach roof boards or panels to this framework and apply the waterproofing membrane and finishing materials to protect against rain and snow.
Finishing Touches
Install insulation and vapour barrier where specified in your instructions. Fit the benches, backrests, and floor grates according to the design plan. Mount the heater guard and any included accessories to complete the interior. Most sauna cabins can be assembled in 1-2 days by a team of two, while more complex designs may take 3-7 days to complete.
Delivery, Lead Times and Warranties
When ordering your DIY sauna kit, you can expect a typical delivery timeframe of 2-4 weeks from order confirmation. Though they vary by season and demand, delivery is generally kerbside by lorry, so ensure you have adequate access for large vehicles.
All our timber components come with a 5-year structural warranty, providing peace of mind about the quality of your purchase. Each kit includes a comprehensive instruction manual and warranty certificate detailing coverage terms.
Aftercare and Maintenance
To ensure your outdoor sauna provides years of enjoyment, apply wood treatment to external surfaces within 3 months of assembly. This initial treatment should be followed up by re-treatment every 2-3 years, or more frequently if you notice signs of weathering.
Clean interior benches and floors regularly using mild soap and water, avoiding harsh chemicals that might affect the wood or create unpleasant odours when the sauna heats up. Inspect your sauna roof annually for any damage or signs of wear, addressing issues promptly to prevent larger problems.
Maintain proper ventilation after each use to prevent moisture build-up, which can lead to mould and timber deterioration over time.
Get Started With Your Outdoor Sauna Project
Protect your investment with premium sauna accessories designed to extend the lifespan and enhance the enjoyment of your outdoor sauna experience.
Classic Sauna CoverBuilding your own outdoor sauna is a rewarding project that brings years of relaxation and wellness benefits to your backyard. With proper preparation, quality materials, and careful assembly, you'll create a personal retreat that enhances your lifestyle and adds value to your property.