

 Mastering the Use of a Plate Compactor for Pavers: The Ultimate Guide for a Flawless Hardscape Finish
Pavers remain one of the most popular choices for crafting durable and beautiful outdoor surfaces—from cozy backyard patios to expansive driveways and elegant walkways. Yet many homeowners and even seasoned contractors underestimate that laying the pavers themselves is only one part of the equation. The true secret behind a smooth, stable, and long-lasting finish lies in proper compaction. That's where a quality plate compactor for pavers takes center stage, ensuring that the base layers, bedding sand, and the pavers themselves are pressed into a single, unified surface that resists movement, sinking, and unwanted weed intrusion over the years.
Whether you're a hands-on weekend warrior tackling your very first patio project or a contractor refining your craft, knowing how and why to use a plate compactor properly can be the difference between an installation that lasts decades and one that fails within a season. In the guide below, we'll walk through everything worth knowing—from selecting the right compactor for your needs to the best practices to follow during and after installation.
What Is a Plate Compactor and Why Does It Matter for Paver Installations?
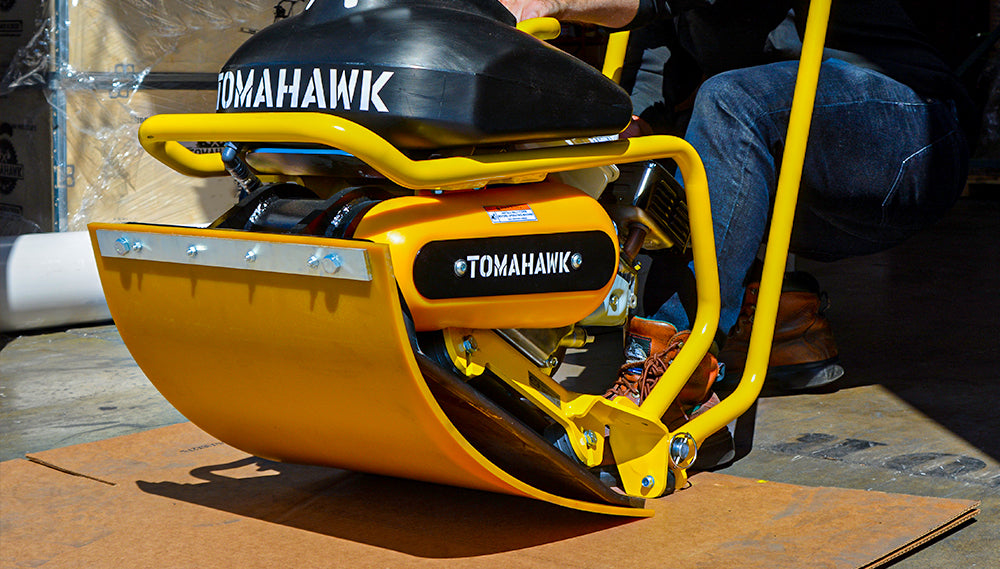
At its core, a plate compactor is a piece of equipment that delivers high-frequency vibrations combined with downward pressure, working together to compress and stabilize materials like soil, gravel, sand, and other aggregate bases. The machine usually features a robust steel plate underneath, driven by either a gas or electric motor that rapidly vibrates to pack the material below into a dense, uniform layer.
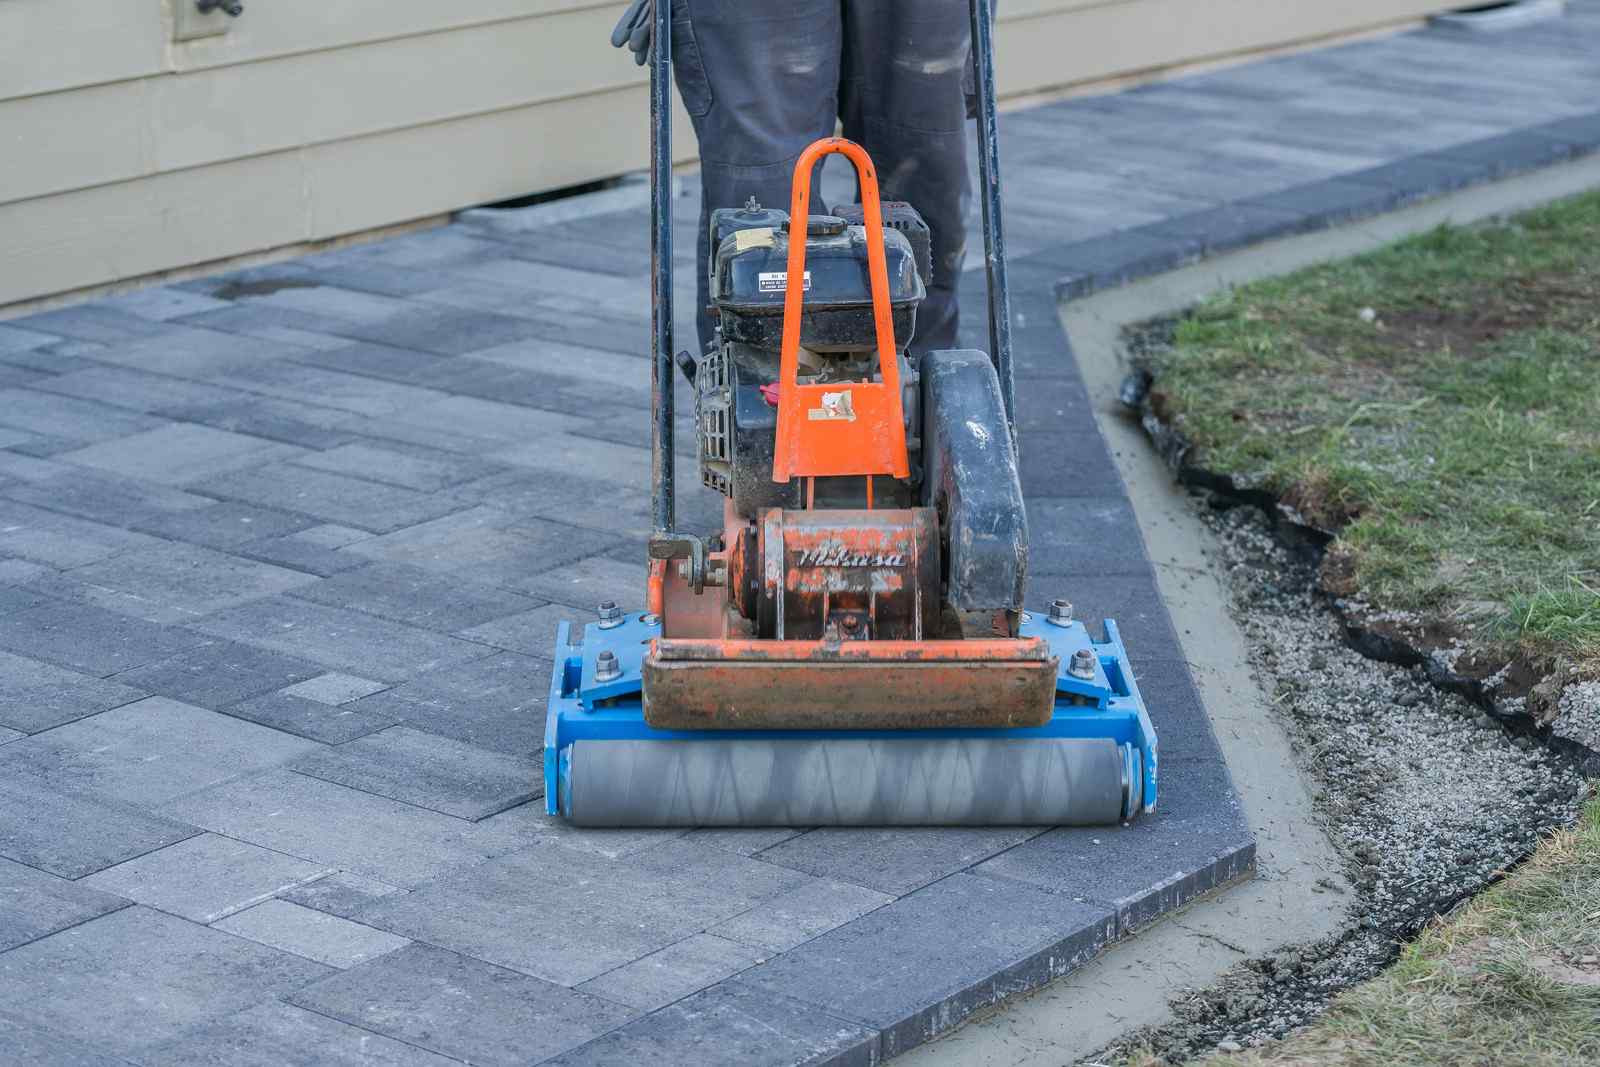
During a paver installation, the plate compactor steps in at several critical stages. It first compacts the sub-base—often made of crushed stone or gravel. Next, it tightens up the bedding layer of sharp sand or stone screenings. Finally, it's brought back once the pavers are in place, pressing them firmly into the bedding while helping polymeric sand settle into the joints. Skip any of these stages, and even a beautifully laid patio can quickly develop loose stones, uneven dips, or drainage headaches.
Pro Tip: Compaction at every stage isn't optional—it's the foundation that determines whether your paver project lasts five years or fifty.
Choosing the Right Plate Compactor for Pavers
Not every compactor is built equally, especially when it comes to working with delicate or interlocking paver surfaces. For most paver projects, you'll want a forward-plate compactor in the light to medium-duty range, delivering roughly 3,000 to 4,000 pounds of centrifugal force. This range provides enough power to lock everything in place without risking damage to the pavers themselves.
For bigger jobs involving thicker pavers or denser bedding aggregate, a heavier-duty model might be the right call. That said, extra force can sometimes chip or fracture pavers—particularly softer natural stone or thin concrete units. In those scenarios, fitting your compactor with a rubber pad or compactor mat is highly recommended. The pad cushions the surface, protecting it from marks and damage while still transferring the vibration needed to seat the pavers tightly.
Pay close attention to plate size as well. A wider plate covers ground faster, making it ideal for large patios or driveways. A smaller plate, on the other hand, is far easier to maneuver in tight corners and around intricate borders or curved layouts.
Light to Medium-Duty
3,000–4,000 lbs of centrifugal force—the sweet spot for most residential paver installations.
Plate Size Matters
Wider plates speed up large jobs; smaller plates excel in tight curves and decorative borders.
Use a Rubber Pad
Always attach a compactor pad when compacting finished pavers to avoid surface damage.
Step-by-Step: Using a Plate Compactor for Pavers
Getting the most out of your plate compactor means following the proper workflow and respecting each compaction stage. Below is a clear breakdown of how to use the machine throughout your paver project.
Excavate and Compact the Sub-Base
Dig out the area to the correct depth, accounting for the sub-base, bedding layer, and paver thickness. Lay the sub-base—usually crushed stone or gravel—in lifts of 2 to 3 inches. Run the compactor in multiple directions over each layer until the surface is firm and immobile underfoot.
Add and Level the Bedding Layer
Once your sub-base is rock-solid, spread approximately one inch of sharp sand or stone dust on top. While this layer doesn't need the same intensive compaction, a light pass with the plate helps even it out and remove pockets of air.
Lay the Pavers and Compact
With the bedding ready, place your pavers in your chosen pattern. Then comes a vital step—running the compactor over the pavers (with a protective pad attached) to settle them into the bedding evenly. Work in two or three passes, starting from the outer edges and moving inward to prevent spreading.
Seal the Joints
The final step is sweeping polymeric or jointing sand into the gaps between pavers. After filling the joints, pass the compactor over the surface once more to vibrate the sand deep into every crevice, creating a tight interlock that resists weeds and shifting. A second sweep of sand may be needed to top off the joints afterward.
Common Mistakes to Avoid
Many first-time users stumble by skipping compaction phases, choosing the wrong type of compactor, or going overboard on certain layers. One of the most damaging missteps is using a heavy-duty compactor without a protective pad directly on finished pavers—particularly those with textured surfaces or decorative finishes. The result is often chips, cracks, or surface gouges that are expensive and time-consuming to fix.
Another frequent issue is under-compacting the base. The problem may not be visible right away, but within months you'll start seeing uneven pavers, settling, and dipped sections. Determining the proper number of passes based on material depth and moisture content is essential to prevent this.
Finally, rushing the job—or relying on a compactor with weak vibration frequency—can leave entire pockets under-compacted, especially near corners and along the edges. Patience and overlapping passes make all the difference for consistent results.
 Maintenance and Safety Considerations
Plate compactors are fairly straightforward to operate, but they do require routine maintenance to perform at their peak. Always check engine oil levels before starting the machine, give it a quick inspection for any buildup or damage, and ensure the vibration mounts are still intact. After each use—especially when working with damp sand or stone dust—give the unit a thorough clean to prevent residue from hardening on the plate.
From a safety standpoint, never skip your protective gear. Gloves, steel-toe boots, and hearing protection are non-negotiable. Plate compactors can be physically taxing to operate, so stay hydrated and take breaks as needed during long sessions to stay sharp and avoid fatigue-related mistakes.
Long-Term Benefits of Proper Paver Compaction
Investing the time to compact your pavers correctly pays dividends well into the future. A properly compacted paver installation resists shifting, weed growth, and erosion—ensuring your hardscape stays beautiful and functional for years to come.
Compaction also dramatically improves drainage by creating a smooth, graded surface. This is especially important in regions with heavy rainfall or freeze-thaw cycles, where water seeping below the surface can cause heaving or settling. A properly compacted base and joint system protect your hardscape from these environmental stresses, making your investment far more resilient.
The bottom line: Proper compaction transforms a good-looking patio today into a structurally sound investment that holds its beauty for decades.
Final Thoughts
 In the world of hardscaping, the gap between a DIY-looking patio and a professional-grade installation almost always comes down to a single critical tool—the plate compactor for pavers. From prepping and leveling the base to seating the pavers and locking in the joint sand, compaction is the step you can't skip if you want lasting results.
Picking the right compactor for your project and using it at the proper stages will deliver a smooth, durable, and stunning result. Whether you're working through a weekend patio project or managing a commercial-scale installation, investing in the right compaction equipment—and mastering how to use it correctly—is what separates a forgettable surface from a flawless one.