

Amanda Scott Telford
HVAC & Home Improvement Writer
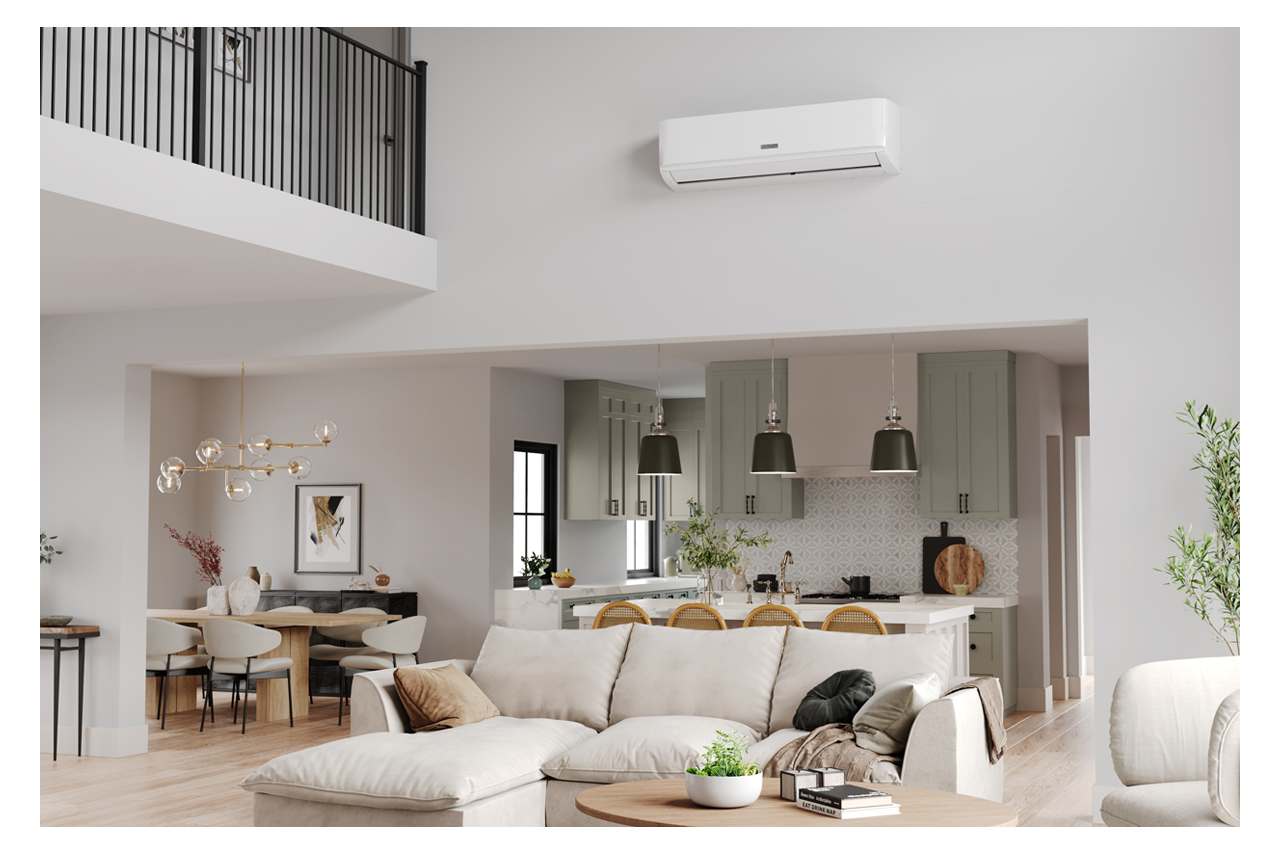
Mini-split systems offer an incredibly effective and energy-efficient method for controlling the climate in your home. Unlike standard plug-in appliances, however, they demand a dedicated electrical line connected directly to your building's main panel. Getting the wiring right is essential — not just for performance, but for safety, code compliance, and long-term protection of your investment.
Mini-Split Power Requirements
Your home's electrical service panel is the starting point — it delivers power directly to the mini-split's outdoor condensing unit. Understanding the voltage, hardwiring, and professional consultation aspects will set you up for a trouble-free installation.
Voltage
Smaller mini-split systems — usually in the 9K to 12K BTU range — can sometimes run on 110 volts. But the majority of units, particularly higher-capacity models, require a 220-volt power supply. Always check the specifications for your specific model before beginning any electrical work.
Hardwiring
Mini-splits must be hardwired directly into the electrical service panel — they cannot simply be plugged into a wall outlet. Before installation, confirm that your existing breaker panel has enough capacity and is properly sized to handle the additional electrical load.
Professional Consultation
Since mini-splits require a dedicated circuit and direct integration with your home's main panel, it's strongly advised to hire a licensed professional for the electrical work. A qualified installer ensures everything meets local building codes and keeps your system's warranty intact

Understanding Mini-Split Wiring Components
Several key components work together to create a safe and reliable electrical connection between your home's panel, the outdoor unit, and each indoor air handler. Here's what you should know about each one.
⚡Electrical Whip
The electrical whip delivers 120V or 220V power from the disconnect box to the outdoor condensing unit. It consists of high-voltage wires housed inside a weatherproof, flexible cable designed to stand up to rain, UV rays, and the elements over time.
🔌Connecting Cable (4-Conductor Cable)
This cable carries both power and control signals between the outdoor unit and the indoor air handler(s). It's typically a 14 AWG 4-conductor stranded cable — commonly labeled as 14/4 — and should be routed through conduit according to local electrical codes.
Wire Gauge and Safety
Selecting the right wire gauge — meaning the thickness of the wire — is critical for safety. The wire's thickness determines how much electrical current it can carry without overheating. Thinner wires handle less amperage, while thicker wires safely accommodate more.
To put it simply: the lower the gauge number, the thicker the wire and the more current it can handle. A #2 gauge wire, for instance, is rated for up to 100 amps, while a #16 gauge wire can only safely handle about 13 amps.
Always use quality wire that is rated for sun exposure and carries a "UL-listed" certification. The correct gauge also depends on the length of the wire run — longer distances may require thicker wire. A licensed electrician should always confirm the final sizing to prevent overloading or hazardous conditions.
| Wire Use | Rated Ampacity | Wire Gauge |
|---|---|---|
| Extension Cords | 13 Amps | 16 Gauge |
| Light Fixtures, Lamps, Lighting Runs | 15 Amps | 14 Gauge |
| Receptacles (110V), Air Conditioners, Sump Pumps, Kitchen Appliances | 20 Amps | 12 Gauge |
| Electric Clothes Dryers, 220V Window ACs, Built-in Ovens, Electric Water Heaters | 30 Amps | 10 Gauge |
| Electric Stoves | 45 Amps | 8 Gauge |
| Electric Furnaces, Large Electric Heaters | 60 Amps | 6 Gauge |
| Electric Furnaces, Large Electric Water Heaters, Sub Panels | 80 Amps | 4 Gauge |
| Service Panels, Sub Panels | 100 Amps | 2 Gauge |
⚠️ Disconnect Switch Requirement
Building codes mandate that every mini-split installation includes a disconnect switch positioned near the outdoor unit. This switch allows a technician to safely cut all power to the system when performing maintenance, repairs, or servicing.
A non-fused disconnect switch is generally the preferred choice over a fused one, because the circuit breaker inside your main service panel already provides the necessary overcurrent protection.
If a fused disconnect is used, keep in mind that breakers can simply be reset after tripping. Fuses, on the other hand, must be physically replaced — and they can corrode over time, making replacement more difficult.
Protecting Your Investment with a Surge Protector
A heating and cooling system represents a significant investment in your home. While manufacturer warranties cover defects, they typically don't protect against damage caused by lightning strikes, power surges, or electrical irregularities.
Installing an HVAC surge protector shields your mini-split's sensitive electronic components from voltage spikes. Many surge protection devices go a step further, offering additional warranty coverage that will replace the equipment if it's damaged while the protector is properly installed.
By paying attention to proper voltage, the right wire gauge, mandatory safety components, and surge protection, you can ensure your mini-split system delivers dependable, worry-free comfort for years to come.
Featured Product
Ready to Install Your Mini Split?
Explore Our Top-Rated System
Senville 36000 BTU Dual Zone Mini Split
Shop mini split line sets, electrical components, and surge protectors at Backyard Provider to find the right products for your installation.