

The Traeger pellet grill has earned its reputation as a powerhouse for backyard cooking enthusiasts. Renowned for its dependability, consistent heat control, and rich smoky taste, it effortlessly handles everything from slow-smoked brisket to perfectly seared vegetables. Whether you’re a weekend warrior or a dedicated pitmaster, Traeger grills deliver outstanding results every single cook.
That said, keeping your Traeger performing at its peak requires consistent upkeep. Without proper maintenance, grease accumulation, ash buildup, and general wear can compromise your grill’s efficiency and flavor output. The good news? With a regular cleaning schedule and a few smart habits, you can enjoy years of hassle-free grilling and protect your investment.
Let’s walk through everything you need to know to maintain your Traeger wood pellet grill in top-tier condition.
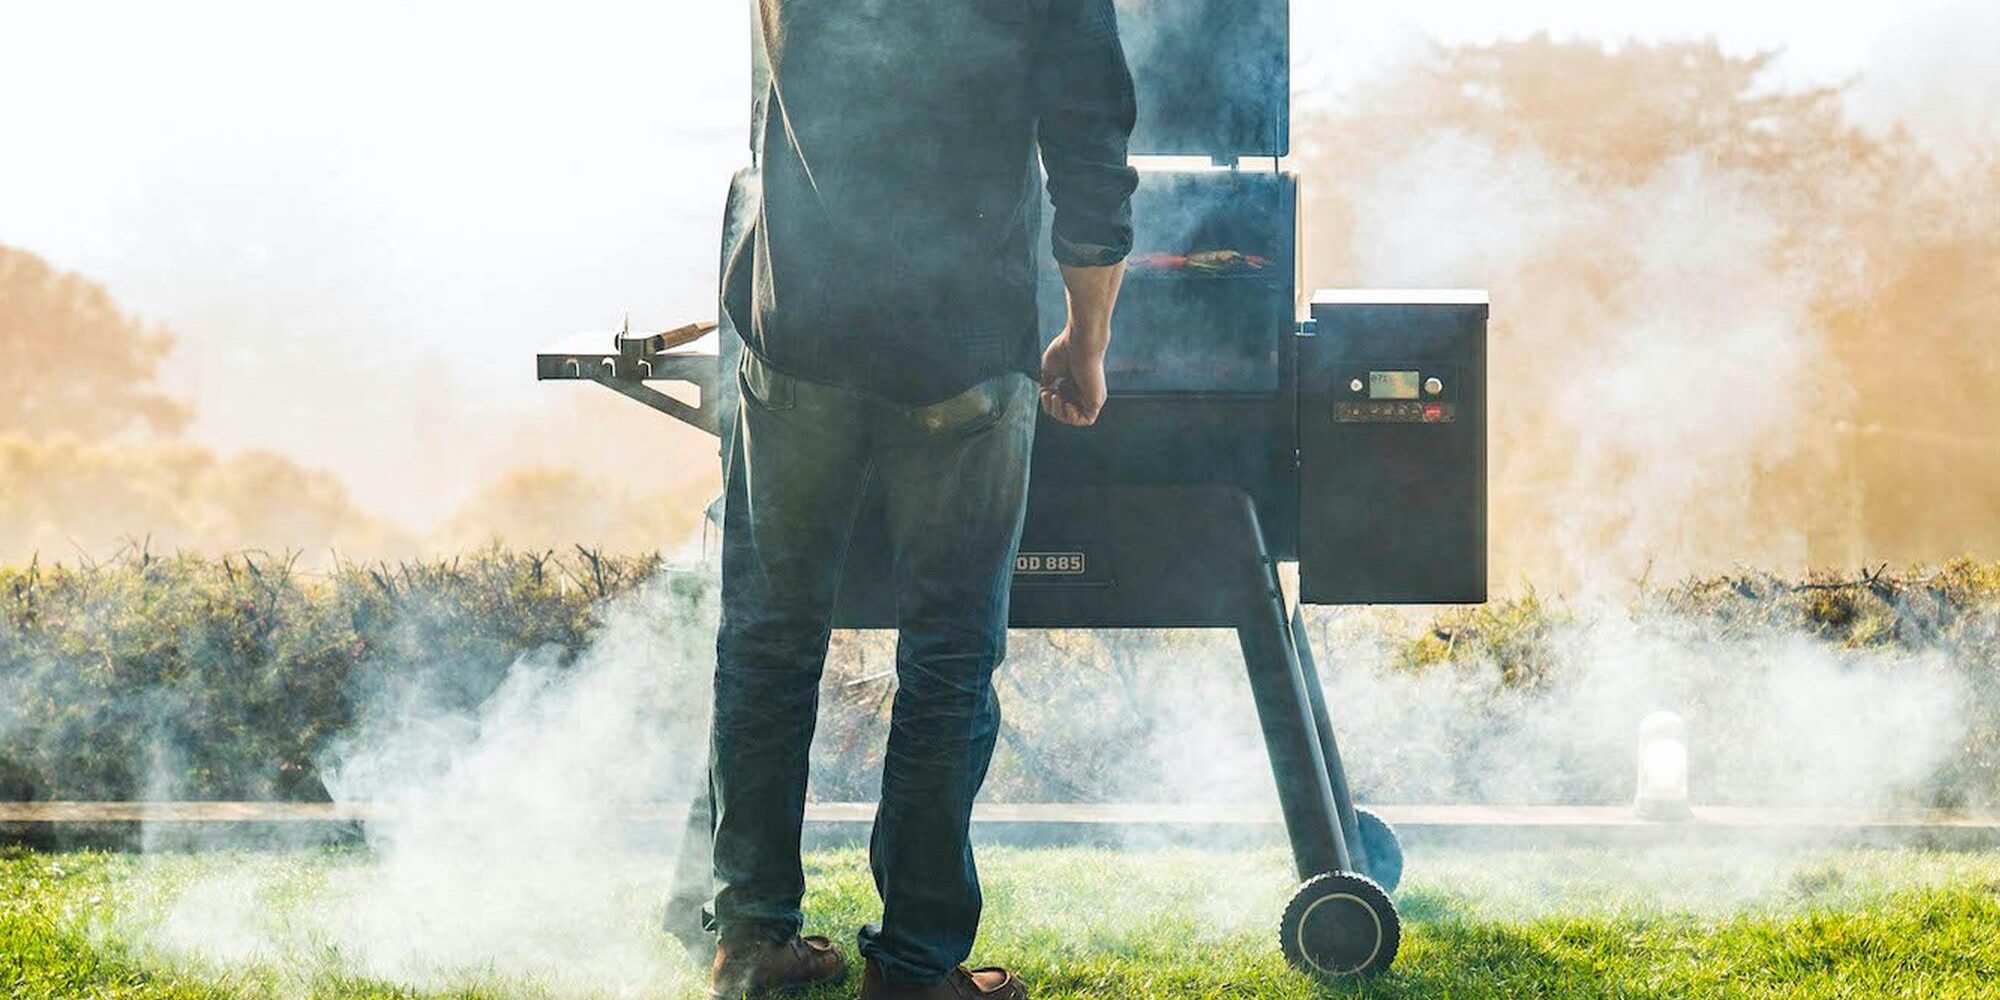
A successful maintenance routine starts with understanding how your grill actually works. The Traeger operates on a straightforward yet ingenious system: hardwood pellets are fed from a hopper into a firepot via an electric auger. Once ignited, a fan circulates heat and smoke throughout the cooking chamber, creating that signature convection-style cook that Traeger fans love.
Every component in this chain plays a critical role. The auger must remain clear of debris, the firepot needs regular ash removal, and the drip tray has to be kept clean to prevent flare-ups and grease fires. Understanding each part’s function helps you prioritize the areas that need the most frequent attention.
Here’s a closer look at the essential components and what each one demands in terms of upkeep.
The Hopper
Stores your wood pellets. Moisture exposure can swell and jam pellets, so always empty the hopper when not in use and store pellets in a dry location.
The Auger
Transports pellets from the hopper to the firepot. Sawdust and debris can accumulate around it, so inspect it periodically to prevent feeding issues.
The Firepot
Where pellets ignite and combustion takes place. Ash accumulation is inevitable here—regular vacuuming keeps it functioning at peak efficiency.
The Drip Tray & Grease Bucket
Channels grease and drippings away from the fire. Line the drip tray with foil and empty the grease bucket frequently to avoid dangerous buildup.
Routine Cleaning: Your First Line of Defense
After Each Use
The easiest way to keep your Traeger in great shape is by doing a quick wipe-down after every cook. Once the grill has cooled enough to handle safely, brush down the grates with a quality nylon-bristle grill brush to remove food particles and residue. Avoid wire brushes, as loose bristles can end up in your food—a serious safety concern.
Wipe the interior walls and lid with a damp cloth to remove grease splatters. Give the drip tray a quick check and replace the foil lining if it’s heavily soiled. Also take a moment to glance inside the grease bucket—emptying it before it overflows will save you a messy cleanup and reduce fire hazards.
These small, two-minute habits after every session will dramatically extend the life of your grill and keep flavors clean and consistent.
Weekly or Bi-Weekly Maintenance
If you fire up your Traeger several times a week, a deeper clean every one to two weeks is essential. Start by removing the grill grates, drip tray, and heat baffle to access the firepot. Use a shop vacuum or an ash vacuum to thoroughly clear out all the accumulated ash. This step alone prevents temperature swings and ensures reliable ignition every time you cook.
While you have everything apart, scrape down the inside of the barrel with a wooden or plastic scraper. That dark, flaky buildup on the walls isn’t seasoning—it’s grease and carbon residue that can flake off into your food. Finish by wiping surfaces with a mild, food-safe degreaser and reassembling everything in order.
Once a month (or every 5–6 cooks for moderate users), set aside time for a full, thorough deep clean. This is your chance to inspect your grill for early signs of wear, corrosion, or mechanical issues before they turn into expensive repairs.
1. Inspect and Clean the Firepot
The firepot is the beating heart of your Traeger. Remove the grates, drip tray, and heat baffle to expose it. Vacuum out all ash and inspect the igniter rod for damage or heavy carbon deposits. A clogged or failing igniter means longer startup times and inconsistent heat. If you notice visible wear, plan a replacement before your next big cookout.
2. Deep-Clean the Grates and Drip Tray
Soak your grill grates in warm, soapy water for 15–20 minutes to loosen baked-on grime. Use a nylon brush or non-abrasive scrub pad to clean them thoroughly, then rinse and dry completely before reinstalling. For the drip tray, discard old foil, scrub with a degreaser, and line it with fresh aluminum foil.
3. Check the Chimney and Exhaust
The chimney cap and exhaust vent can become caked with creosote and grease over time. Restricted airflow causes temperature instability and poor smoke circulation. Remove the chimney cap and scrub it inside and out, ensuring clear passage for smoke and heat to exit properly.
4. Examine the Grease Management System
Trace the entire grease path from the drip tray channel down to the bucket. Built-up grease in hidden spots is the number one cause of grease fires in pellet grills. Clean the channel thoroughly and replace the grease bucket liner if available. This single step dramatically reduces fire risk.
5. Inspect Seals and Gaskets
Check the lid gasket and any door seals for cracking, peeling, or gaps. A compromised seal lets heat escape and forces the grill to work harder, wasting pellets and producing uneven results. Replacing gaskets is inexpensive and makes a noticeable difference in cooking performance.
Ready to Upgrade Your Outdoor Cooking?
Discover the powerhouse pellet grill built for serious backyard chefs.
Recteq Deck Boss 800Seasonal Maintenance
Smart grill owners align their deepest maintenance tasks with the start and end of each grilling season. This approach ensures your Traeger is always primed and ready when the weather turns warm, and properly stored when winter arrives.
Start of Season Checklist
Electrical & Controller Check: Before your first cook of the season, confirm all electrical connections are secure. Inspect the power cord for fraying or animal damage, test the controller display, and make sure the temperature probe reads accurately.
Update Firmware: Many newer Traeger models feature WiFi connectivity and firmware updates. Check the Traeger app for any available software upgrades that could improve temperature accuracy, add features, or fix known issues.
Full Internal Cleaning: Perform a complete deep clean as described above. Replace the drip tray foil, vacuum the firepot, and wipe down every accessible surface. Run a “burn-off” cycle at high heat for 20–30 minutes to sterilize the cooking surfaces before grilling any food.
Inspect Moving Parts: Check the auger motor, fan, and hopper mechanism for smooth operation. Listen for unusual sounds during startup—grinding or clicking could indicate a jam or motor issue that’s better addressed before peak season.
End of Season / Winterization
Empty the Hopper Completely: Pellets left sitting through months of humidity and temperature swings will absorb moisture, expand, and potentially jam the auger. Remove every last pellet and store them in airtight containers.
Thorough Cleaning: Perform the most detailed cleaning of the year. Remove and wash grates, scrub the barrel interior, clean the chimney, and ensure no grease remains anywhere inside the grill.
Cover and Protect: Invest in a high-quality, weather-resistant grill cover. If possible, move the grill to a sheltered area like a garage or covered patio. Exposure to prolonged rain, snow, and UV will degrade paint, corrode metal, and wear out seals far faster than normal use.
Troubleshooting Common Issues
Even with consistent maintenance, you might run into occasional problems. Here are the most frequently reported Traeger issues and how to address them quickly.
Feeding Problems & Pellet Jams
If your grill stops feeding pellets mid-cook, the culprit is usually a blockage in the auger or hopper. Moisture-swollen pellets are the most common cause. Clear the hopper, inspect for clumps, and run the auger empty to push any stuck debris through. Always use fresh, dry pellets stored in sealed containers. If the issue persists, check the auger motor for signs of mechanical failure.
Temperature Fluctuations
Wild temperature swings usually point to airflow restrictions or ash buildup in the firepot. Vacuum out all ash and confirm nothing is blocking the fan intake. External factors matter too—windy or extremely cold weather can affect heat retention. Using an insulated blanket on your grill during winter cooks helps maintain stable temperatures. If the problem continues, recalibrate the temperature probe or consider replacing it.
Excessive Smoke or Weak Smoke Flavor
Billowing white smoke during startup is normal, but if it persists, your firepot may be overloaded with pellets, or there may be poor airflow through the chimney. Clean the chimney and check for blockages. For weak smoke flavor, try cooking at lower temperatures (around 225°F) where pellets smolder rather than burn, and experiment with different wood pellet blends for bolder taste.
Grill Won’t Ignite
First, confirm the outlet has power and all connections are secure. Next, check that the firepot contains pellets and that the igniter rod is glowing when you start the grill. A burnt-out hot rod is one of the most common Traeger repairs—fortunately, replacements are affordable and simple to install yourself. Also verify there’s no excessive ash smothering the igniter.
Upkeep of Grill Accessories & Pellet Storage
Pellet Quality Matters
Your pellets are the fuel and flavor source for every cook, so treat them with care. Always store wood pellets in airtight containers away from moisture. Damp pellets crumble into sawdust, clog the auger, and produce unreliable heat with off-flavors. Buy from reputable brands and avoid pellets with excessive filler material or bark content.
Tool Care
Keep your grill brushes, scrapers, tongs, and thermometers clean and in good repair. A worn-out brush won’t clean grates effectively, and a faulty thermometer can lead to under- or over-cooked meals. Replace tools when they show significant wear, and store them in a dry spot where they won’t rust.
The Grill Cover
A high-quality grill cover is a must for protecting your Traeger from the elements, particularly if you don’t have covered outdoor space. Make sure the cover fits your specific model snugly—a loose cover can trap moisture underneath, which defeats the purpose. Clean the cover itself periodically to prevent mold and mildew growth.
Final Thoughts: A Well-Maintained Grill Is a Happy Grill
Maintaining your Traeger wood pellet grill doesn’t require mechanical expertise or hours of labor. It simply calls for consistency. A quick brush-down after each cook, a thorough cleaning every couple of weeks, and a detailed seasonal inspection are all it takes to keep your grill performing at its absolute best.
The reward for this small investment of time? Reliable ignition, consistent temperatures, incredible flavor, and a grill that lasts for years instead of breaking down prematurely. Whether you’re smoking a rack of ribs, roasting a whole chicken, or baking a pizza on a Friday night, your well-maintained Traeger will deliver every time.
Take care of your grill, and it will take care of you. Happy grilling from the Backyard Provider family!
Explore premium pellet grills built for the backyard you deserve.
Recteq Deck Boss 800