

A mini-split is one of the smartest climate solutions available, delivering efficient heating and cooling without the hassle of ductwork. But even the most advanced system will fall short if it's installed in the wrong spot. Placement directly shapes performance, energy use, longevity, and the comfort you feel every single day inside your home.
Why Placement Is Everything
The location of your mini-split impacts far more than aesthetics. It dictates how evenly air circulates, how hard the system has to work, and how efficiently it can keep rooms at your desired temperature. A poorly placed unit will struggle against airflow blockages, heat sources, and moisture, while a well-placed one delivers reliable, whisper-quiet performance for years.
In the sections below, we'll walk through the best and worst placement options for both indoor and outdoor mini-split components so you can make the most informed decision for your home.
Indoor Units: Finding the Sweet Spot
The indoor unit is the centerpiece of your system's air delivery, and its placement directly shapes the comfort of the entire room. Getting this right keeps air circulating properly, prevents cold or warm pockets, and allows the unit's sensors to read temperatures accurately.
Best Indoor Locations for Mini-Split Units
High on Interior Walls
Mounting the indoor unit 6 to 8 feet above the floor allows cool air to descend naturally and warm air to disperse evenly, creating consistent comfort across the entire space.
Away From Heat Sources
Keep the unit at a safe distance from lamps, ovens, televisions, and direct sunlight. These heat sources confuse the built-in thermostat and force the system to overwork.
Open, Unobstructed Spots
Place the unit where airflow isn't blocked by furniture, curtains, or tall shelving. Free movement of air is essential for even temperature distribution and efficiency.
Central Room Position
Whenever possible, mount the unit on a wall that faces the center of the room. This maximizes coverage and minimizes temperature variation from corner to corner.
 Indoor Areas to Avoid for Mini-Split Installation
Near Heat Sources
Installing the unit close to heat sources such as stoves, radiators, or sunlight distorts the internal thermostat readings. The result? Your mini-split runs longer than necessary, driving up energy bills and shortening its useful life.
Over Doors or High-Traffic Areas
Positioning an indoor unit directly above doorways or walkways creates uneven airflow patterns. Cold or warm bursts repeatedly escape as doors open and close, throwing off the comfort level throughout the room.
In Humid or Moisture-Prone Spaces
Placing the unit in bathrooms, laundry rooms, or any consistently damp environment can cause excessive moisture buildup inside the system. Over time, this leads to mold, corrosion, and reduced performance.
Poorly Insulated Walls or Exterior Panels
Mounting the indoor head on thin or poorly insulated walls invites outdoor temperature swings into your home. This forces the mini-split to fight constant fluctuations and significantly reduces efficiency.
Cramped or Enclosed Corners
Tight corners and enclosed nooks choke airflow and trap conditioned air before it can spread through the room. Always leave clearance on all sides of the unit as specified by the manufacturer.
Quick Tip: Clearance Matters
Most manufacturers recommend at least 6 inches of clearance above and around the indoor head. This breathing room allows proper intake and discharge of air, which is critical for both comfort and long-term system health.
Outdoor Units: Equally Important
The outdoor condenser is just as vital as the indoor head. Its placement affects how efficiently the entire system can exchange heat with the environment, and poor siting can lead to noise complaints, freezing issues, and early component failure.
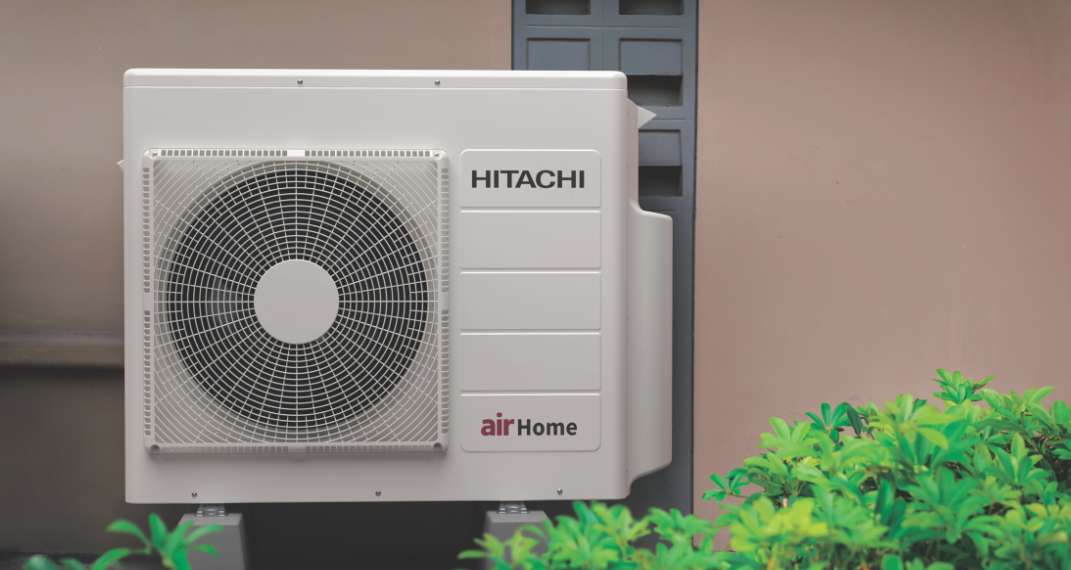
Best Outdoor Locations for Mini-Split Units
Stable, Level Ground
A firm, level pad or wall-mounted bracket prevents vibration and uneven wear. Stability keeps internal components aligned and running smoothly for years.
Shaded Side of the Home
Installing the condenser on a shaded north or east-facing wall protects it from relentless direct sun, reducing workload and helping the unit operate more efficiently.
Clear of Debris
Keep the outdoor unit away from leaf-heavy trees, garden beds, and foot traffic. Debris buildup can block airflow and damage the fan or coils over time.
Close to the Indoor Unit
Shorter refrigerant line runs mean less pressure loss, better efficiency, and lower installation costs. Aim to minimize the distance between indoor and outdoor components whenever the layout allows.
Outdoor Areas to Avoid for Mini-Split Installation
Direct Exposure to Harsh Weather
Placing the condenser where it catches the brunt of winter wind, driving rain, or heavy snowfall shortens its lifespan considerably. A light protective cover or overhead shelter can add years of reliability.
Near Bedroom Windows
Even today's quietest condensers produce some operational hum. Installing one directly outside bedroom windows can disturb sleep. Choose a side of the home where noise won't travel into living or resting spaces.
Low-Lying or Flood-Prone Spots
Never place the unit in areas where water pools after heavy rain. Standing water corrodes the base, damages electrical components, and voids many warranties.
Cramped or Enclosed Exterior Spaces
The outdoor condenser needs breathing room to expel heat properly. Squeezing it between tight walls or inside a closed enclosure restricts airflow and causes the system to overheat and underperform.

Upgrade to a Ducted Mini-Split Built for Whole-Home Comfort
If you're ready for a mini-split solution that delivers powerful, efficient heating and cooling with a cleaner, ductwork-integrated look, explore the Pioneer Quantum Ultra. Designed for serious performance across every season, it's engineered for homeowners who want premium climate control without compromise.
Shop Pioneer Quantum UltraFrequently Asked Questions
What is the best place to install a mini-split?
The ideal spot is on an interior wall, about 6 to 8 feet above the floor, free of direct sunlight, heat sources, or airflow blockages. Central wall placement typically delivers the most even comfort throughout the room.
Can a mini-split be installed in any room?
While mini-splits are versatile, certain rooms present challenges. Bathrooms, tightly enclosed spaces, or rooms with poor insulation may reduce efficiency. A professional assessment will confirm whether a particular room is a good fit.
Why is it so important to get placement right?
Placement affects comfort, efficiency, and longevity. A poorly placed unit works harder, costs more to run, and wears out faster. Thoughtful placement pays off every month in lower bills and better comfort.
What should I consider when placing the outdoor unit?
Look for stable, level ground in a shaded area away from bedroom windows, flood zones, and heavy debris. Keeping it close to the indoor head also improves efficiency and reduces installation costs.
The Value of a Professional Assessment
A mini-split is only as good as its installation. Every home has unique variables: layout, insulation quality, sun exposure, and family lifestyle all influence where a system will perform best. A qualified HVAC technician can evaluate these factors, recommend the right unit size, and pinpoint the placement that delivers maximum comfort and efficiency for your specific space.
Skipping the professional assessment often leads to avoidable mistakes: undersized systems that can't keep up, oversized units that short-cycle, or poorly located heads that create hot and cold spots. The small investment in expert guidance pays back many times over in performance and peace of mind.
The Bottom Line on Mini-Split Placement
Getting the placement right is the single most important decision you'll make when installing a mini-split system. Thoughtful positioning of both indoor and outdoor components ensures balanced airflow, dependable performance, and energy efficiency that lasts for the life of the system. Skip the shortcuts, consult a professional, and enjoy climate control that actually works the way it's supposed to.
Ready to Experience Premium Mini-Split Comfort?
The Pioneer Quantum Ultra 24,000 BTU 19 SEER2 Ceiling Concealed Ducted Mini-Split is engineered for homeowners who want efficient, whole-home heating and cooling with a clean, integrated installation. Built for performance in every season.
Shop Pioneer Quantum Ultra