

If you already run a subsoiler on your ATV or UTV, adding a middle buster plow opens up a whole new range of tasks — from creating precise furrows for planting to redirecting water flow on sloped ground. The good news? With the right hydraulic kit, the conversion is more straightforward than most people expect.
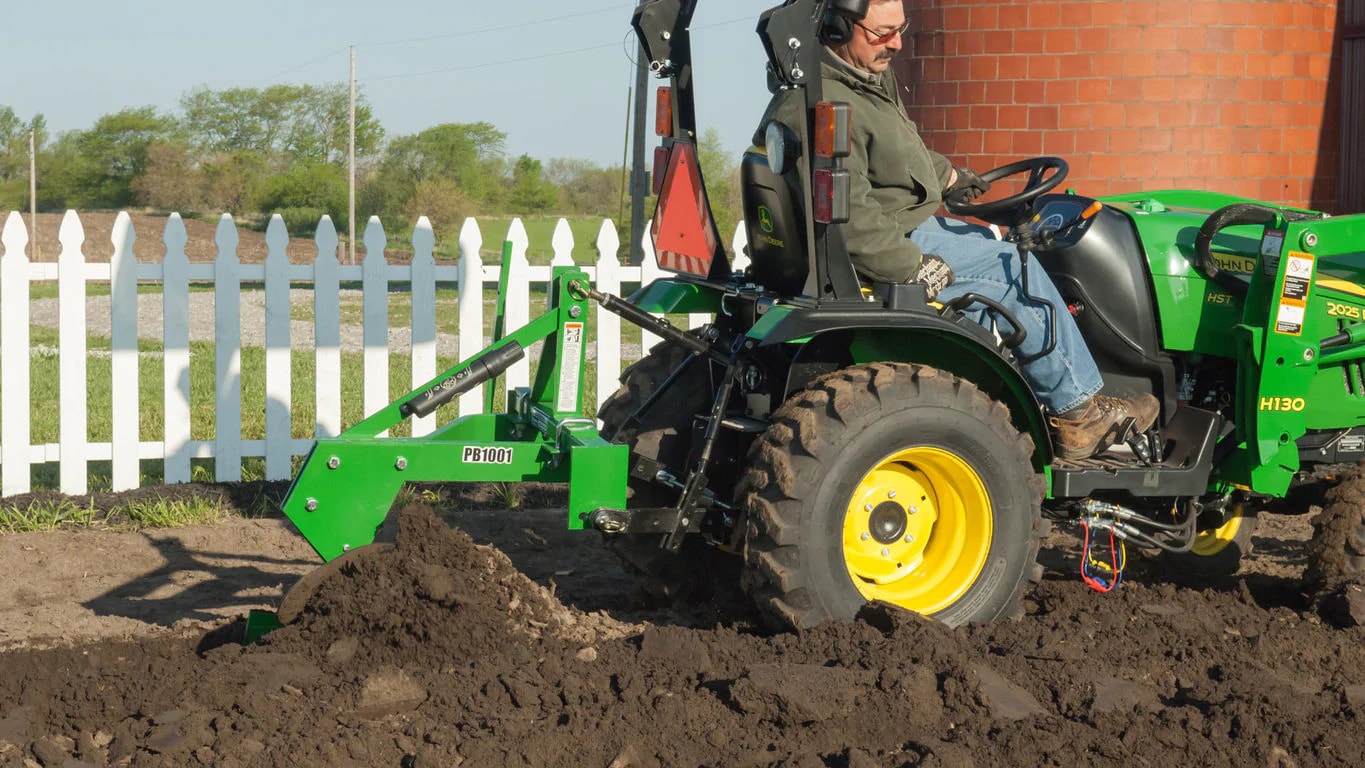 Why Combine a Subsoiler and Middle Buster?
A subsoiler's job is to break up compacted layers deep beneath the surface — loosening hardpan soil that prevents root penetration and proper drainage. A middle buster, on the other hand, creates V-shaped furrows in the top few inches, making it ideal for row cropping, garden beds, and irrigation channels.
Running both functions off a single machine saves time, reduces equipment costs, and gives you the flexibility to switch between deep-tillage and surface work without unhitching anything. When paired with a proper six-piece hydraulic system, you gain full hydraulic lift and angle control — no more manual adjustments mid-task.
The real advantage: A hydraulic-ready attachment system means you can swap between subsoiling and middle-buster work in minutes, adapting to whatever your land demands that day — deep breaking in the morning, row prep by afternoon.
What You'll Need Before You Start
Before attempting any attachment swap or hydraulic integration, make sure your machine and components are compatible. Running undersized hardware on a plow puts unnecessary stress on your ATV's frame and drive system.
- A subsoiler frame with hitch receiver rated for your ATV/UTV's tow capacity
- A middle buster plow shank and point — sized appropriately for your soil type
- A six-piece hydraulic kit with cylinder, lines, fittings, and control valve
- Mounting hardware: grade-8 bolts, lock washers, and appropriate pins
- Basic hand tools: socket set, wrench set, hydraulic line wrenches
- Thread sealant tape and hydraulic fluid rated for your system
Step-by-Step: Mounting the Middle Buster to Your Subsoiler
The process below assumes you are working with a standard rear-mount subsoiler frame and a universal-fit middle buster shank. Always consult your specific equipment manuals before drilling new mounting holes or modifying existing welds.
- Position the middle buster shank bracket against the subsoiler's center toolbar. Confirm it sits square by measuring from the outer edges before marking drill points.
- Drill mounting holes using a bit sized for your grade-8 bolts. Deburr all edges and apply a rust-inhibiting primer if working with bare steel.
- Bolt the shank bracket to the toolbar using a flat washer, lock washer, and nylock nut at each point. Torque to spec — do not overtighten, which can crack older steel toolbars.
- Slide the middle buster shank into the bracket and lock in place using the hitch pin. Test the pin for smooth insertion and secure retention before proceeding.
- Attach the plow point to the bottom of the shank. Most points thread on or bolt through — ensure the leading edge faces forward and is seated fully against the shank face.
- Connect your hydraulic cylinder to the lift bracket. Route all hoses away from moving parts, securing with loop clamps every 12–18 inches along the frame.
- Bleed the hydraulic lines per your kit's instructions. Cycle the cylinder through full extension and retraction three times to purge air pockets before field use.
Before your first real pass, make a shallow test run across a cleared patch of ground. Watch for unusual frame flex, hose tension, or uneven plow tracking. Small adjustments now prevent big headaches once you're in the middle of a row.
Hydraulic System Considerations
One of the most common mistakes in ATV plow setups is underestimating the hydraulic demands of a dual-implement configuration. Running two working attachments — even in alternating use — means your system needs proper flow and pressure ratings throughout.
A quality six-piece hydraulic kit will include not just the cylinder and hoses, but a purpose-built control valve, all necessary fittings, and hardware for clean, leak-free connections. Cheap fittings and generic hose assemblies are the number-one cause of hydraulic failure in field conditions.
Cylinder Sizing
Match your cylinder bore and stroke to the lift height required. Most subsoiler-to-surface-work transitions need 6–8 inches of travel. Oversizing adds weight without functional benefit.
Hose Routing
Always route hydraulic hoses along the inside of frame rails, away from heat, sharp edges, and pivoting joints. A single hose failure in the field can end your workday in minutes.
Control Valve Placement
Mount the control valve within easy reach of the operator position. Remote-mounted valves with long actuator cables often develop slop over time — direct-mount is more reliable.
Fluid Compatibility
Use only hydraulic fluid rated for the working temperature range of your region. Cold-climate users should opt for a multi-viscosity fluid to prevent sluggish response in early morning operation.
Adjusting Plow Depth and Angle
Once mounted, depth control on the middle buster is typically managed through the hydraulic cylinder's lift height combined with the shank's manual depth adjustment pin. For most row-crop work, you want the plow point running 4–6 inches below the surface — deep enough to create a defined channel, shallow enough to avoid disrupting sub-surface structure.
Lateral angle matters for row work on sloped terrain. A slight downhill lean on the plow face helps shed soil consistently to one side, which is useful when building up berms or creating irrigation furrows on a grade. Experiment on a test strip before committing to a full field pass.
Common Questions From the Field
Can I use this setup on rocky or heavily rooted ground?
Proceed with caution. A middle buster is designed for worked or moderately compacted soil. Rocky ground significantly increases the risk of shank damage, broken points, and stress fractures at the mounting bracket. If your soil has large rocks or dense tree roots, clear the area manually first, or use the subsoiler alone to break the surface before switching attachments.
How do I know when the plow point needs replacing?
A worn plow point will leave ragged, inconsistent furrows instead of clean V-shaped channels. If you notice the soil piling unevenly or the plow skipping rather than cutting, inspect the point for wear. Most standard carbon-steel points last a season of regular use; heat-treated or hardened points last considerably longer in abrasive soils.
Will this void any warranty on my subsoiler or ATV?
Modifications to factory equipment can affect warranty coverage depending on the manufacturer and the nature of the modification. If you're concerned, check with your equipment dealer before drilling or welding anything. Using bolt-on hydraulic kits designed for your specific subsoiler model is always the safest route for maintaining coverage.
Get the Right Hydraulic Kit for the Job
The MotoAlliance Agricultural Six-Piece Hydraulic System is purpose-built for ATV and UTV implement setups — everything you need for a clean, reliable hydraulic integration in one package.
MotoAlliance 6-Piece Hydraulic KitThe Bottom Line
Pairing a middle buster plow with an existing subsoiler setup is one of the most cost-effective ways to expand your ATV's ground-working capability. The key to a clean, durable installation is taking your time with the mounting, using quality hydraulic components, and doing thorough test runs before committing to full field work.
Done right, you'll have a versatile two-function implement that handles everything from deep tillage to precision row prep — all driven by one machine, managed through one hydraulic circuit.