

Getting started with a pipe inspection camera can feel a little overwhelming if you're new to the process. You might worry about choosing the wrong equipment or accidentally damaging something down the line. The good news is that the fundamentals behind plumbing camera work are more straightforward than most people think, and with the right guidance, even a total beginner can start performing reliable inspections in a short amount of time.
With the right knowledge, proper setup, and attention to small details like lighting and push rod control, you'll develop real confidence fast. Using inspection cameras correctly the first time around builds credibility and trust — and ensures smoother inspections every time.
What's Inside This Guide
- ● Pipe Inspection Camera Tips for Beginners
- ● How to Prepare for an Inspection
- ● Tips for Using a Sewer Inspection Camera
- ● How to Keep Your Camera Clean
- ● Troubleshooting Pipe Inspection Cameras
- ● FAQ
Pipe Inspection Camera Tips for Beginners
Learning how to use a pipe inspection camera doesn't have to be complicated. By getting familiar with the right approach early, you'll be able to diagnose plumbing problems accurately, pinpoint blockage locations, and avoid costly guesswork that can come with hiring someone else.
How to Choose the Right Camera
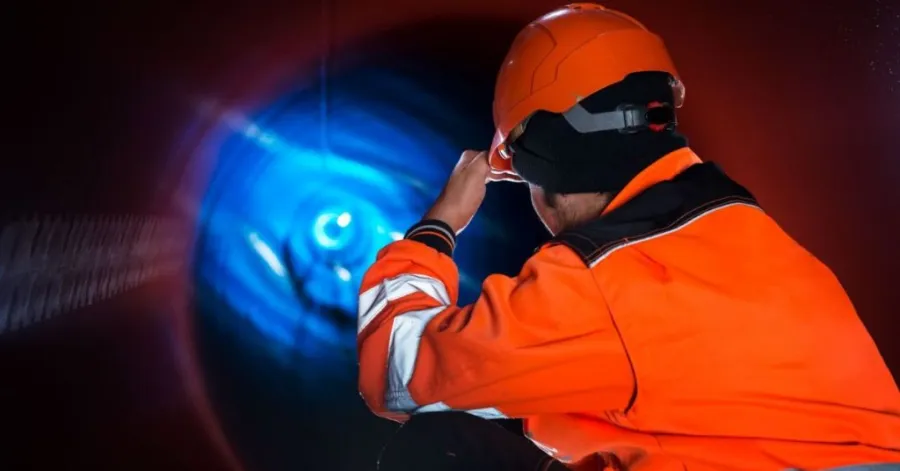
The first step in picking a camera that fits your needs is understanding where you plan to use it. A camera designed for home drain lines in the 2–4 inch range will look very different from one built for large municipal sewer mains. Think about the pipe diameters you'll encounter most often, the distances you'll need to cover, and whether you need recording capabilities.
Also think about build quality and durability. Inspection environments can be harsh — water, sediment, and chemical residues are all common. A strong, well-sealed camera will hold up far better and last much longer in these conditions. Investing a bit more upfront for solid construction pays for itself over time.
How to Check Pipe Compatibility
Once you've chosen a camera, the next step is making sure it matches your pipes. Pipes come in different sizes and materials — PVC, cast iron, clay, and more — and each has different interior characteristics. Using a camera head that's too large for the pipe could damage the equipment or give you poor image quality.
Make sure your equipment matches up with your expected pipe dimensions. Keep in mind that when transitioning between pipe types, you'll want a camera that can adjust smoothly so you don't lose critical footage along the way.
Check Image Quality
Even with the right-sized camera head, you need clear, detailed images to make good decisions. A high-resolution inspection camera will let you spot hairline cracks, joint separations, root intrusions, and corrosion buildup that a lower-quality unit might miss entirely.
Camera image quality can also be affected by debris and standing water inside the pipe. Having an auto-leveling camera and built-in lighting adjustments helps improve clarity during live inspections. These features may seem optional at first, but they quickly become essential once you're working on real-world jobs.
How to Prepare for an Inspection
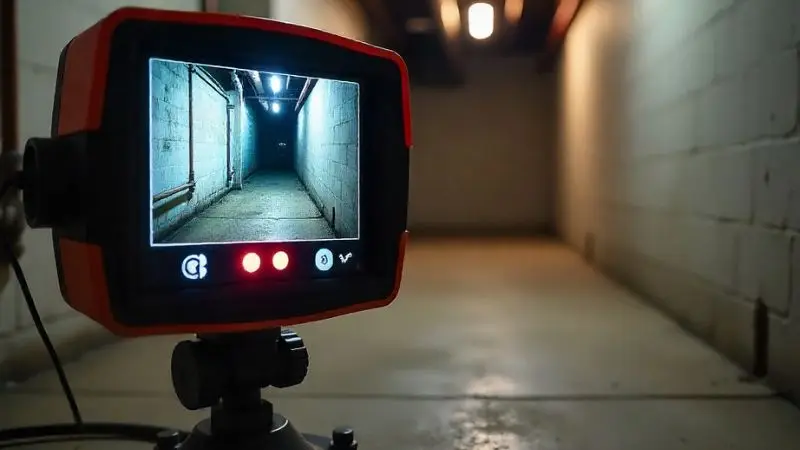
Before sending any camera into a pipe, proper preparation is key. An organized, methodical approach ensures you get the best results while protecting your equipment. Rushing into a job without the right setup can lead to poor footage, missed issues, or even camera damage.
Know Your Pipe Layout
Understanding the pipe system before you begin saves time and prevents surprises. Study available blueprints, site maps, or any documentation about the plumbing layout. If no records exist, talk to the property owner or maintenance personnel to get a general sense of how the pipe system is configured.
Do a Complete Equipment Check
Always examine your camera before each job. Look at the camera head for any cracks or debris, test the push rod for flexibility and smooth movement, and confirm that the monitor or recording device is working correctly. Addressing small issues beforehand prevents larger problems once you're already deep into a pipe.
Charge and Calibrate Every Use
Running out of battery mid-inspection is one of the most common beginner mistakes. Make it a habit to fully charge your camera before each use. Also calibrate your screen's colors, brightness, and contrast settings so they're optimized for the underground conditions you'll be working in. A well-calibrated display makes all the difference when you need to identify subtle pipe defects.
Make Sure Lighting is Ready
Lighting plays an absolutely essential role when it comes to achieving clear footage. Most quality inspection cameras come with built-in LED arrays, but the intensity and angle can vary. If your lights seem dim or uneven, replace them before starting. Good lighting turns an average inspection into a highly detailed, professional-grade review that leaves no guesswork behind.
Tips for Using a Sewer Inspection Camera
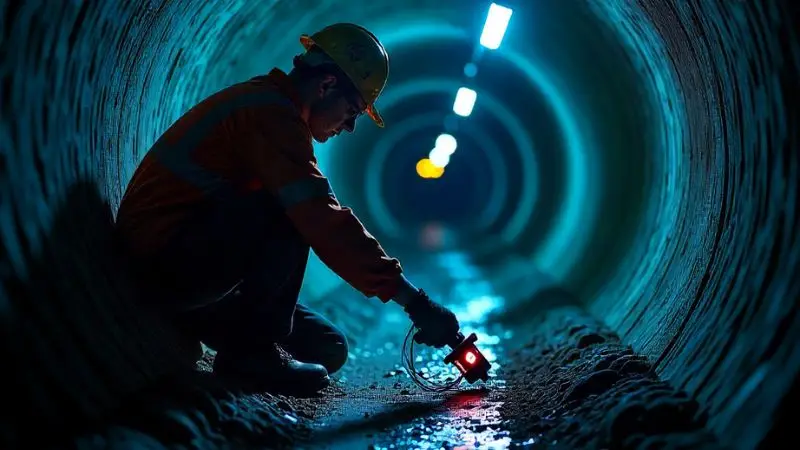
Once your equipment is ready, the real test is performing the inspection itself. During a live inspection, you'll need to balance camera speed, recording consistency, and careful observation to make sure nothing gets overlooked. Here are proven techniques to help you work more effectively underground.
Move the Camera Gently and Slowly
Pushing the camera too fast is one of the most common mistakes beginners make. Move the push rod at a slow, controlled pace so the camera has time to capture every inch of the pipe interior. Quick movements create blurry footage and make it easy to miss cracks, joint separations, and early signs of deterioration that could become major issues later.
Keep the Camera Positioned Centrally
Positioning the camera centrally inside the pipe gives you the best view. When the lens drifts too far to one side, you lose depth perception on the opposite wall, and your footage becomes unreliable. If you're using a centering device or spring guide, make sure it's properly adjusted for the pipe diameter you're working in.
How to Force the Camera Through Blockages
Sometimes you'll encounter partial blockages or debris buildup that resist the camera's forward movement. Resist the urge to force the push rod through aggressively — this can damage the camera head, scratch the lens, or even collapse a weakened pipe section. Instead, gently apply steady pressure, rotate the rod slightly, and consider pulling back to clean the pipe before reattempting.
How to Keep Your Camera Clean
Taking care of your camera equipment after each job isn't optional — it's what separates reliable professionals from those who constantly deal with equipment failures. The inspection environment exposes your gear to water, grit, grease, chemical residue, and more, all of which can shorten the life of your camera if left unaddressed.
Clean the Camera After Every Use
Always rinse your camera and push rod with clean water after each inspection. Pay close attention to the lens surface and any crevices where debris can accumulate. For tougher buildup, use a soft cloth with a mild cleaning solution — avoid abrasive materials or harsh chemicals that could scratch the lens or degrade the camera's seals.
Inspect the Camera Daily for Potential Damage
Make it a regular habit to examine your camera head, push rod, and cable connections. Even minor damage — a tiny crack in the housing, a worn seal, a slightly bent rod — can worsen dramatically during the next inspection if left unaddressed. Catching problems early lets you handle them quickly before they become expensive repairs or mid-job failures.
Avoid Harsh Chemicals During Cleaning
While it may be tempting to use strong solvents or industrial cleaners, these products can deteriorate rubber seals, strip protective coatings, and dull the camera lens over time. Stick with manufacturer-recommended cleaning products or mild, non-abrasive solutions. A little extra care with your cleaning routine goes a long way toward preserving your investment.
Troubleshooting Pipe Inspection Cameras
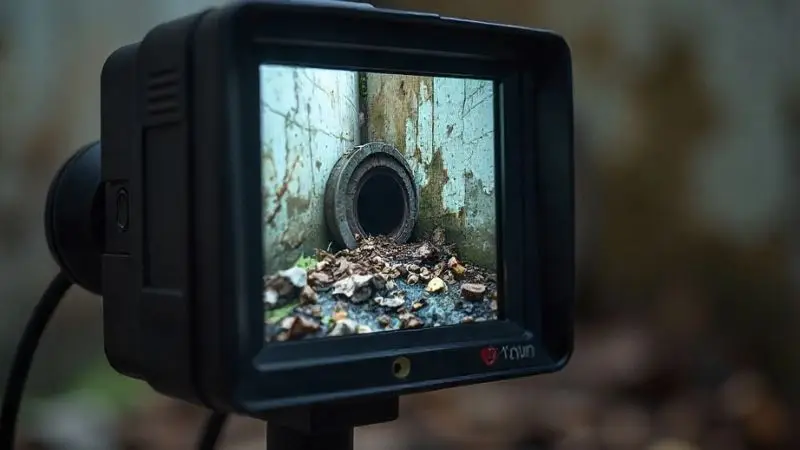
Even the best equipment runs into issues from time to time. Knowing how to identify and resolve common camera problems quickly saves you time and prevents unnecessary downtime. Most issues can be handled in the field with a little knowledge and preparation.
Fuzzy or Blurry Image
One of the most common problems beginners encounter is a fuzzy or blurry image. This usually happens when moisture condenses on the camera lens or when debris has accumulated on the glass surface. Start by wiping the lens clean with a soft cloth. If that doesn't solve the problem, check for cracks in the lens cover or signs of internal moisture that may indicate a compromised seal.
Flickering or Dim Lighting
If the LED lights on your camera head are flickering or appear noticeably dimmer than usual, the issue is most likely a loose cable connection or aging LEDs. Inspect all wiring connections along the push rod and at the camera head itself. In some cases, simply reseating the cable at the connection point resolves the problem. If the LEDs themselves are failing, they'll need replacement before your next inspection.
Preventing Battery Problems During Use
Unexpected power loss during an inspection can ruin a session and leave you without critical footage. Always start with a full charge and carry a backup battery whenever possible. Pay attention to your battery indicator throughout the inspection, and avoid running the system all the way to zero — in some cases, this can impact the battery's long-term health and storage capacity.
Recording and Backup Inspection Results
Recording your inspection data is just as important as performing the inspection itself. Make sure your recording device has enough storage space before each job, and always back up footage to a separate drive or cloud service as soon as you're done. Losing video evidence of a pipe's condition means losing the ability to reference the inspection later — which can be a costly mistake, especially when documentation is needed for clients or insurance purposes.
✔ Quick Reminder: Keep your pipe inspection camera's firmware and software updated. Manufacturers occasionally release updates that improve image processing, fix known bugs, and add compatibility for new recording formats — all of which enhance the quality and reliability of your inspections.
Frequently Asked Questions
How do you turn off your pipe inspection camera in waterproof conditions?
Check the manufacturer's instructions first, as every model is slightly different. Some units use a sealed power button, while others have a twist-lock switch designed specifically for wet environments. Never force a button that seems stuck — this usually indicates debris or water pressure on the seal, and forcing it can compromise the waterproofing.
What should you do if your camera gets stuck in a pipe?
Stay calm and avoid pulling the push rod aggressively, as this can damage the camera or the pipe. Gently rotate the rod while applying steady backward pressure. If the camera remains stuck, try flushing water through the pipe to loosen debris around the camera head. In serious cases, you may need professional assistance or specialized retrieval tools to recover the equipment safely.
How often should you calibrate your pipe inspection camera?
Ideally, you should calibrate your screen brightness, contrast, and color settings before every inspection. Environmental conditions like ambient light and pipe interior brightness change from job to job, so what worked perfectly yesterday may need adjustment today. A quick calibration check takes only a minute and makes a noticeable improvement in the quality of your footage.
Can you use a pipe inspection camera for purposes beyond plumbing?
Absolutely. Pipe inspection cameras are also used for inspecting HVAC ductwork, electrical conduit, chimney flues, and even automotive or industrial equipment. Any enclosed space that's too narrow or too deep for direct visual access is a potential use case. Just make sure the camera specifications — particularly diameter, length, and environmental ratings — match the specific application.