

Are you worn out from fiddling endlessly with your sauna dial, chasing that sweet spot between soothing warmth and deep, loosening heat? A digital sauna thermostat changes everything. With accurate temperature readings, intuitive controls, and flexible programming options, upgrading to a digital unit brings a new level of comfort and consistency to every session you enjoy.
In the guide below, we'll walk you through the full process of installing a digital sauna thermostat step by step, so you can spend less time adjusting settings and more time unwinding in a perfectly heated sauna.
Choose the Right Digital Sauna Thermostat
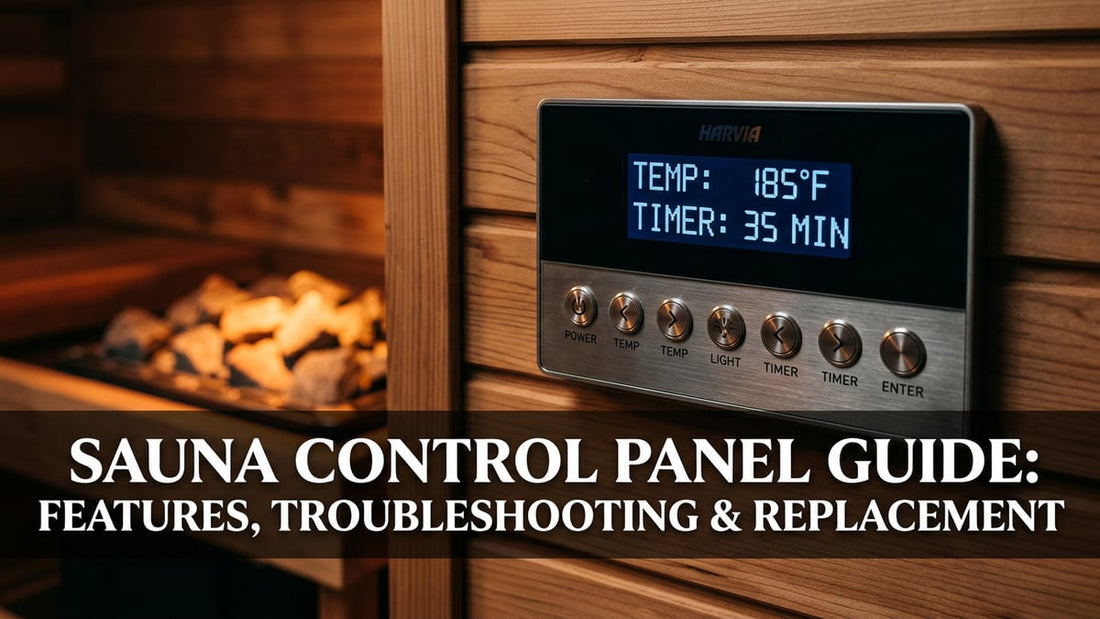
Before jumping into installation, make sure you have a thermostat that is truly the right match for your sauna. Look for a digital sauna thermostat specifically engineered for sauna environments, with the features you actually want — think accurate temperature control, remote operation, and programmable scheduling. Once you've selected the right unit, you're ready to move on to setup.
Cut the Power and Remove the Old Thermostat
To kick off the installation, always turn off the power supply to your sauna first to prevent any risk of electrical shock or damage. With the power safely disconnected, gently detach the old thermostat from the wall, being careful not to pull, pinch, or damage any of the wiring or connection points. If you're unsure about anything at this stage, check the manufacturer's instructions for the correct removal procedure.
Install the New Digital Sauna Thermostat
Now comes the exciting part — fitting the new digital thermostat into your sauna. Start by linking the thermostat wires to the matching wires inside your sauna, making sure each color is paired correctly so the unit operates as intended. Once every connection is firmly seated, mount the thermostat to the wall using the supplied hardware, checking that it sits perfectly level and is tightly fastened.
Harvia Xenio Digital Sauna Control CX30-U1-U3
Elevate your sauna with precision temperature management, smart programming, and reliable Harvia-grade performance — built for long-lasting comfort.
Shop Harvia Xenio CX30Program and Test Your Digital Thermostat
With the thermostat mounted, it's time to dial in your preferred settings. Set your ideal temperature, configure the timer, and adjust any extras using the built-in controls or the remote operation features, if supported. Once programming is complete, restore power to the sauna and run a test to confirm the thermostat is functioning properly and warming the room to the chosen temperature.
Enjoy a Perfectly Heated Sauna
With your new thermostat fully installed and dialed in, you can now sit back, breathe deeply, and enjoy your sauna knowing the heat is being carefully monitored and managed for optimum comfort. Whether you favor a mild, soothing warmth for quiet relaxation or a hotter, more intense heat for a deep sweat session, your digital sauna thermostat will deliver the right temperature every time.
Final Thoughts
Installing a digital sauna thermostat is a straightforward upgrade that delivers a genuinely better sauna experience and takes all the guesswork out of finding the perfect temperature. By following the simple steps covered in this guide, you can quickly install your new unit and begin enjoying the benefits of reliable, precise temperature control inside your sauna. Why wait any longer? Upgrade today with a digital sauna thermostat and experience true sauna comfort and relaxation at its finest.