

Everything you need to know before choosing, installing, and enjoying the most durable basketball system for your home court.
An inground basketball hoop is one of the best long-term investments you can make for your home. Unlike portable systems that wobble and shift, an inground hoop is anchored firmly into the ground — delivering a rock-solid, professional-grade playing experience every single time. Whether you're shooting hoops with the kids or running competitive drills, a permanent court setup transforms any backyard into a real sports arena.
But not all inground systems are created equal. Before you grab a shovel, there are several critical factors to consider — from bracket design and backboard material to pole diameter and adjustability. This guide will walk you through all of it.
Start With the Right Bracket Design
The bracket is the unsung hero of every great basketball system. It connects the backboard to the pole and determines how far the hoop extends out over the playing area. A well-designed bracket also plays a key role in minimizing post interference — the last thing you want is a collision between a driving player and a steel pole.
Avoid Narrow Horizontal Brackets
A bracket that positions the backboard too close to the pole creates dangerous dead zones directly beneath the hoop. This forces players to adjust their driving lanes and dramatically reduces the quality of play. Look at the spacing between the pole and the board — it should be generous.
Avoid Narrow Vertical Brackets
Vertical bracket spread matters just as much. A narrow vertical connection between the board and pole creates flex and vibration on every shot. A wider vertical spread distributes force more evenly, keeping the backboard stable during aggressive dunks and backboard play.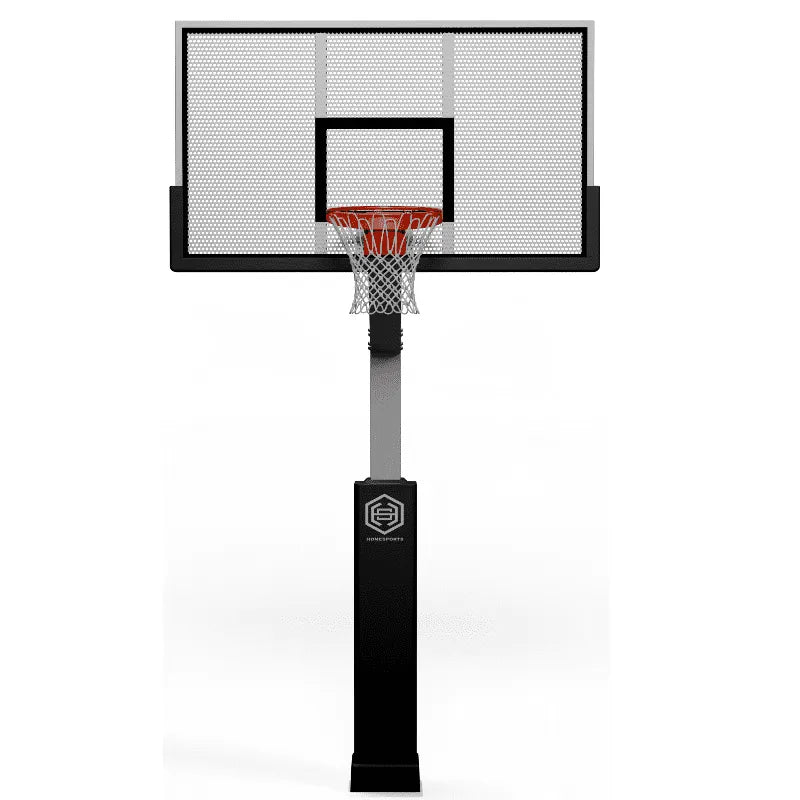
Example of a properly spaced bracket system — note the generous horizontal and vertical clearance.

Wider bracket geometry dramatically reduces pole interference during play.
The Rim: Why Breakaway Matters
The rim is where all the action happens — and it needs to perform reliably under pressure. A standard rigid rim transfers the full force of a dunk or hard shot directly into the backboard and pole. Over time, this wears down every connection point in the system. More importantly, it's a safety risk.
Breakaway Rims Protect Players & Equipment
A breakaway rim uses a spring-loaded mechanism that flexes downward when force is applied — like during a slam dunk — and then snaps back to its original position. This reduces stress on the entire system and, more critically, prevents wrist and arm injuries when a player hangs on the rim. For any serious backyard court, a breakaway rim is non-negotiable.

Family-Friendly Features
Make It Adjustable — Let Your Hoop Grow With Your Kids
Most parents don't realize that a standard 10-foot rim height is completely impractical for young children and beginner players. If your kids can't reach the rim, they lose confidence, develop poor shooting habits, and eventually lose interest altogether. An adjustable height system solves this problem elegantly.
The Sweet Spot for Adjustability
The ideal range is 4.5 feet to 10 feet — covering everything from toddler-level play up to regulation height. Look for systems that adjust in small, consistent increments and can be changed with minimal tools. The smoother the adjustment process, the more likely you'll actually use it as your kids grow.
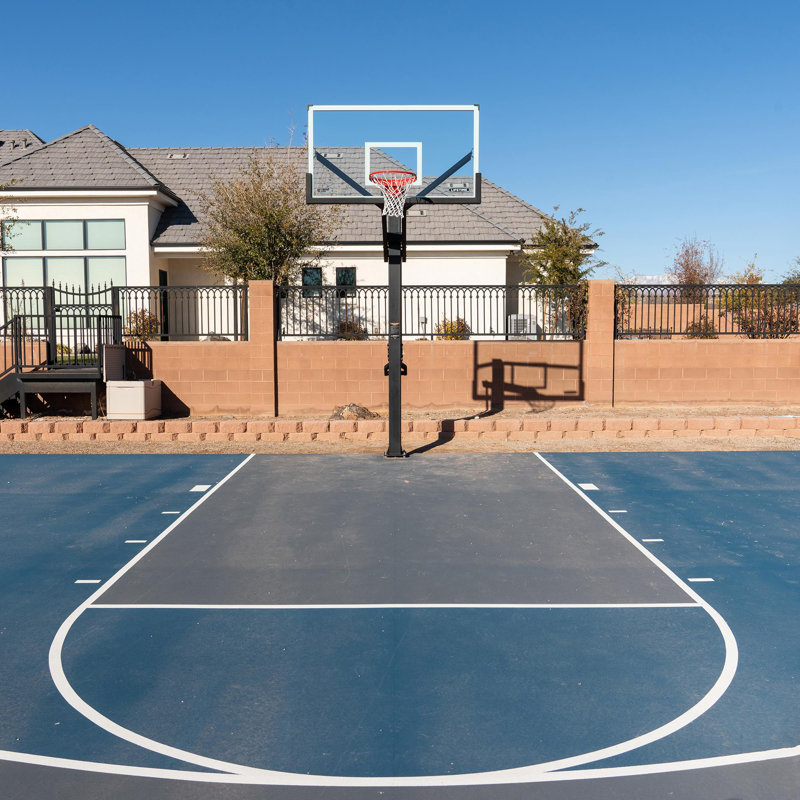
Height adjustability also adds enormous long-term value. As your players develop, the hoop adapts with them. A 6-year-old starting at 6 feet can work their way up through the years until they're shooting at regulation height — all on the same system. That's smart investing.
Choose a Hinged System — Give Yourself Some Flexibility
A hinged pole system is a feature that often gets overlooked — but it offers real practical value. A hinged inground system allows you to fold the entire pole down to the ground without any digging or disassembly. This makes it easy to move large objects through the area, perform yard maintenance, or store the hoop safely during extended periods of non-use.
Seasonal Storage Made Simple
In regions with harsh winters, being able to fold your hoop flat protects it from snow, ice, and wind damage. You preserve the finish, the backboard, and the mechanical components — extending the system's life significantly.
Multi-Use Yard Space
Not everyone wants a permanent obstruction in their yard year-round. A hinged system gives you the permanence of an inground hoop with the freedom to reclaim your outdoor space whenever you need it.

Step-by-Step
Installation — Do It Yourself or Call a Professional
Installing an inground basketball hoop is a manageable DIY project for a confident homeowner — but it's also one worth doing carefully. A poor installation leads to a wobbly pole, uneven play surface, or worse, a system that tips over. Here's the general process:
- Step 1 — Locate Your Anchor Number: Check your system documentation for the specific anchor sleeve size. This number determines the diameter of the hole you'll dig and the amount of concrete required.
- Step 2 — Dig the Anchor Hole: Use a post-hole digger or rent a power auger for faster, cleaner results. Depth and diameter must match the manufacturer's spec exactly — cutting corners here compromises the entire installation.
- Step 3 — Position the Anchor Sleeve: Lower the anchor sleeve into the hole, ensuring it is perfectly plumb and at the correct depth. Use a level — even a slight lean will be noticeable once the pole is attached.
- Step 4 — Pour and Cure the Concrete: Mix and pour concrete around the anchor sleeve. Keep the sleeve centered and plumb while the concrete sets. Allow at least 72 hours of curing time before attaching the pole — longer in cold weather.
- Step 5 — Assemble and Mount: Once cured, slide the pole into the anchor sleeve, attach the bracket, mount the backboard, and install the rim. Follow all torque specifications in the manual for safety.
When to Hire a Professional
If you're unsure about digging depth, concrete mixing ratios, or working with heavy components, hiring a professional installer is absolutely worth the cost. An improper installation can void your warranty and create a genuine safety hazard. Many local contractors and sports equipment dealers offer installation services.
Key Features of a Premium Inground System
Tempered Glass Backboard
- Superior rebound performance
- Clear, professional-quality appearance
- Shatter-resistant tempered construction
- Larger sizes (60"–72") for serious play
Heavy-Duty Steel Pole
- Thick-wall construction resists flex
- Powder-coated finish fights corrosion
- Large diameter base for maximum stability
- Hinged option for seasonal folding
Adjustable Height Mechanism
- 4.5 ft to 10 ft range covers all ages
- Easy-crank or pneumatic adjustment
- Incremental settings lock securely
- No tools required for height changes
Breakaway Rim System
- Spring-flex mechanism for dunks
- Reduces stress on board & bracket
- Player safety during rim contact
- Snaps back true after every use
Ready to Build Your Backyard Court?
The Dominator 72" Glass Backboard system brings professional-grade performance to your driveway. Adjustable, durable, and built to last through generations of play — this is the hoop your backyard has been waiting for.
Dominator 72" Hoop