

Bosch Remote Fan Unit — Gray
Keep your kitchen air fresh and clear with a powerful, quiet, and efficient ventilation system designed for seamless integration.
Bosch DHR1FZUC Fan Unit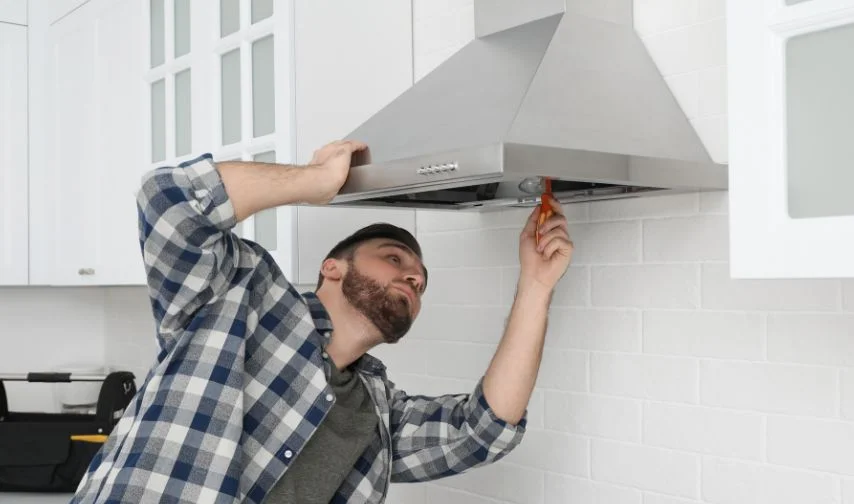
What to Know Before Installing a Range Hood
Before you order a new range hood, it pays to evaluate a few important factors. Consider your cooking habits, the layout of your kitchen, the position of your stove, and the amount of space available above it. Making the right choice from the start can save a lot of trouble during installation.
Ventilation Power & CFM
The strength of a range hood is measured in CFM — cubic feet per minute — which tells you how much air the unit can cycle through every 60 seconds. Larger kitchens and heavier cooking styles demand a higher CFM rating. If you cook on a gas range, ensure that the CFM of your chosen hood at minimum matches the total BTU output of your burners for safe and effective ventilation.
How Your Cooking Habits Matter
Frequent frying, searing, or steaming produces more smoke and grease particles than lighter cooking methods. If your kitchen sees heavy-duty use on a daily basis, look for a range hood with a higher CFM rating so it can handle the extra load and maintain clear air throughout your cooking sessions.
Ducted vs. Ductless Ventilation
Range hoods come in two ventilation styles. Ducted models channel smoke, steam, and grease directly outdoors through a vent pipe — these are generally more effective at clearing the air. Ductless (recirculating) hoods use charcoal filters to capture odors and push clean air back into the room. Ducted hoods require exterior access, so make sure the vent leads outside and not into an attic or crawlspace.
Picking the Right Style & Size
Under-cabinet hoods sit neatly beneath your upper cabinetry and work well in compact kitchens. Wall-mount canopy hoods offer stronger airflow and create a visual focal point. If your cooktop is on an island, an island canopy or retractable downdraft hood may be the best fit. Whichever style you choose, make sure the hood covers the full width of your cooking surface — ideally extending a few inches beyond each side — for optimal smoke and grease capture.
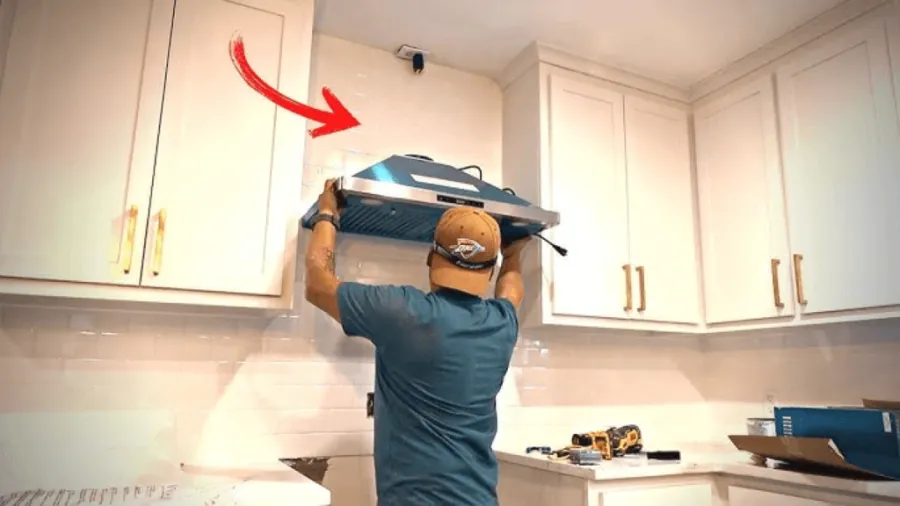
Range Hood Installation: A Step-By-Step Guide
Installing a range hood involves removing the old unit, prepping the wall and vent openings, connecting wiring and ductwork, and mounting the new hood securely. With a helper, the right tools, and a bit of patience, this is an achievable project for many homeowners. Always consult your specific model's owner's manual for detailed requirements.
Before starting any work, shut off the power at your breaker box. Unplug the existing range hood and disconnect all electrical wiring. This is a two-person job — range hoods are heavy, so always have someone help you support the unit during removal and installation.
Supplies & Tools You'll Need
Supplies
- Tape measure
- Duct or foil tape
- Wire connectors
- Wall anchors & screws
- PVC trim (if needed)
- Caulk or sealant
- Vent cap with damper
Tools
- Drill with bits
- Stud finder
- Reciprocating or jig saw
- Level
- Pencil
- Wire strippers
- Screwdriver set
Remove the Existing Range Hood
Start by turning off the circuit breaker that powers the hood. Unplug the unit and carefully disconnect any electrical wiring. With a helper holding the weight of the hood steady, remove the mounting screws that secure it to the wall or cabinet. Gently lower the old unit and set it aside.
Measure & Mark the New Position
Your new range hood's vent placement may differ from the old one. Use the template provided with your hood (if available) and tape it to the wall as a reference. Measure carefully to ensure the hood will sit centered above the cooking surface and at the correct height — typically 20 to 30 inches above the cooktop for electric stoves, and around 30 inches for gas ranges. Double-check all measurements before cutting anything.
Cut the Interior Vent Hole
If your new hood requires a different vent opening, you'll need to cut one through the wall or cabinet. Start by making a small exploratory hole to check for hidden plumbing or wiring. If you find any obstructions, consult a professional before proceeding. Once the path is clear, use a jig saw or reciprocating saw to cut the vent opening to the size specified in your hood's manual — usually about six inches in diameter.
Cut the Exterior Vent Hole & Attach the Cap
From the inside, drill locator holes through to the exterior wall so you can identify the cut location from outside. Use those reference points to cut the exterior vent opening. Attach a vent cap with an integrated damper to the outside of your home to allow airflow out while preventing drafts and pests from getting in. Seal the edges with caulk to create an airtight, weather-resistant connection.
If there's a gap between the vent cap and your siding, consider using PVC trim to create a clean, finished look. It's weather-resistant and provides extra insulation around the vent opening, helping to prevent air leaks and moisture intrusion.
Connect the Damper & Ductwork
Insert the interior damper into the back of the range hood, making sure it faces the correct direction. Secure it with screws and use HVAC aluminum foil tape to seal all joints and seams. Connect the ductwork from the hood to the exterior vent opening, keeping the duct run as short and straight as possible for maximum airflow efficiency.
Handle the Electrical Wiring
Thread the electrical wiring through the designated access point and connect the wires using wire connectors — match white to white and black to black, then fasten the copper ground wire securely. If you're not experienced with electrical work, it's strongly recommended to hire a licensed electrician for this portion of the installation.
Mount the New Range Hood
With your helper supporting the unit, lift the new hood into position and align it with the mounting holes or bracket. Use a level to confirm it sits perfectly straight, then secure it to the wall studs or underside of the cabinet using the provided screws. Make sure the ductwork fits flush and everything is snug.
Complete the Electrical Connections
Finalize all wiring connections according to your hood's manual. Ensure every wire is secured with connectors and properly insulated. Tuck excess wiring neatly into the junction box and attach the cover plate.
Test & Finalize the Installation
Restore power at the breaker box. Switch on the range hood and test every function — fan speeds, lights, and any other features. Listen for unusual vibrations and tighten any loose screws or rivets. Verify that air is flowing properly through the ductwork and exiting through the exterior vent cap. Once everything checks out, your installation is complete.
Tips for Installing a Range Hood
A successful installation goes beyond just following the steps. Keep these pointers in mind to ensure everything runs smoothly and your hood performs at its best for years to come.
Check for Blockages
Before connecting the ductwork, inspect the entire vent path for debris, old insulation, or animal nests that could restrict airflow.
Inspect Electrical Regularly
After installation, periodically check that all wiring connections are secure, properly insulated, and up to your local electrical code.
Measure Twice, Cut Once
Your hood should match the width of your range and sit at the recommended height. Double-check every measurement before making any cuts.
Clean Filters Often
Dirty filters drastically reduce performance. Remove and scrub them with hot soapy water regularly, or run them through the dishwasher if the manual permits.
Follow Local Codes
Venting requirements and electrical standards vary by location. Always confirm your installation complies with state and local building regulations.
Use the Right CFM
A hood that's too weak won't clear the air effectively. Match the CFM to your kitchen's square footage and the heat output of your cooking surface.
Frequently Asked Questions
How Much Does It Cost to Install a Range Hood?
The cost depends on several factors including the type of hood, whether you need new ductwork, and if you hire a professional. For a straightforward replacement where existing ductwork and wiring are already in place, expect to spend between $200 and $500 on labor. If new ductwork needs to be routed through walls or the roof, costs can climb significantly higher — sometimes exceeding $1,000 when combined with the price of the hood itself.
Can I Install a Range Hood By Myself?
If you have experience with basic home improvement projects and are comfortable working with electrical wiring, this can be a manageable DIY task. However, it's always a two-person job due to the weight of the unit. If you're not confident with electrical work or need to cut through walls, hiring a licensed professional is the safest route.
Where Can I Get Help With Installation?
Most appliance retailers and home improvement stores offer professional installation services for an additional fee. You can also reach out to a licensed electrician or general contractor in your area. Many range hood manufacturers also provide detailed installation guides and customer support hotlines to walk you through the process.