

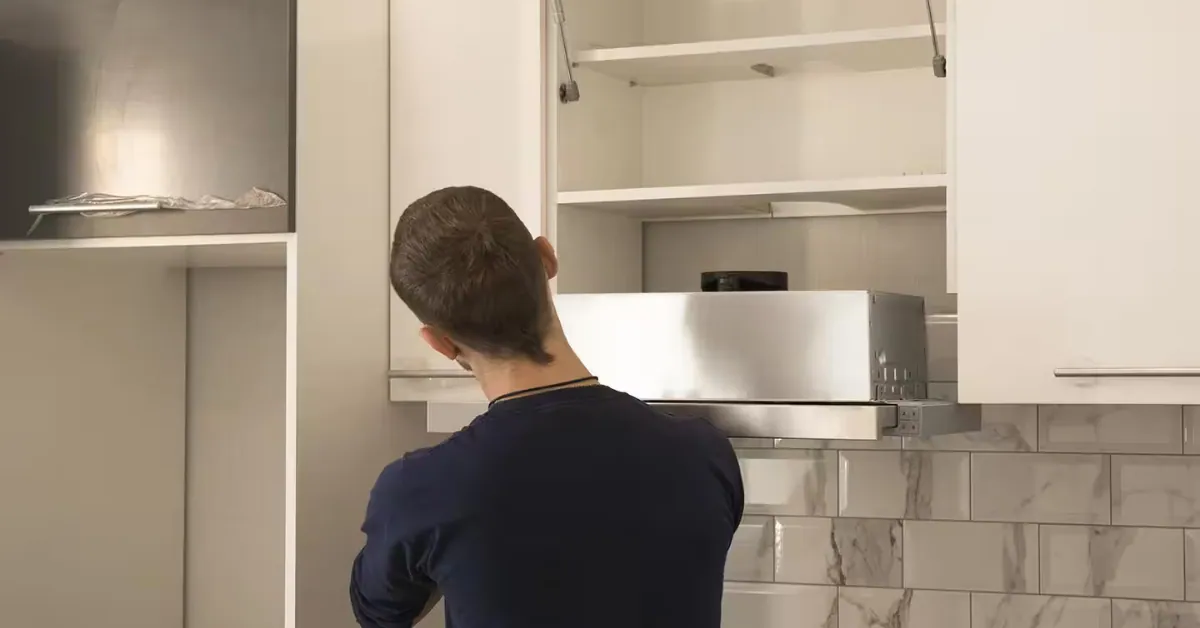
Does your kitchen fill up with smoke, grease, and lingering odors every time you cook? A range hood can solve that problem entirely. Whether you consider yourself a seasoned home cook or simply someone who wants a fresher kitchen, adding a range hood is one of the smartest upgrades you can make — and the best part is, you can often do it yourself.
This guide walks you through every stage of a range hood installation using clear, straightforward instructions. From choosing the right type to completing the final test, we cover it all so you can tackle this project with confidence. Ready to transform your kitchen? Let's dive in.
Why Your Kitchen Needs a Range Hood
Before getting into the nuts and bolts, it helps to understand why a kitchen hood matters so much. A range hood — sometimes called a kitchen chimney or exhaust fan — actively pulls heat, smoke, grease particles, and cooking odors away from your stovetop. It vents them outside or filters and recirculates the air, keeping your kitchen atmosphere cleaner and healthier.
Beyond comfort, proper ventilation reduces moisture buildup that can cause mold, protects your cabinetry from grease damage, and improves indoor air quality for your entire household. In short, a well-installed range hood is not a luxury — it is a necessity for any functional kitchen.
Selecting the Right Range Hood for Your Kitchen
There are two primary mounting styles to consider:
Wall-Mounted Hoods
Attached directly to the wall above your stove. Ideal for kitchens without upper cabinetry above the cooking area.
Under-Cabinet Hoods
Mounted beneath existing cabinets. A great space-saving option that blends seamlessly into most kitchen layouts.
You also need to decide between ducted and ductless models. Ducted hoods push contaminated air outside through a vent pipe, offering superior performance. Ductless hoods use charcoal filters to clean the air before recirculating it — a practical choice when exterior venting is not an option.
Before purchasing, take accurate range hood measurements. Measure the width of your cooktop and the distance from the cooking surface to where the hood will be positioned. Most hoods are designed to match standard stove widths, but verifying dimensions ahead of time prevents headaches down the road.
Tools You Will Need
You do not need a professional workshop to get this done. Gather these essentials before you start:
Step-by-Step Range Hood Installation — The DIY Approach
Putting in a kitchen hood is not as intimidating as it looks. Take it one step at a time, stay patient, and prioritize safety throughout the process.
Step 1
Switch Off the Power
Safety always comes first. Go to your breaker panel and cut the electricity to your kitchen circuit. Then use an electrical tester to confirm that no wires in the work area are live before touching anything.
Step 2
Mark Your Mounting Position
Hold the range hood against the wall or cabinet in its intended position. Use a pencil to mark where the screw holes will go. Ensure the hood is centered directly above the stove and positioned at the height recommended by the manufacturer. This is where precise kitchen hood installation planning really pays off.
Step 3
Drill and Mount the Hood
Drill pilot holes at the marks you made and insert wall anchors if needed. For a wall-mounted range hood, secure it firmly into studs or use heavy-duty drywall anchors. For an under-cabinet installation, use the bracket mounting method to attach the hood to the cabinet base. Tighten all screws until the unit feels completely stable.
Step 4
Set Up the Ventilation (Ducted Hoods)
This step tends to make people hesitant, but it is entirely manageable. Use a ducting kit to route the air duct through the wall or ceiling to the outside. Seal every connection with duct tape to prevent air leaks. If cutting through walls feels too ambitious, a ductless hood with charcoal filters is a perfectly valid alternative for your DIY range hood project.
Step 5
Connect the Electrical Wiring
Follow the manufacturer's wiring diagram carefully. The standard approach is to match black wire to black, white to white, and the ground wire to the ground terminal. Range hood wiring is the most technical part of this project, so take your time. If you feel uncertain at any point, there is absolutely no shame in calling a licensed electrician to handle this step.
Step 6
Test and Finalize
Restore power at the breaker and put the hood through its paces. Test every fan speed, check the lights, and evaluate the suction strength. If everything operates smoothly — congratulations, you just completed a range hood installation on your own!
Common Mistakes to Watch Out For
The installation process is straightforward, but a few common errors can waste your time and money. Keep these pitfalls in mind:
✓ Measure Twice
Never skip the measurement step. Incorrect dimensions lead to misaligned mounting and wasted effort.
✓ Verify Power Is Off
Always confirm the circuit is dead before handling any wires. An electrical tester is essential.
✓ Match the Duct Size
Using the wrong duct diameter reduces airflow and makes the fan work harder than it needs to.
✓ Keep Vents Clear
Blocked vents defeat the purpose of the entire system. Ensure air can flow freely from intake to exhaust.
Above all, always read the complete range hood installation guide that ships with your specific appliance. Manufacturer instructions account for model-specific details that generic guides cannot cover.
Upgrade Your Kitchen Ventilation Today
Looking for a high-quality blower unit to pair with your range hood setup? The Bosch DHR1FZUC Remote Fan Unit delivers powerful, quiet ventilation performance designed for modern kitchens.
Bosch DHR1FZUC Fan UnitWrapping Up
Installing a range hood may seem like a daunting project at first glance, but once you break it down into individual steps, it becomes surprisingly approachable. Whether you are renovating your entire kitchen or just trying to eliminate stubborn cooking smells, knowing how to handle this installation yourself is a valuable skill that saves money and adds real functionality to your home.
And whenever you need quality kitchen ventilation products or expert guidance, Backyard Provider is here to help. Browse our collection today and take the next step toward a cleaner, more comfortable kitchen.
Frequently Asked Questions About Range Hood Installation
Can I Install a Range Hood by Myself?
Absolutely. Many homeowners successfully complete this as a DIY project. Follow safety precautions and the step-by-step instructions outlined above, and you should be in good shape.
Is Range Hood Installation Difficult?
Not particularly. If you can handle basic hand tools and follow written instructions, the process is very manageable — even for first-timers.
Do I Need to Hire an Electrician?
Only if you are uncomfortable working with electrical wiring. If the wiring step feels beyond your comfort zone, calling a certified electrician is the safest move.
How Are Range Hoods Typically Mounted?
The two most common methods are wall-mounting with screws into studs and under-cabinet mounting with brackets. The best method depends on your kitchen configuration.
How Do I Vent a Range Hood Through the Wall?
Use a ducting kit to create an opening in the exterior wall, run the duct from the hood to the opening, and seal every joint properly to prevent air leaks.
How Do I Vent Through the Ceiling Instead?
Run a vertical duct from the hood straight up through the ceiling cavity, then route it out through the roof or connect it to an attic vent. Proper sealing is critical to avoid moisture issues.
How Do I Install a Range Hood Under a Cabinet?
Attach the hood directly to the underside of the cabinet using screws and the included mounting brackets. Wire it up and connect ventilation as needed.
Can I Install a Range Hood Without Any Venting?
Yes. Choose a ductless model that uses internal charcoal filters to clean and recirculate the air. The installation process is the same minus the venting step.
How Do I Replace an Existing Range Hood?
Disconnect the power, remove the old unit by unscrewing it and detaching the wiring and ductwork, then install the new hood using the steps described in this guide.