

In This Guide
- 1. Essential Safety Gear for Chipper Shredder Operation
- 2. Pre-Operation Chipper Shredder Inspection Protocols
- 3. Safe Feeding Techniques for Chipper Shredders
- 4. Clog Resolution and Maintenance Procedures
- 5. Lubrication and Blade Maintenance Schedule
- 6. Choosing the Right Chipper Shredder Type
- 7. Advanced Operation Efficiency Strategies
- 8. FAQ
Essential Safety Gear for Chipper Shredder Operation
Protective Equipment Requirements: Goggles, Gloves, and Headgear
Safety goggles with impact resistance, close-fitting side panels, and an anti-fog coating are essential whenever you operate a chipper shredder. Wood fragments, small stones, and fine particulate matter can be launched at high velocity, making unprotected eyes extremely vulnerable. Heavy-duty work gloves — preferably cut-resistant varieties — shield your hands and forearms from sharp edges and unexpected contact with rotating parts. Use a hard hat if overhead branches present a hazard, and always combine eye and hand protection rather than relying on one alone. If your existing gear shows signs of damage such as cracked lenses, frayed seams, or reduced grip, replace it before your next session.

Footwear and Clothing Standards for Debris Prevention
Steel-toed boots with slip-resistant soles serve as your front line of defense against rolling logs, dropped branches, and uneven terrain. Avoid loose-fitting clothing that could become entangled in moving parts — snug cuffs, tucked-in shirts, and secured lanyards are especially important near the feed chute. Professional-grade chainsaw chaps provide an additional layer of lower-body protection, and high-visibility vests improve your presence in shared work areas.
Why Hearing Protection Matters Around Wood Chippers
Wood chippers running at full throttle routinely exceed 100 decibels — well past the threshold for permanent hearing damage from prolonged exposure. Choose EPA-certified earplugs with a 25 dB or higher noise reduction rating, or opt for over-ear muffs rated for industrial applications. Electronic hearing protection is a smart investment for anyone who needs to communicate with coworkers while the machine is running, as these devices reduce hazardous noise while still allowing normal conversation.
Pre-Operation Chipper Shredder Inspection Protocols
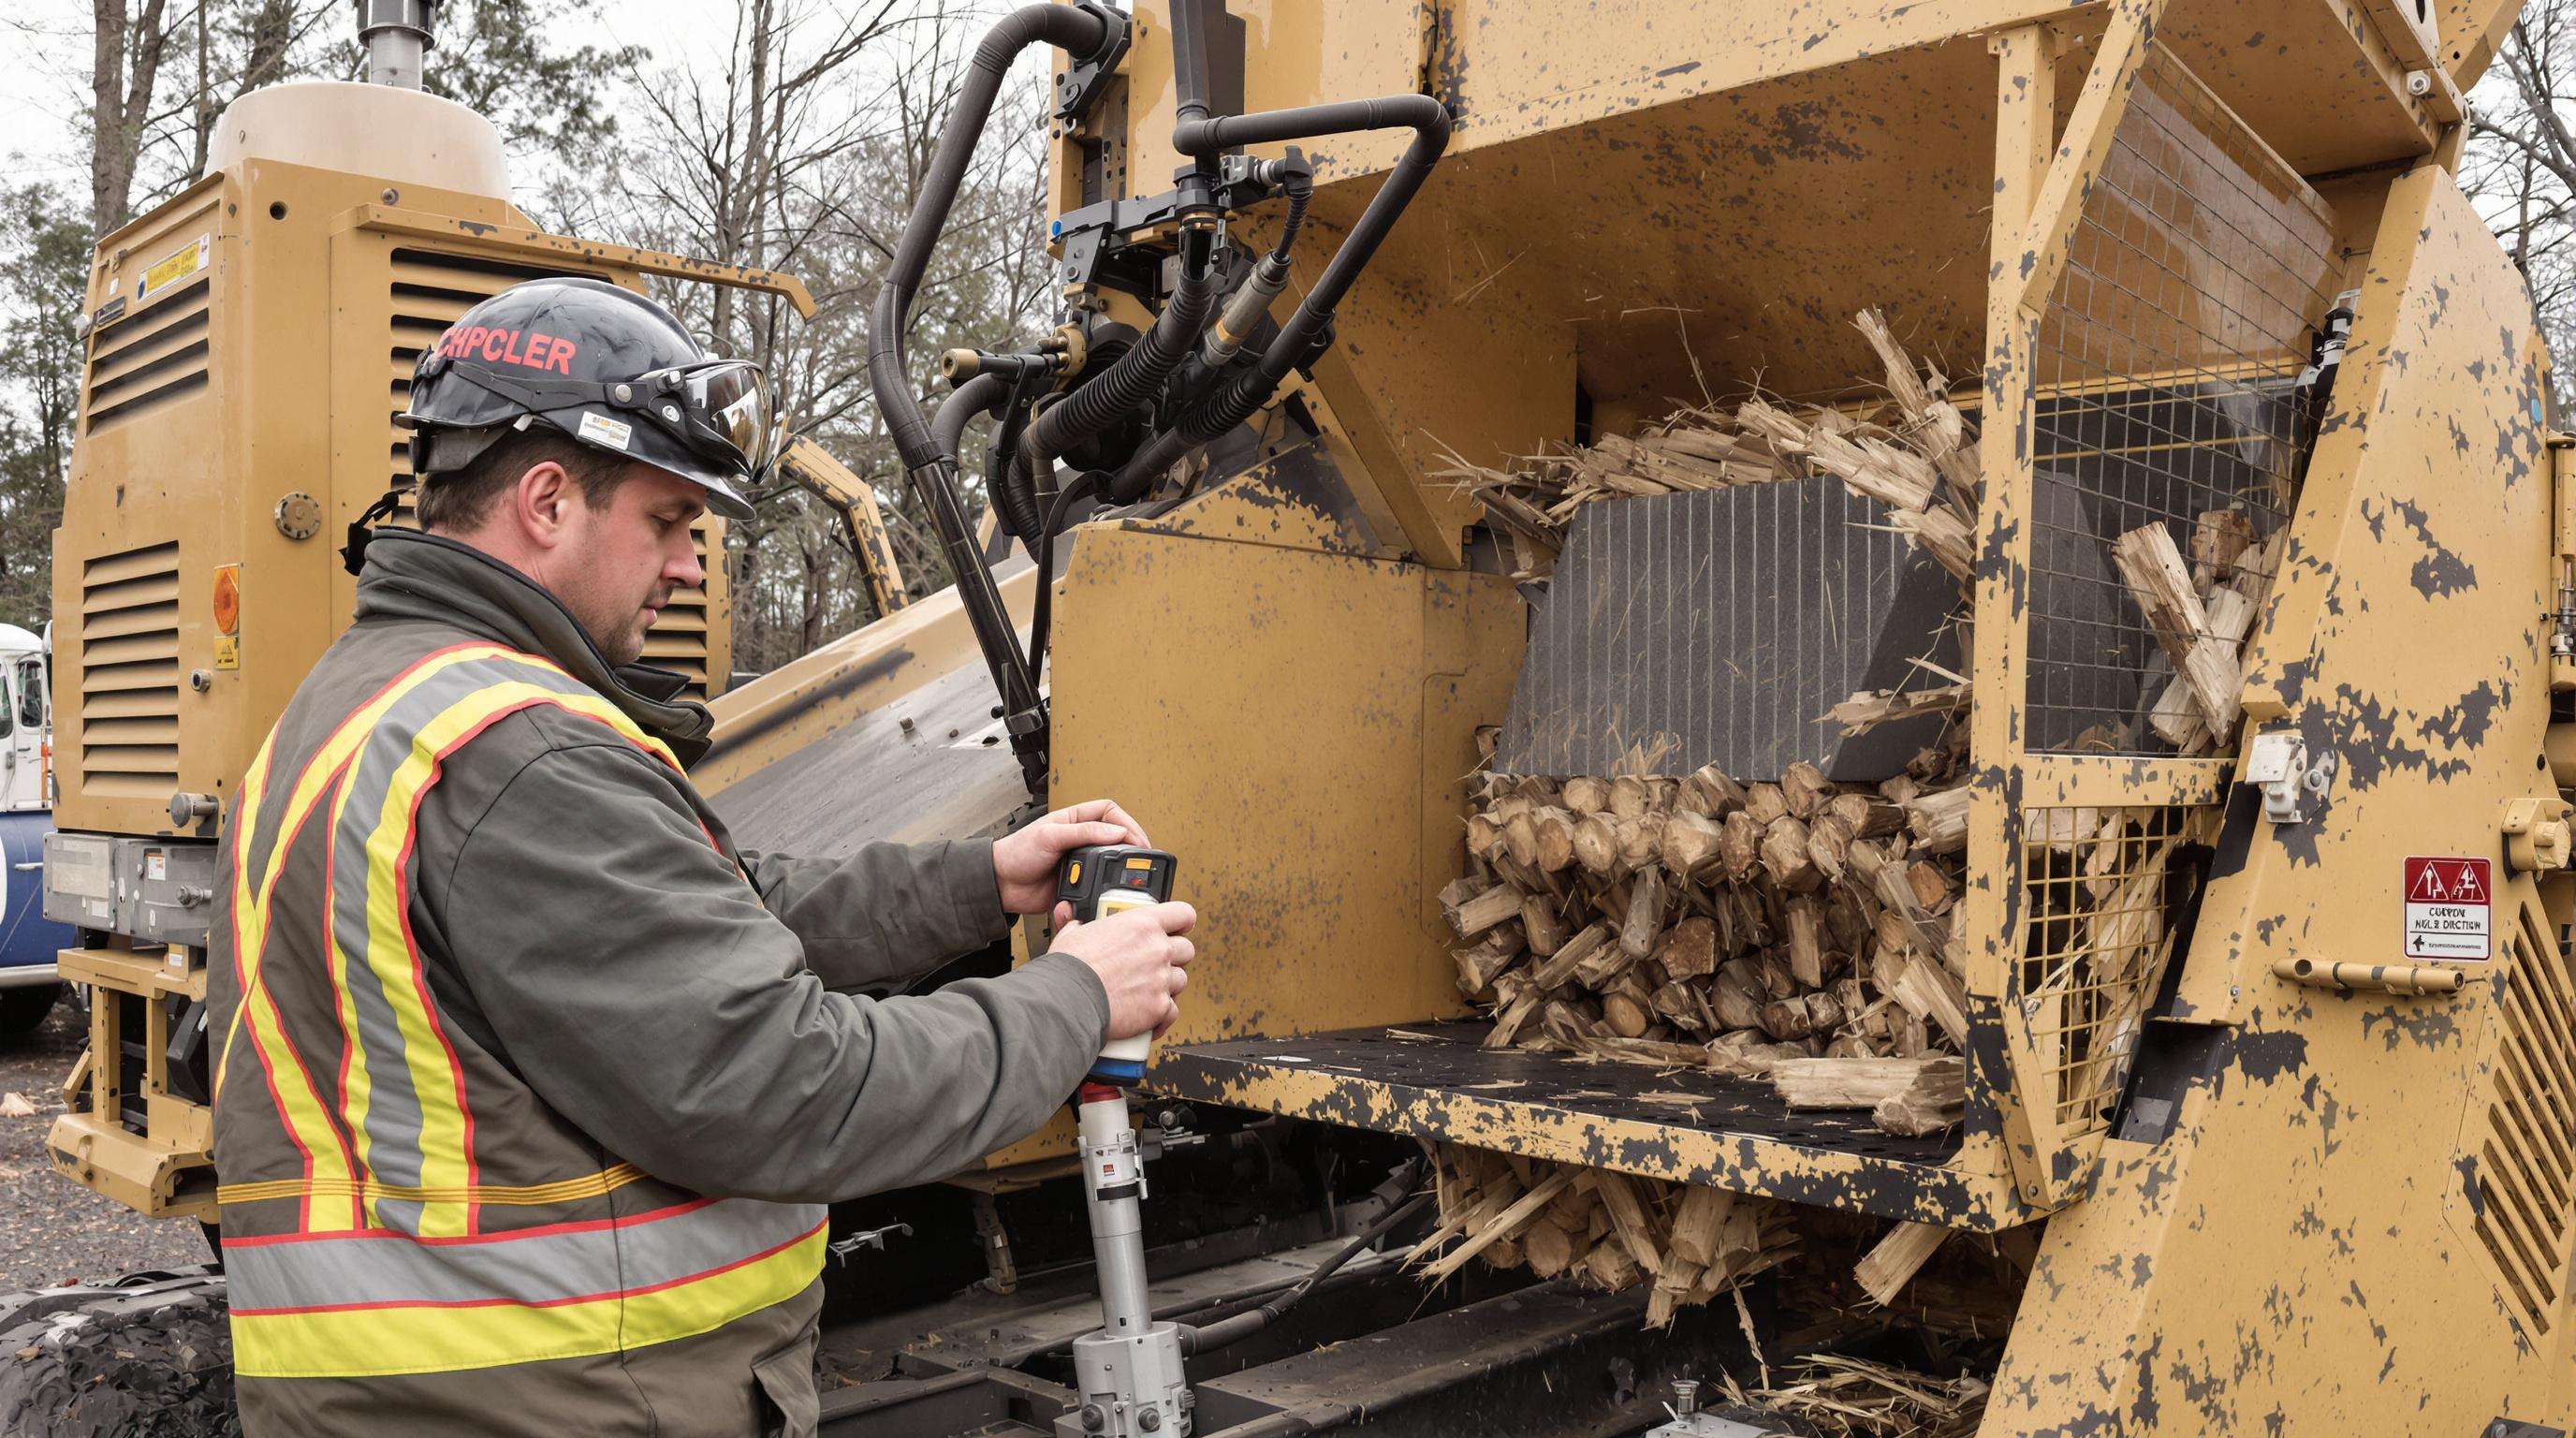
Seasoned professionals dedicate five to seven minutes before every session to a thorough walk-around inspection. This habit alone prevents up to 30% of avoidable mechanical failures and workplace injuries. You should examine the structural frame for cracks, inspect safety guards and deflection panels, and check all discharge openings for blockages that could cause dangerous backups.
Mechanical Integrity Checks for Safe Startup
Confirm that hydraulic lines show no visible cracks, leaks, or swelling. Verify that the engine's oil level, coolant system, and air filter meet manufacturer specifications. Ensure the emergency shutoff activates within three seconds, and that the discharge chute rotates freely without excessive play or misalignment. Any deviation from normal function should be addressed before the chipper is powered on.
Blade Sharpness and Bolt Tightness Verification
Dull blades force the motor to work considerably harder, accelerating wear and increasing the chance of kickback by as much as 60%. Maintain a sharpening log and aim for a calibrated torque wrench check every month to confirm bolts remain within manufacturer tolerances. Re-torque any fasteners that have loosened due to vibration, and replace damaged or chipped blades immediately rather than continuing to run them.
✅ Pre-Operation Inspection Checklist
Visual scan of cutting components • Bolt torque confirmation • Non-contact infrared thermometer check • Feeler gauge for clearance • Digital torque wrench • Fluid levels • Manufacturer manual review
Making consistent pre-use inspections a habit dramatically lowers the likelihood of equipment-related incidents. The Occupational Safety and Health Administration (OSHA) notes that routine inspection reduces accident-related workplace injuries by an average of 27% across heavy equipment operations.
Safe Feeding Techniques for Chipper Shredders
Branch Orientation and Size Limitations: Best Practices
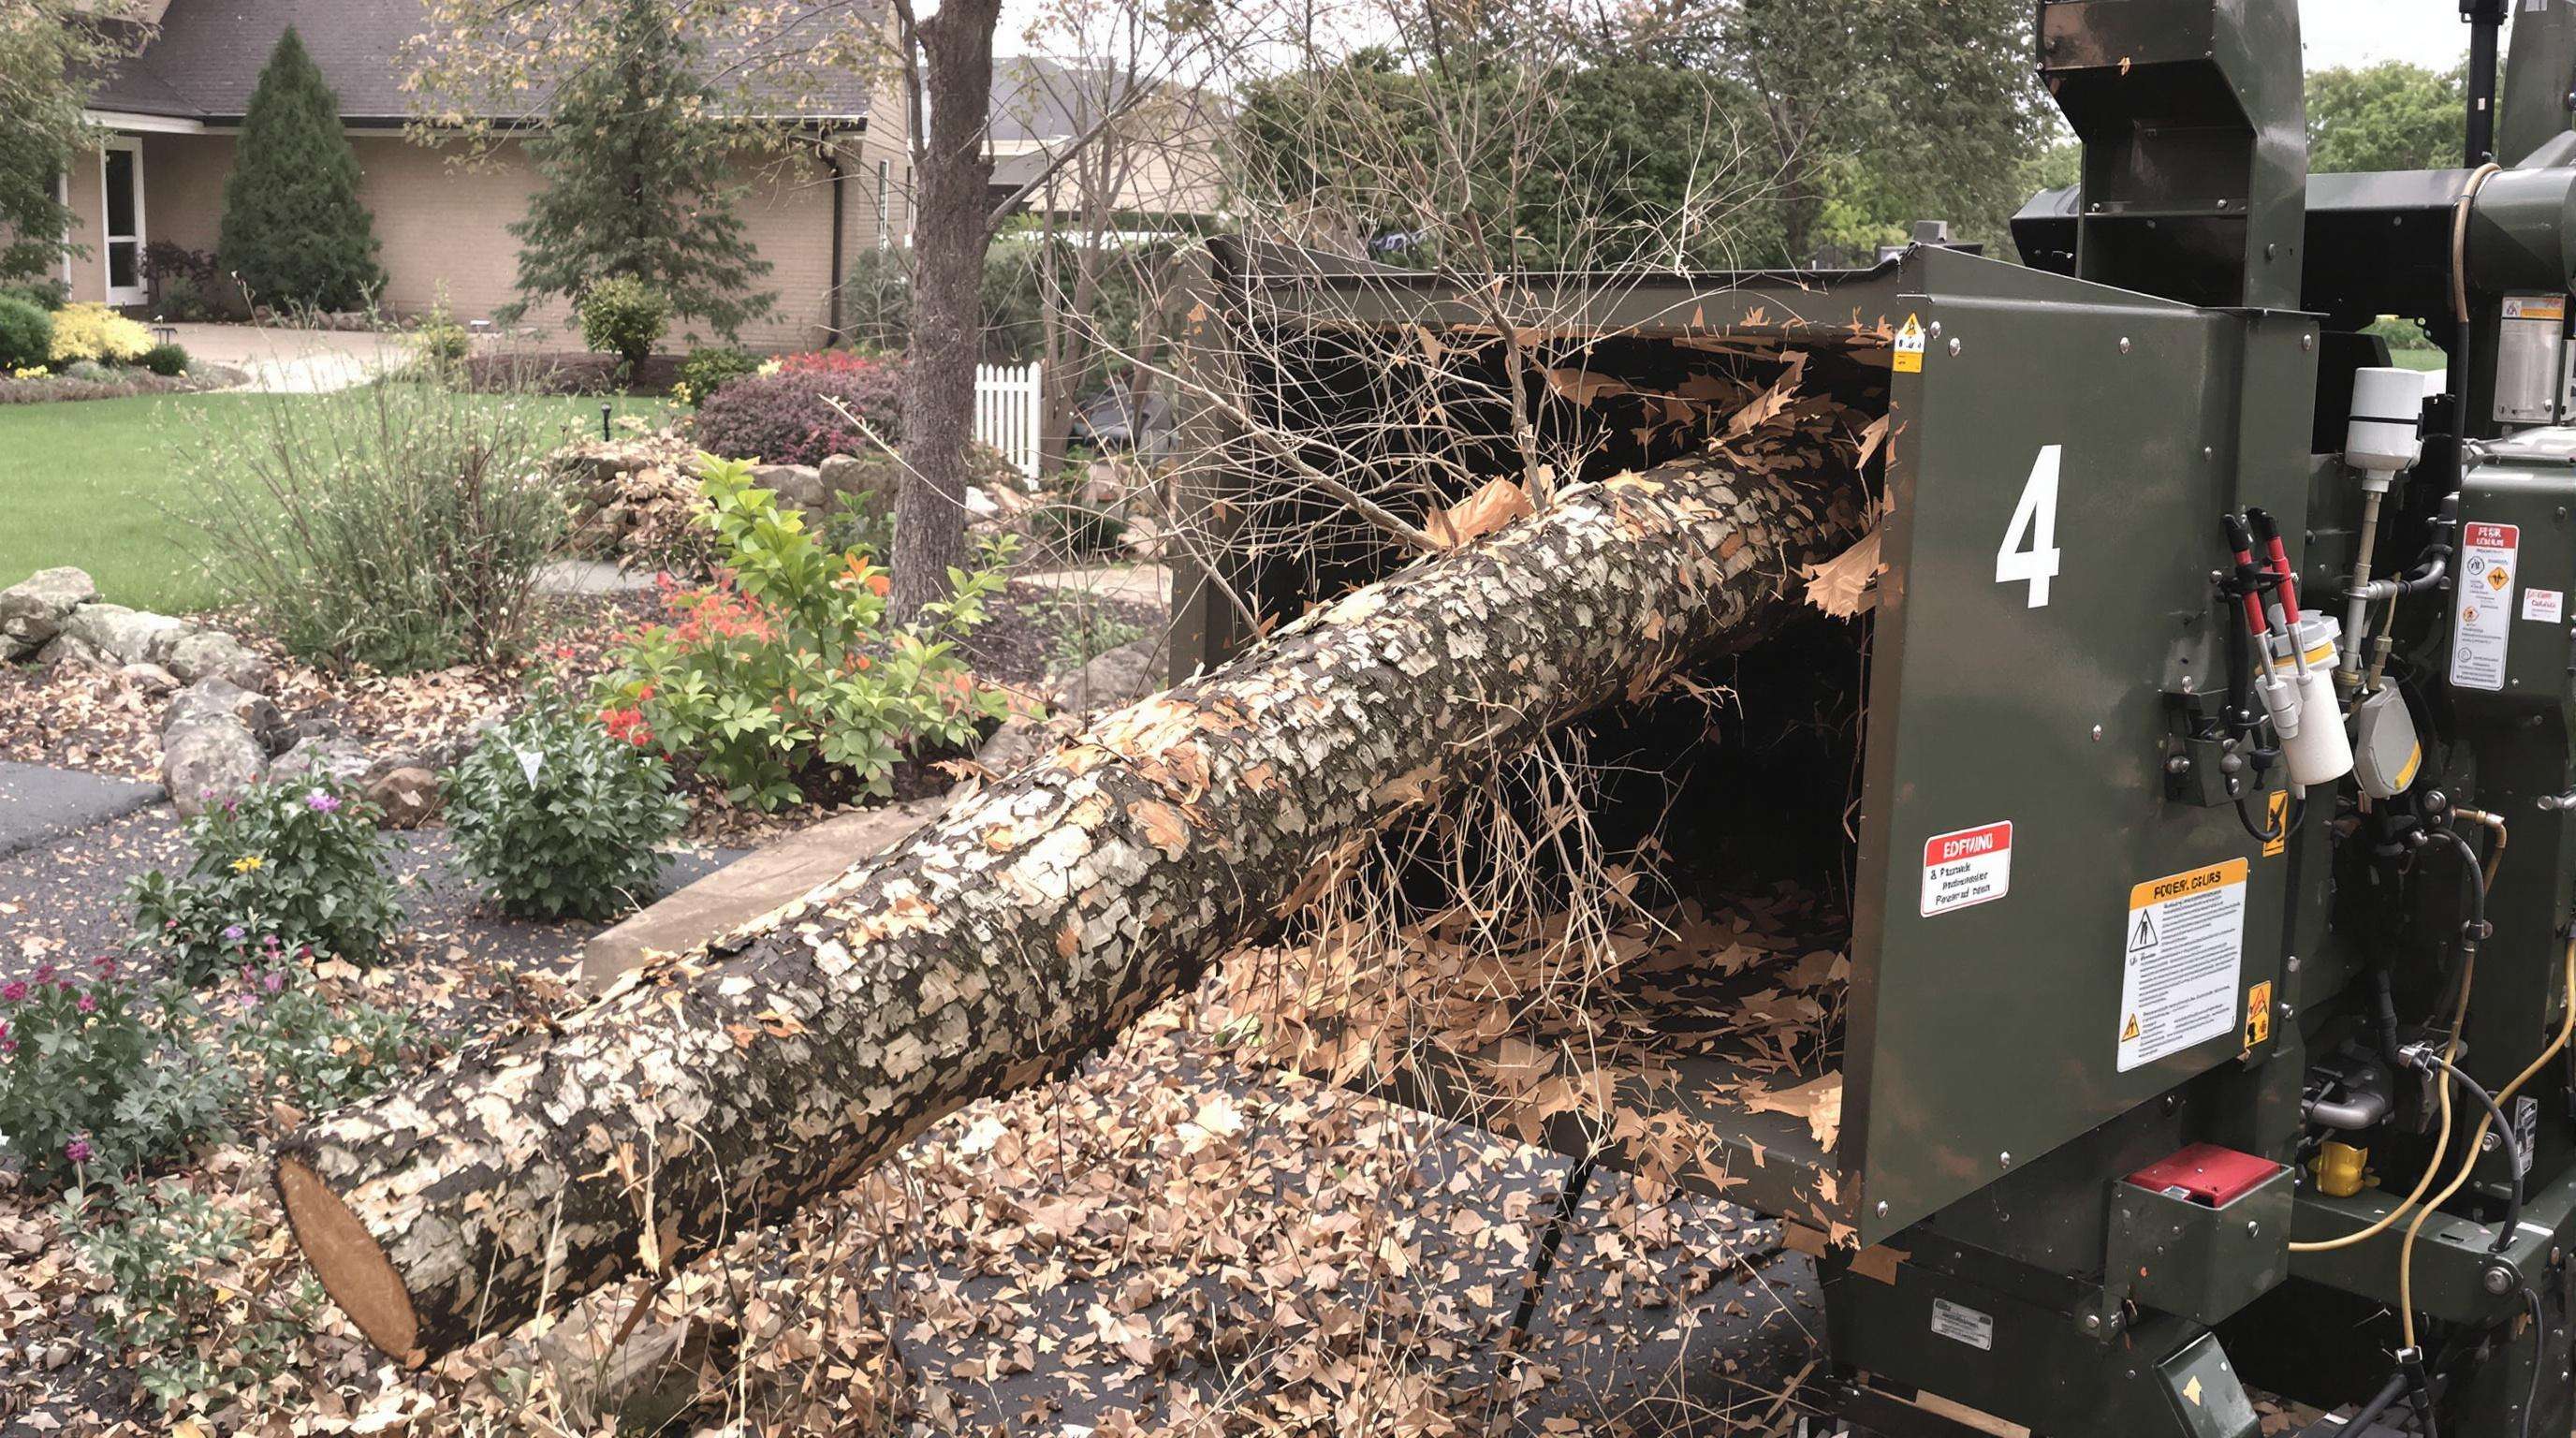
Always feed branches thicker end first to minimize any chance of kickback, and strictly follow the manufacturer's stated size specifications. Most residential chippers handle diameters up to three inches (some larger models go up to four), so avoid forcing oversized material. Use a push stick for debris under 12 inches to maintain a safe hand distance from the feed opening.
Maintaining Safe Distances During Material Processing
Position yourself to the feed chute's side — never stand directly in front of it — and establish a 75-foot perimeter around operational zones. Keep bystanders, children, and pets well outside this boundary. Maintain continuous visual contact with the chute area and minimize all distractions to prevent accidental contact.
Preventing Kickbacks and Flying Debris Hazards
Angled branches fed into the chute at steep angles are the primary cause of violent kickbacks — data from OSHA shows this accounts for roughly 37% of all chipper-related injuries. Avoid wet or frozen limbs, and remain alert for embedded nails, wire, or foreign objects hidden inside logs. Keeping branches straight, dry, and inspected before feeding drastically reduces risk.
Handling Irregular Materials Without Clogs
Separate leafy matter from heavy, woody debris and pre-cut vines or flexible stalks into shorter segments of 18-inch maximum length. Damp vegetation should be allowed to dry before processing. If resistance occurs during feeding, stop immediately — confirm the cause before continuing, and clear any partial blockages with the engine fully shut down.
Clog Resolution and Maintenance Procedures
Standardized clog-clearing routines reduce workplace incidents by up to 40%, according to Equipment Safety Analysis (2023). When a jam occurs, the first step is always to power down and allow all moving parts to come to a complete stop before attempting to clear any obstruction.
Step-by-Step Guide: Clearing Chipper Shredder Jams Safely
Power down and disconnect all energy sources before attempting any blockage clearance. Use non-conductive tools — never metal objects or your hands — to carefully extract stuck debris, and wear full protective gloves and eyewear throughout the process. Once the clog is removed, inspect nearby components for signs of stress or damage before restarting. Check intake funnels and discharge openings for residual material that could cause an immediate recurrence.
Lubrication and Blade Maintenance Schedule
Post-Use Cleaning for Optimal Performance
Clear all remaining debris from cutting chambers using compressed air or dry rags. Pay close attention to resin build-up on blade edges and accumulated material inside the discharge chute. After cleaning, store the chipper in a dry, covered location to guard against corrosion and maintain cutting efficiency between sessions.
⚠ Dull Blade Warning
Dull blades reduce chipping efficiency by up to 67%. Schedule blade inspections after every 40 hours of operation. Blades showing visible nicks or a rounded cutting edge should be sharpened or replaced to preserve clean chip quality and motor longevity.
Choosing the Right Chipper Shredder Type

Comparing Gas-Powered vs Electric Models: Effectiveness
Gas-powered chippers handle heavier workloads and denser materials better, making them ideal for properties with large trees and regular clearing needs (branches up to 3–4 inches in diameter). Electric models suit smaller yards with lighter debris — they run quieter, produce no direct emissions, and require less storage space. For properties that fall in between, gas-powered models still offer the best combination of power, portability, and sustained run time.
Matching Capacity to Yard Size Requirements
Small urban lots (under 10,000 square feet) pair well with compact electric units. Suburban yards in the 10,000–15,000 square foot range benefit from mid-range gas chippers, while large rural estates and working properties call for full-sized commercial-grade units capable of handling four-inch-plus material on a daily basis.
Key Features Evaluation: Portability and Reduction Ratios
Look for models under 300 pounds with pneumatic tires and low-profile handles for easy transport between work areas. Reduction ratios vary — a 10:1 ratio is standard for basic residential chipping, while 15:1 or higher is preferable for dense hardwood processing. Dual-feed systems with separate hoppers for branches and leaves give you the most versatile performance across different material types.
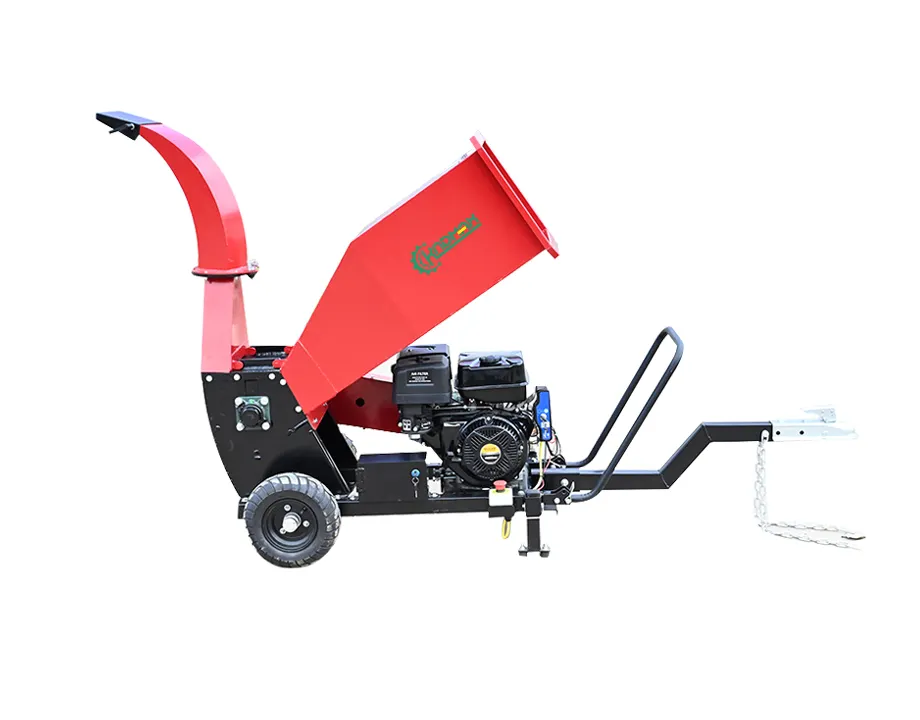
Ready to get started? Check out our top-rated chipper shredder:
BILT HARD 7.5 HP Wood ChipperAdvanced Operation Efficiency Strategies
Seasonal Yard Cleanup Workflow Optimization
Begin clean-up at the farthest point of your property, working inward. Process the thickest, heaviest branches first, followed by lighter material. Sorting your waste pile in advance — grouping items by type and thickness — makes the chipping process up to three times more efficient. Arrange collection bins close to the discharge area to minimize unnecessary movement during long sessions.
Fuel Consumption and Noise Reduction Techniques
Stagger your processing blocks to reduce total fuel consumption. Lower the throttle settings when handling lighter materials — not every load requires full power. Keep engine operation to 20% fuel burn increments, and schedule heavier runs for early morning or mid-afternoon when ambient noise is highest, so your work blends more naturally with the surrounding environment.
Frequently Asked Questions
What types of safety gear are essential for operating a chipper shredder?
At minimum, you need impact-rated goggles, heavy-duty cut-resistant gloves, steel-toed boots, and ear protection rated for 100+ decibel environments. A hard hat and high-visibility vest add further protection in shared outdoor work spaces.
Why is it important to inspect a chipper shredder before operation?
Pre-operation inspections catch potential hazards before they become dangerous failures — issues such as damaged safety guards, loose bolts, or hydraulic leaks. Consistent inspection can reduce accident rates by nearly a third across equipment-heavy operations.
How can kickback risks be minimized while using a chipper shredder?
Feed branches thick end first, keeping them aligned straight with the feed chute. Avoid angled or crooked insertion, which is the leading cause of kickback. Inspect all material for embedded metal, wire, or stones before feeding, and maintain sharp blades to ensure clean, even processing.
What maintenance procedures help extend chipper shredder lifespan?
Regular blade sharpening, consistent debris management after each use, and scheduled bearing lubrication form the core of effective long-term maintenance. Following the manufacturer's recommended service intervals — and keeping a detailed maintenance log — preserves both performance and resale value.
Power Through Your Yard Work
The BILT HARD 7.5 HP Wood Chipper handles branches up to 3" with ease — built tough for serious backyard clearing.
BILT HARD 7.5 HP Wood Chipper