

A towel warmer is one of those small luxuries that makes a big difference in any bathroom. Imagine stepping out of a hot shower and wrapping yourself in a perfectly warm, fluffy towel — it's an experience that instantly elevates your daily routine. The best part? Towel warmers are surprisingly simple to install. With just three straightforward steps, you can have yours up and running in no time.
Whether you're upgrading a master bathroom or adding a finishing touch to a guest suite, this guide will walk you through the entire process from unboxing to that first warm towel.
Quick Overview
Difficulty: Easy | Time: 30–60 minutes | Tools Needed: Screwdriver, drill, level, measuring tape
Unpack and Inspect Your Kit
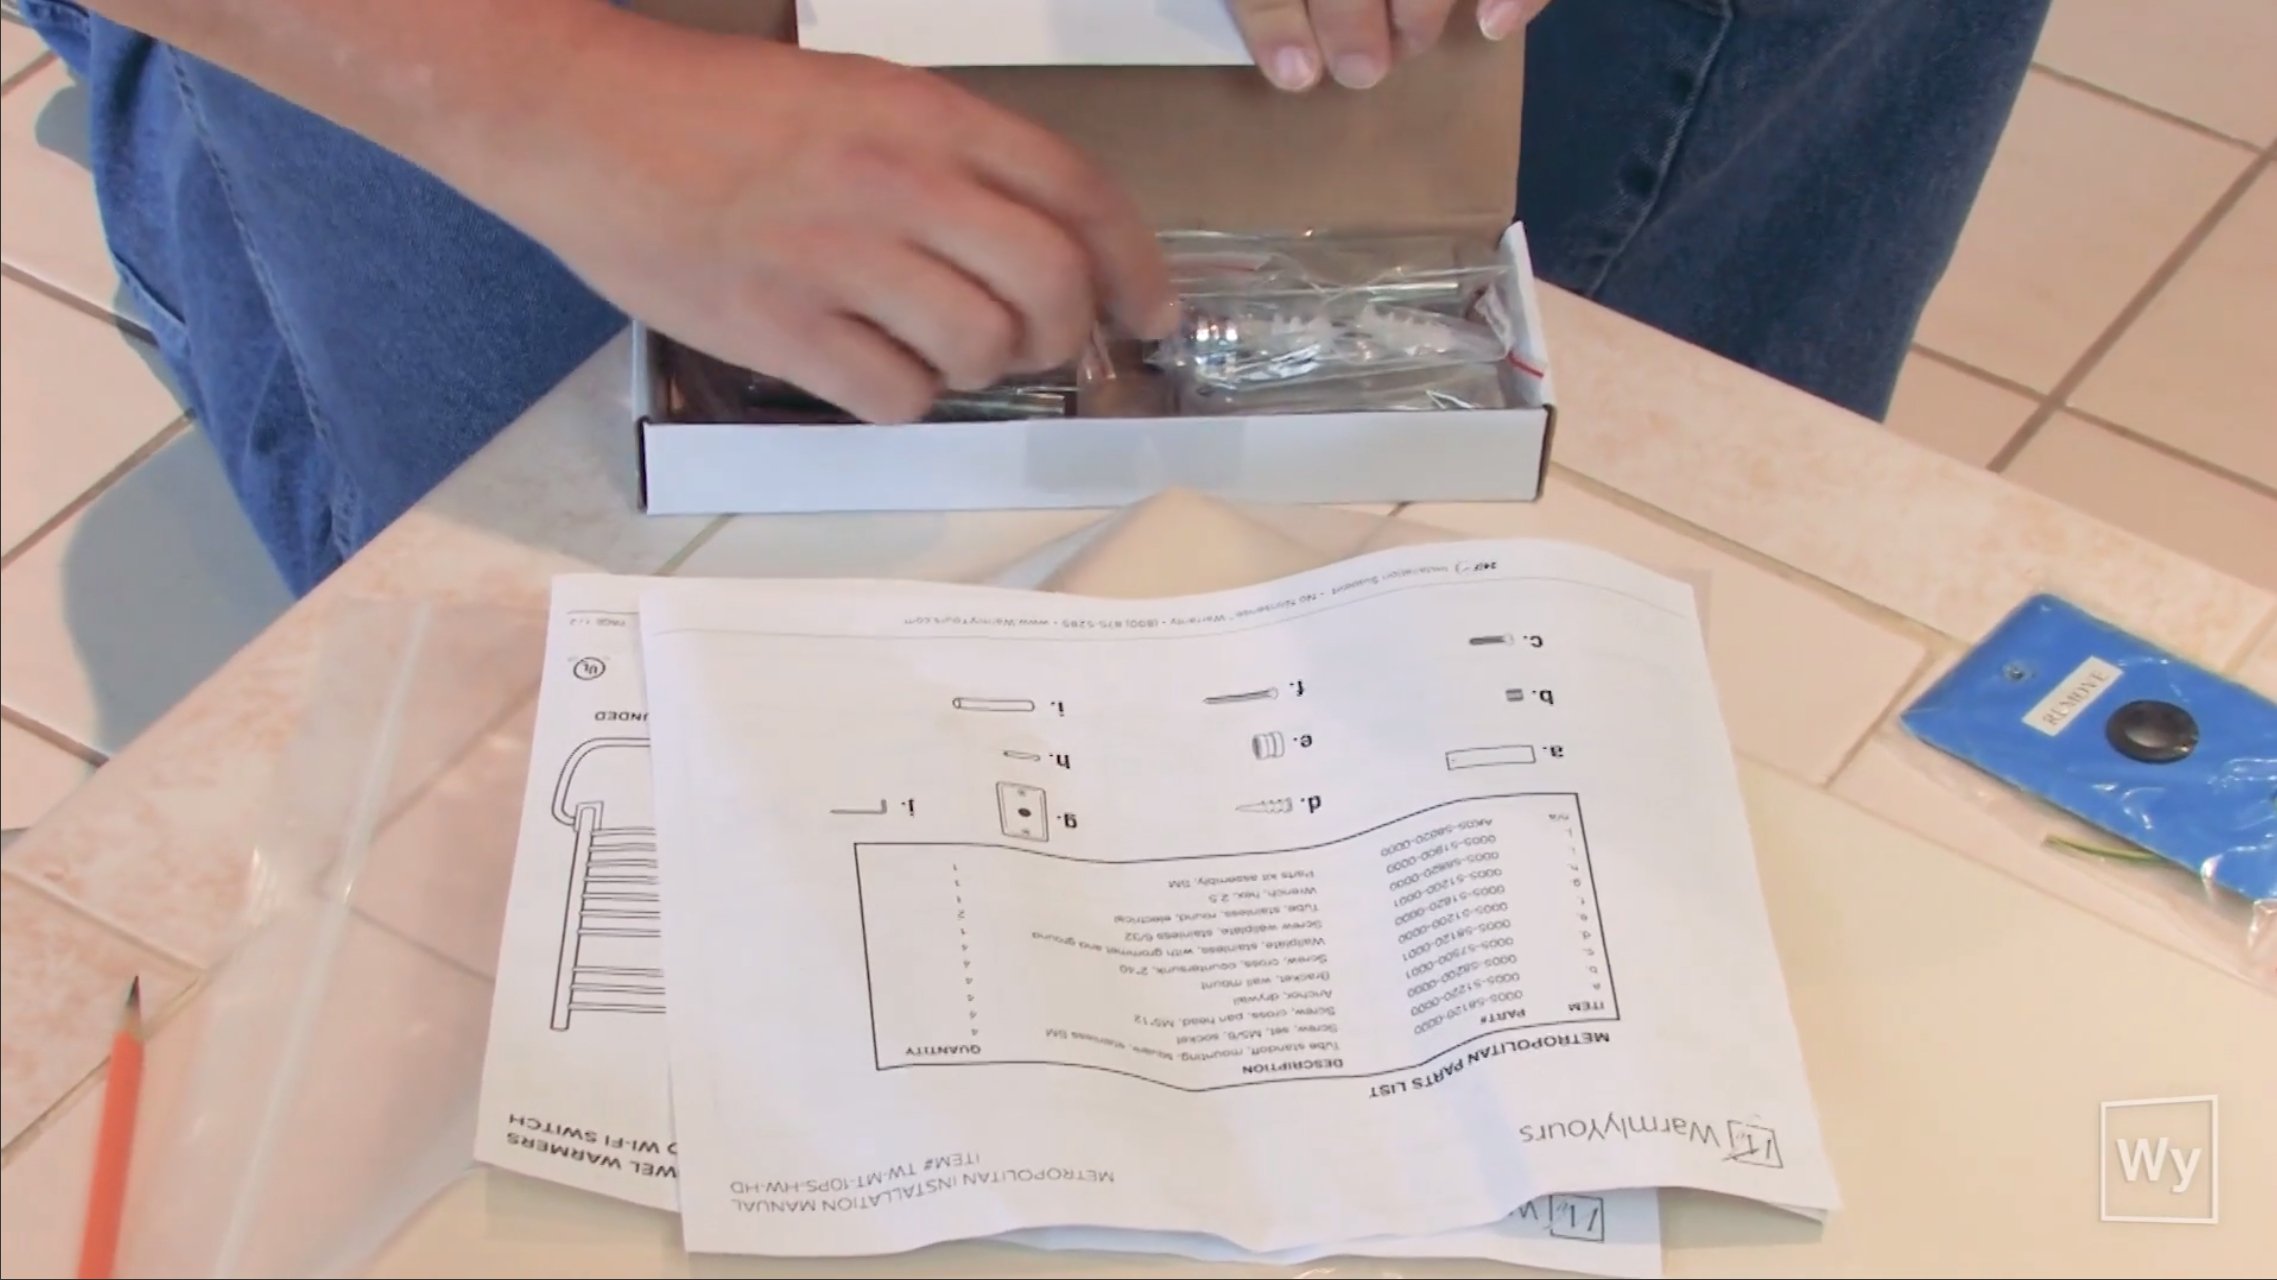
Before you pick up any tools, open the box and lay out every component. Your towel warmer will come with a detailed instruction guide, mounting brackets, hardware, and the unit itself. Take a moment to cross-reference each piece with the parts list in the manual. This is the simplest but most important step — confirming that everything is accounted for now will save you from headaches later.
Pay close attention to the bracket count, screws, wall anchors, and any decorative caps that may be included. If anything is missing, contact the manufacturer before you start drilling. It's much easier to resolve a missing part before your wall has holes in it.
Create Your Mounting Template
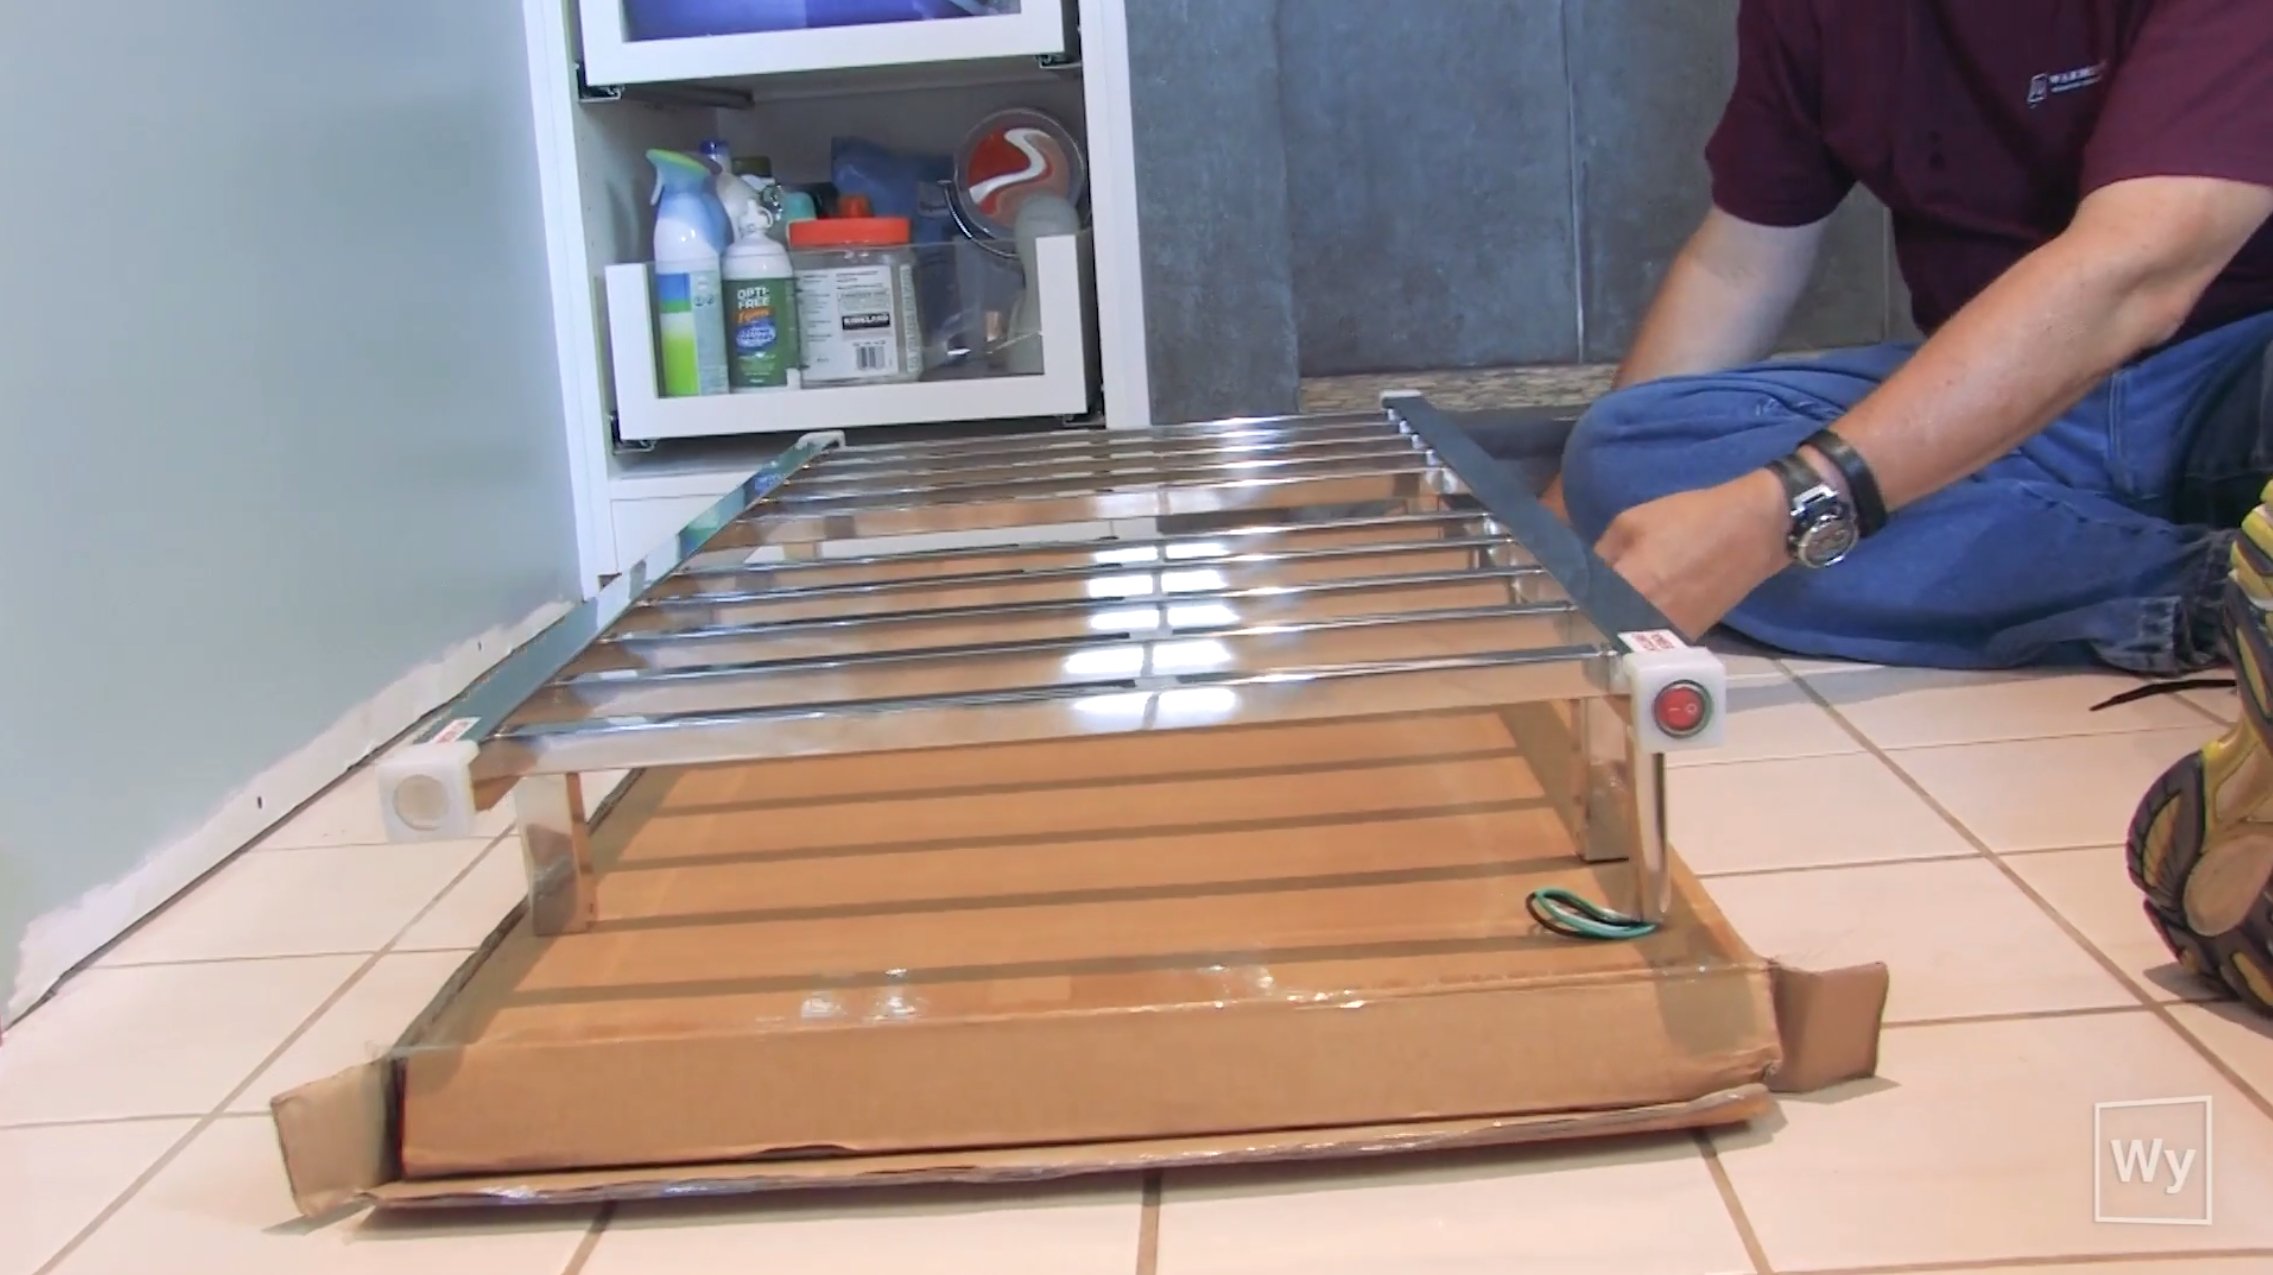
Here's a clever trick that makes positioning your towel warmer much easier: use the shipping box as a mounting template. Start by attaching the legs to the unit following the instructions. Then, flip the towel warmer upside down onto the cardboard box and trace the position of each mounting leg. If your model is hardwired, also mark where the electrical output tube will connect.
Once you have all the key points marked, use measuring tape to find the center of each leg position. These center marks are where your drill holes will go. Tape the cardboard template to the wall at your desired height, then use a level to draw a straight line between the top two leg markings to ensure everything is perfectly even.
With a screwdriver, punch through the cardboard at each center point to transfer the marks onto the wall. If a stud isn't directly behind any of the drill points, make sure you have the included wall anchors on hand — they'll provide the support your towel warmer needs to stay securely mounted.
Mount and Power Up Your Towel Warmer
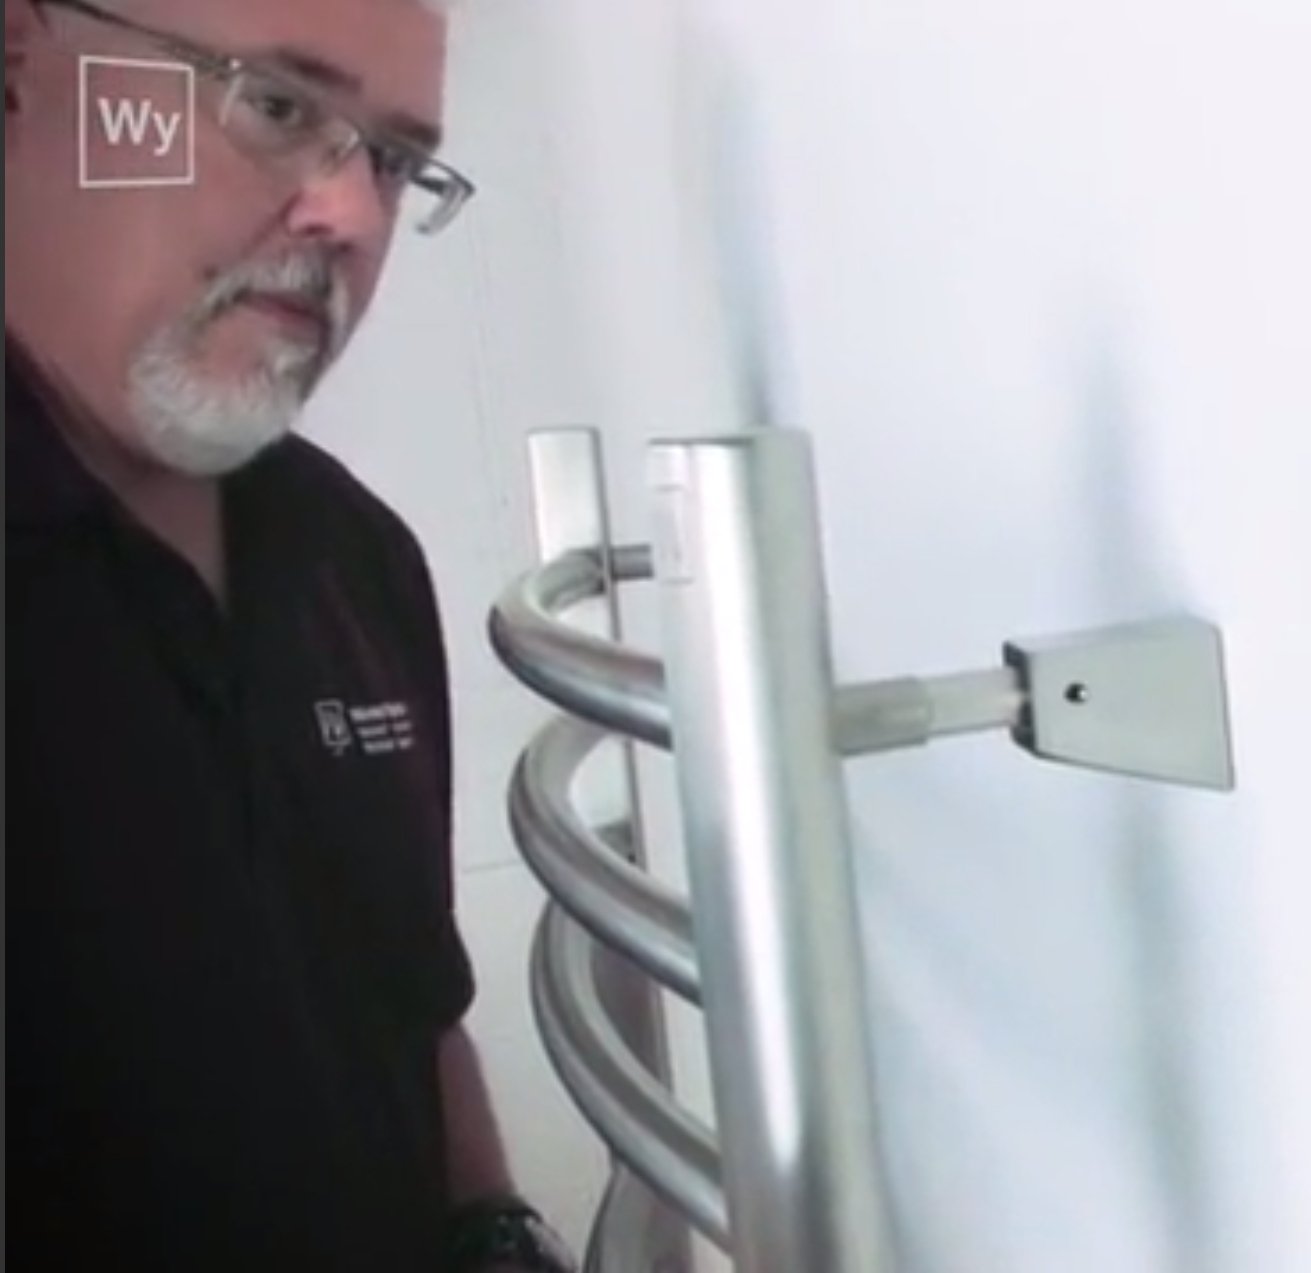
Now it's time to bring everything together. Remove the cardboard template and drill into the wall at each marked point. If any of your drill holes don't line up with a wall stud, insert the provided wall anchors first. Then screw in the mounting brackets firmly.
With the brackets in place, lift the towel warmer and set its legs onto the brackets. They should fit snugly into position. Use the included set screws to lock the unit securely in place. Before you step back to admire your work, don't forget to remove any protective plastic caps and stickers from the bars.
For plug-in models: Simply plug the unit into a standard wall outlet, and you're done. It's ready to warm your towels immediately.
For hardwired models: You'll need a licensed electrician to connect the unit to your home's electrical circuit and to install any timer or controller. This isn't a DIY electrical job — always hire a professional for safety.
If you're using a timer or controller, make sure the power switch on the towel warmer itself stays in the "on" position at all times. This allows the external controller to manage when the unit heats up and cools down as intended.
Featured Product
Ready to Upgrade Your Bathroom?
Browse our premium heated towel rack — designed for easy installation and everyday luxury.
Amba Swivel Heated Towel Rack
Enjoy the Warmth
That's all there is to it. In under an hour, you've gone from an unopened box to a fully installed towel warmer that will make every shower feel like a trip to the spa. The installation process requires no specialized skills, and the result is a bathroom upgrade that you — and anyone who visits — will appreciate daily.
If you run into any questions during your installation, consult the instruction manual that came with your specific model. Most manufacturers also offer video walkthroughs and customer support lines to help you through the process. Happy warming!